
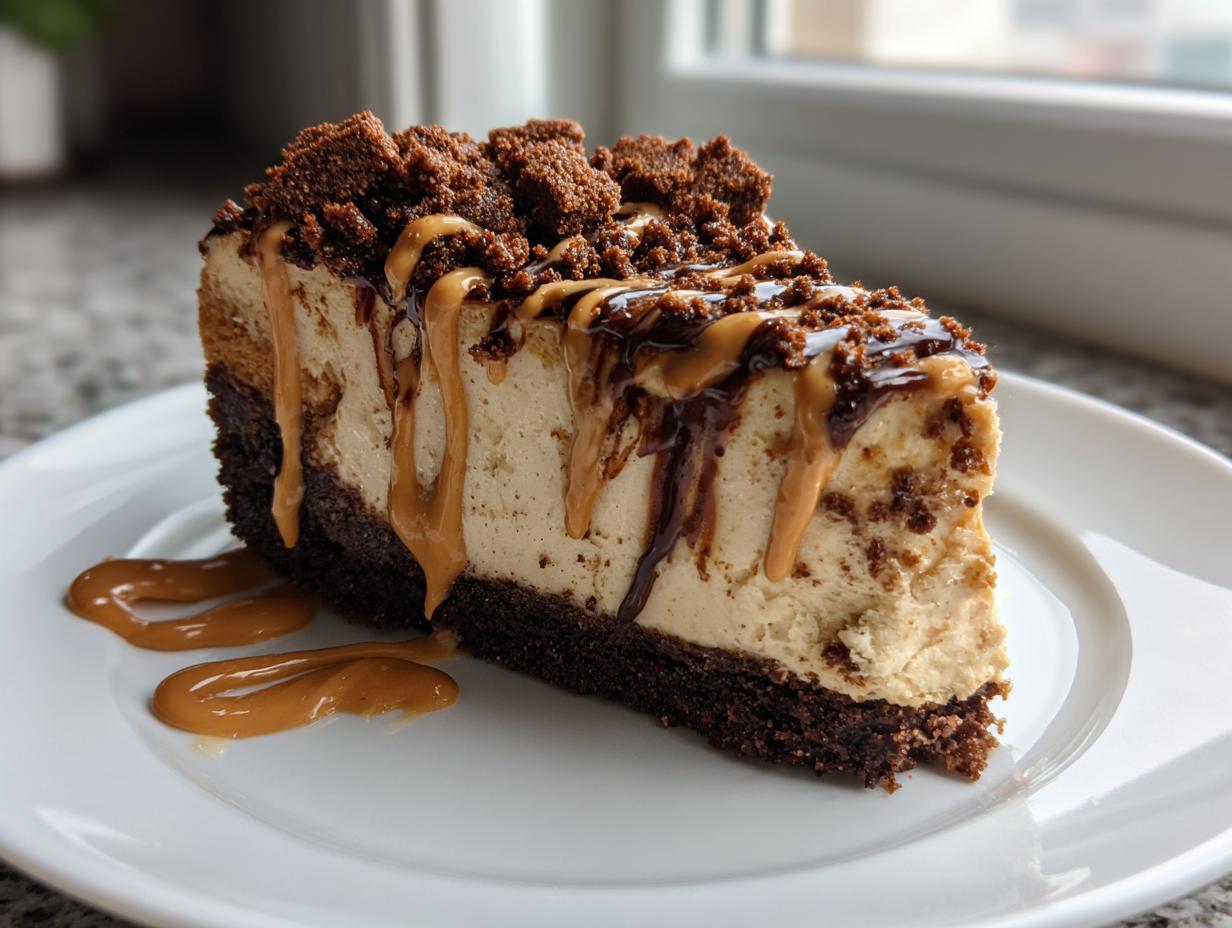
There is just something magical about a dessert that sets up perfectly in the fridge without demanding oven space, isn’t there? If you’re anything like me, sometimes you just need that decadent fix right now! Well, get ready, because this ultra-creamy, no-bake biscoff cheesecake is about to become your new go-to. It’s rich, it requires zero baking guesswork, and trust me, it tastes like a five-star bakery treat. Here at Little Kitchen Diary, Ethan Carter built this space on the idea that real life deserves real flavor, and this simple cheesecake recipe proves you don’t need hours on the clock to achieve something truly memorable. It’s the perfect cookie butter dessert for when your schedule is tight but your standards are high. If you loved this sentiment, be sure to check out my recipe for those easy, no-bake peanut butter bars too!
- Why This No-Bake biscoff cheesecake Recipe Belongs in Your Kitchen Diary
- Essential Components for Your Creamy biscoff cheesecake
- Step-by-Step Guide to the Ultimate biscoff cheesecake
- Tips for a Perfect biscoff cheesecake Every Time
- Variations on the Classic biscoff cheesecake
- Serving Suggestions for Your Decadent Cheesecake
- Storing Your biscoff cheesecake Leftovers
- Frequently Asked Questions About No Bake Treats
- Understanding the Nutrition in This Cookie Butter Dessert
- Share Your biscoff cheesecake Creation
Why This No-Bake biscoff cheesecake Recipe Belongs in Your Kitchen Diary
Look, I’m a busy guy, and that’s why I designed this kitchen diary around recipes that actually work when you’re slammed. This biscoff cheesecake is a total winner because it hits all the right notes without any drama. It’s an absolutely creamy cheesecake experience!
Seriously, if you need easy dessert ideas for a last-minute party, this is your savior. Here’s why it’s earned a permanent spot in my rotation:
- No Oven Necessary: Zero heat means less cleanup and less stress for me!
- The Ultimate in Make Ahead Dessert: It actually tastes better the next day.
- Ridiculously Decadent: It looks gourmet, but it’s secretly simple.
If you’re looking for another fantastic make-ahead option, you have to try my easiest 3-ingredient Oreo fudge recipe.
Essential Components for Your Creamy biscoff cheesecake
Okay, let’s talk ingredients! This is where the magic starts, and frankly, it’s pretty straightforward—that’s the beauty of a good no-bake recipe. Remember, we need that ultra-creamy texture everyone is craving, and that starts with making sure your dairy components are handled exactly right. For the cream cheese, you absolutely must let it sit out. I mean it! Room temperature cream cheese is non-negotiable if you want a smooth, lump-free cheesecake filling. It just blends so much better when it’s soft before we even think about bringing out the electric mixer.
For the Spiced Cookie Crust
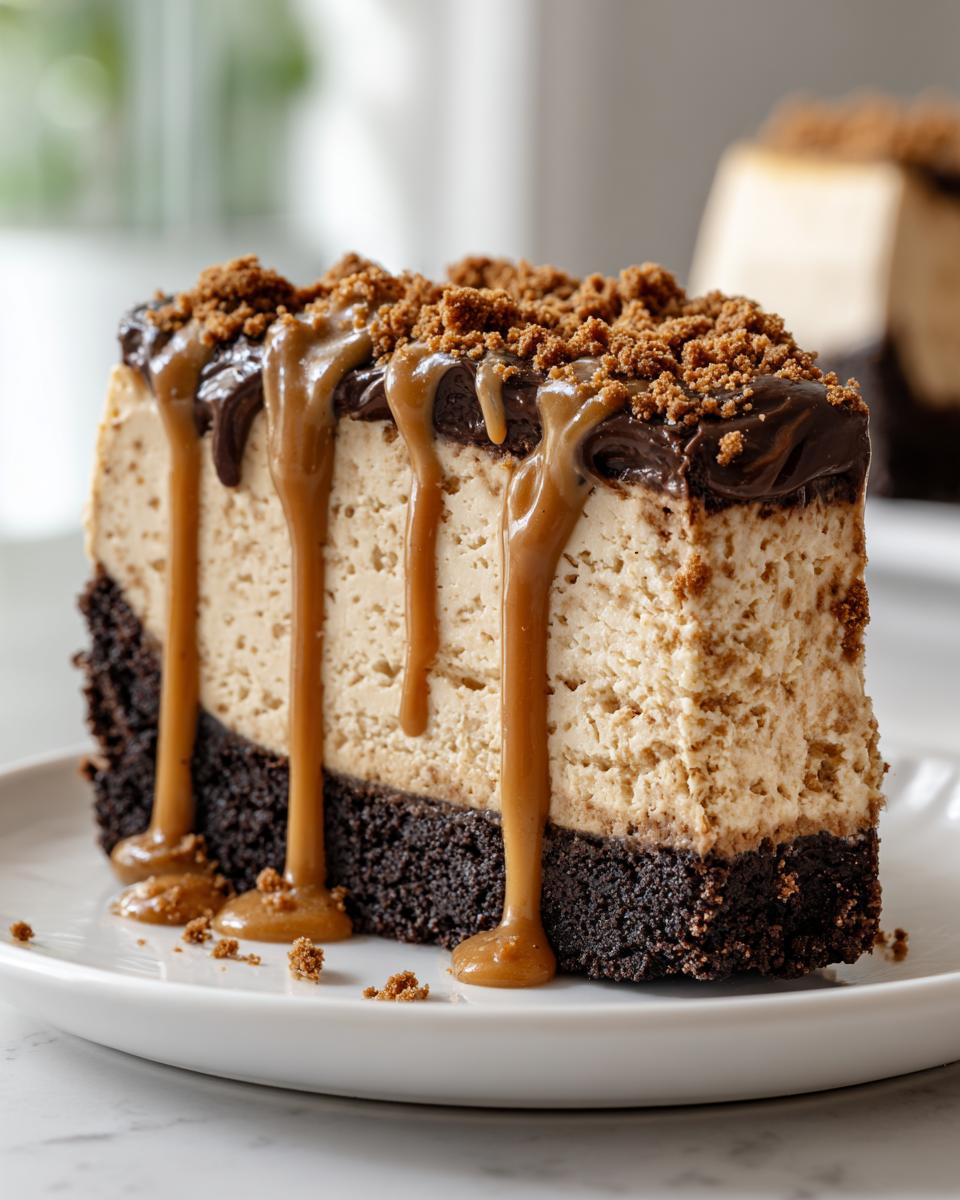
This base needs to be sturdy enough to support that gorgeous, rich filling. We need two things here: two cups of Biscoff cookie crumbs—and yes, you need to crush those up really fine, don’t leave big chunks! Then, half a cup of melted unsalted butter to glue it all together. Mix those two until it looks like wet sand, then press it down hard into your 9-inch pan. Seriously, pack it down like you’re compacting gravel; it sets up beautifully once it hits the freezer.
For the Velvety biscoff cheesecake Filling
This is where we dial up that ‘velvety dessert’ factor. We use 16 ounces of that softened cream cheese—remember, soft!—with one cup of sugar and a splash of vanilla. The real star, besides the cream cheese itself, is the Biscoff cookie butter. You’re going to divide it: three-quarters of a cup gets mixed right into the cheese base. But listen up on the heavy cream: it needs to be ice cold. Seriously, stick the bowl you plan to whip it in into the freezer for ten minutes beforehand. Cold cream whips up into those stiff, fluffy peaks that give the biscoff cheesecake its incredible lightness.
Step-by-Step Guide to the Ultimate biscoff cheesecake
Alright, this is where we put that prep work to good use! Don’t rush these steps, especially the chilling parts, because that’s how we guarantee that perfect, sliceable, yet unbelievably creamy result. Remember, we aren’t baking anything, so setting time is technically our “cook time,” and we can’t cheat that process, or we’ll end up with soup!
Building the Cheesecake Crust Base
First thing’s first: grab that crust mixture we made. It should look like damp sand, ready to hold its shape. Press this mixture *firmly* into the bottom of your 9-inch springform pan. I mean really press it down hard with the back of a spoon or the bottom of a measuring cup. You want density here! Once you think it’s packed enough, give that pan a quick trip to the freezer—at least 15 minutes while you deal with the filling. This little chill time ensures the butter solidifies just enough that the crust doesn’t crumble when we pour the filling on later. If you’re looking for other simple grab-and-go recipes, check out my easy white chocolate fudge.
Creating the Smooth biscoff cheesecake Filling
Now for that velvety dream! Before you touch the mixer, look at your cream cheese again—is it truly soft? Beat that cream cheese by itself first until it has zero lumps. Don’t move on until it looks like smooth frosting. Then, add your sugar and vanilla and mix until just combined. Next, carefully beat in that three-quarters cup of Biscoff cookie butter. It’s going to get thick! The absolute key to keeping this a no-bake treat is the whipped cream. You need to fold that stiffly whipped cream in gently. Use a spatula and aim for big, sweeping under-and-over motions. We want to keep all those lovely air bubbles we just whipped in there! Overmixing here is the quickest way to kill the texture of your biscoff cheesecake.
Setting and Finishing Your biscoff cheesecake
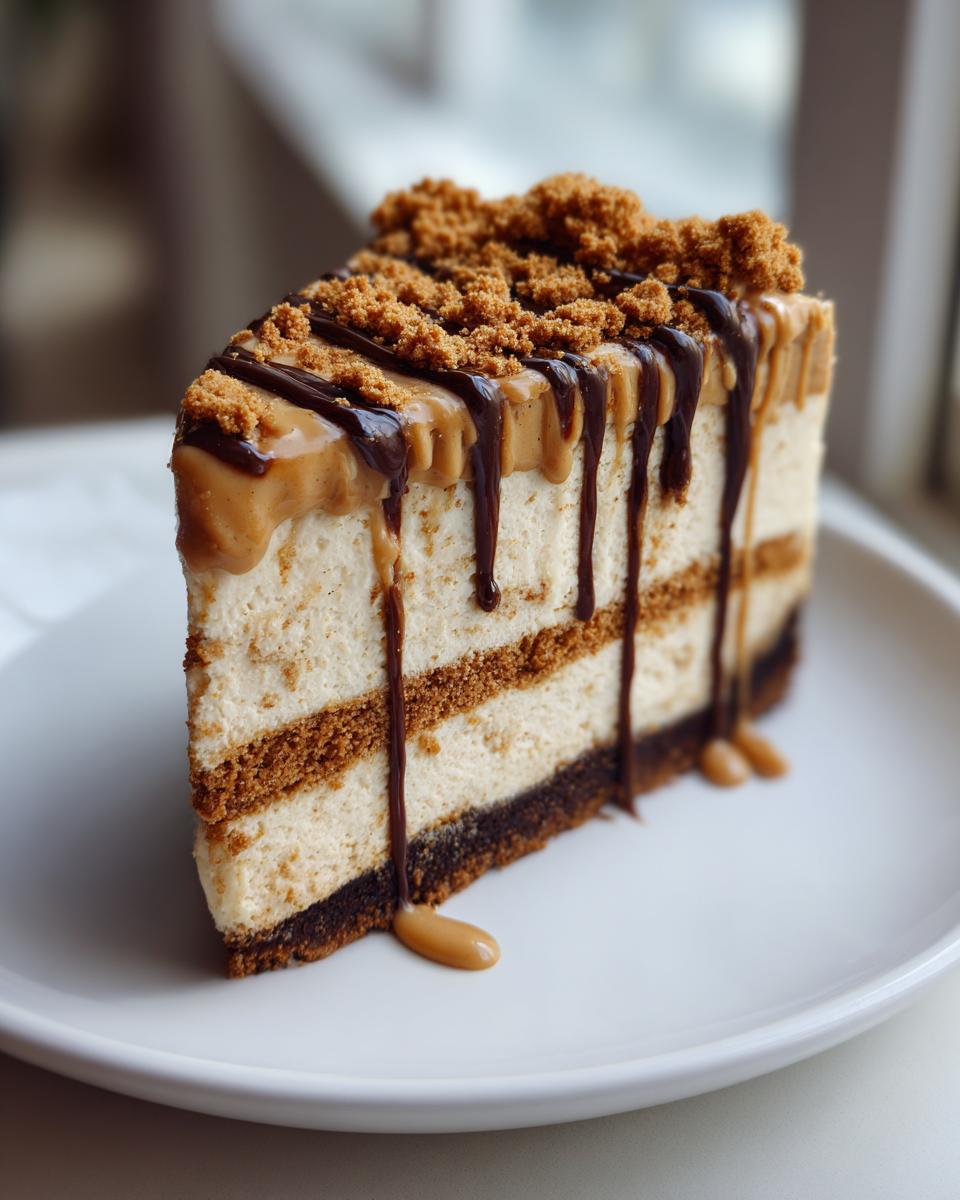
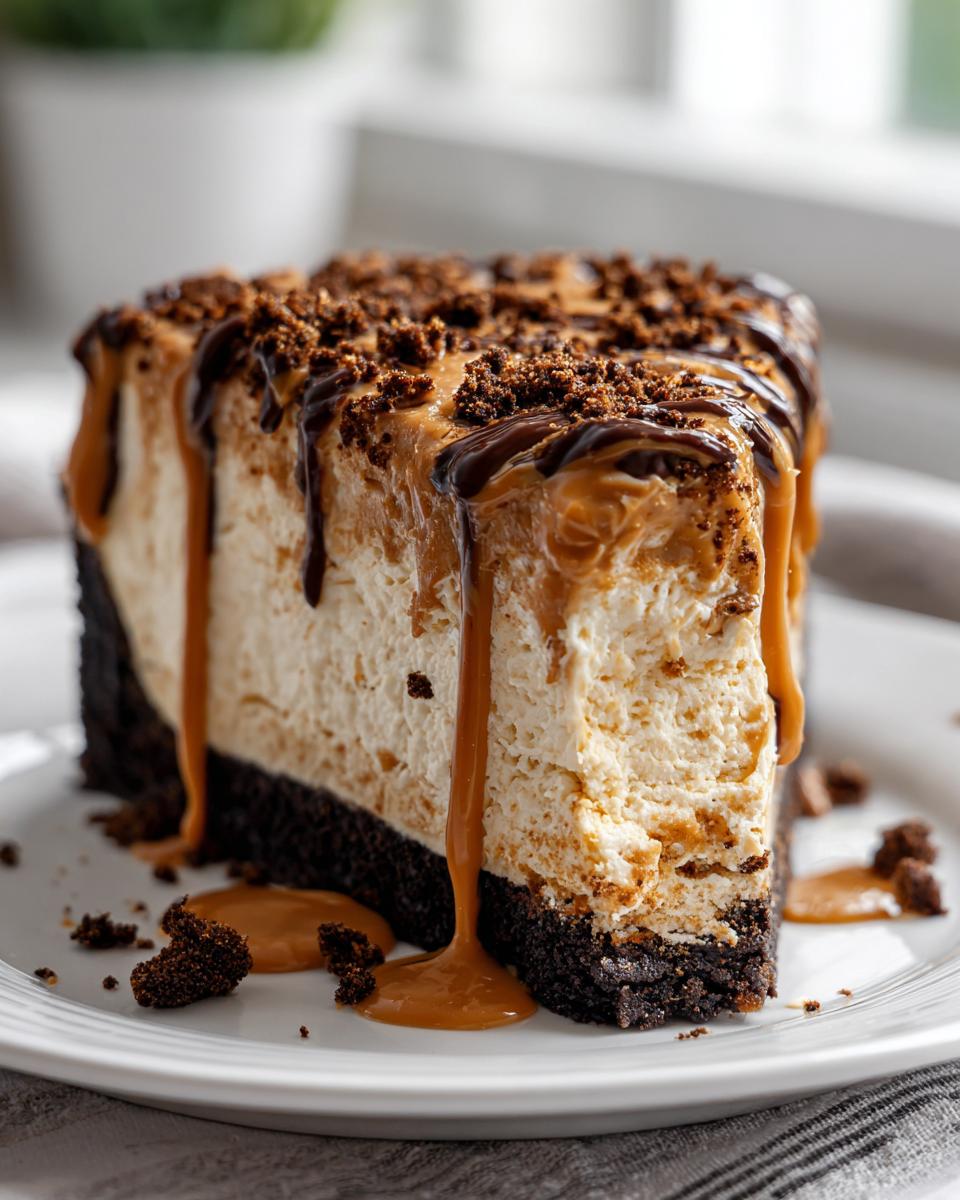
Once everything is folded together beautifully, pour that filling right over your chilled crust. Smooth the top nicely—it’s not going anywhere, but presentation matters! Now, this is the hardest part: put it in the fridge and walk away. You need a minimum of six hours, but honestly, pop it in overnight. This chilling time allows the fats to firm up perfectly, giving you that incredible slice. When it’s time to serve, gently warm the remaining quarter cup of Biscoff spread until it’s pourable. Drizzle that on top dramatically—don’t be shy! You can find great tips for similar crust preparations over at Recipe Tasty Bites if you need inspiration! Crushed cookies on top make it look extra special for any party setting.
Tips for a Perfect biscoff cheesecake Every Time
Even though this is a Simple Cheesecake Recipe, you know I believe small details make the biggest difference between great and legendary! Since we aren’t using an oven to set things up, we rely entirely on temperature and technique to get that smooth, perfect bite. Don’t let a little lumpiness ruin your moment of cookie butter glory!
Ingredient Temperature and Texture Control
Okay, I mentioned this before, but it bears repeating because it’s everything: your cream cheese needs to be fully softened—think squishy but not melted. If it’s cold, you’ll spend an eternity beating it only to have little chunks floating around. Conversely, for the filling’s airy lift, make sure that heavy whipping cream is straight from the coldest part of the fridge! Cold cream incorporates air faster and holds those stiff peaks much better than room temperature cream does. It’s all about balance here!
Achieving the Ideal Cheesecake Crust
When you’re pressing that crust into your springform pan, I seriously recommend taking five extra seconds to line the bottom with parchment paper. This is a total game-changer, especially when you’re ready to remove the finished biscoff cheesecake. Think about how gorgeous this thing looks; you do *not* want it sticking and breaking when you try to serve it! If you struggle with sticky bottoms on other recipes, you simply must try my method for the best bread dip recipe ever next time; that parchment lining secret works there too!
If you need a quick reference for keeping those spices perfectly balanced, check out the experts over at Teak and Thyme for more ideas.
Variations on the Classic biscoff cheesecake
So, you’ve mastered the original, but maybe you’re feeling a little bold? I love experimenting, especially when setting up an amazing spread of Party Desserts! This biscoff cheesecake is so versatile because the cookie butter flavor plays so nicely with other warm spices and rich sweets.
For starters, if you want to lean into that spiced cookie dessert vibe even more, try mixing just a teaspoon of ground cardamom or a tiny pinch of cloves right into the filling batter along with the vanilla. It adds such a lovely warmth!
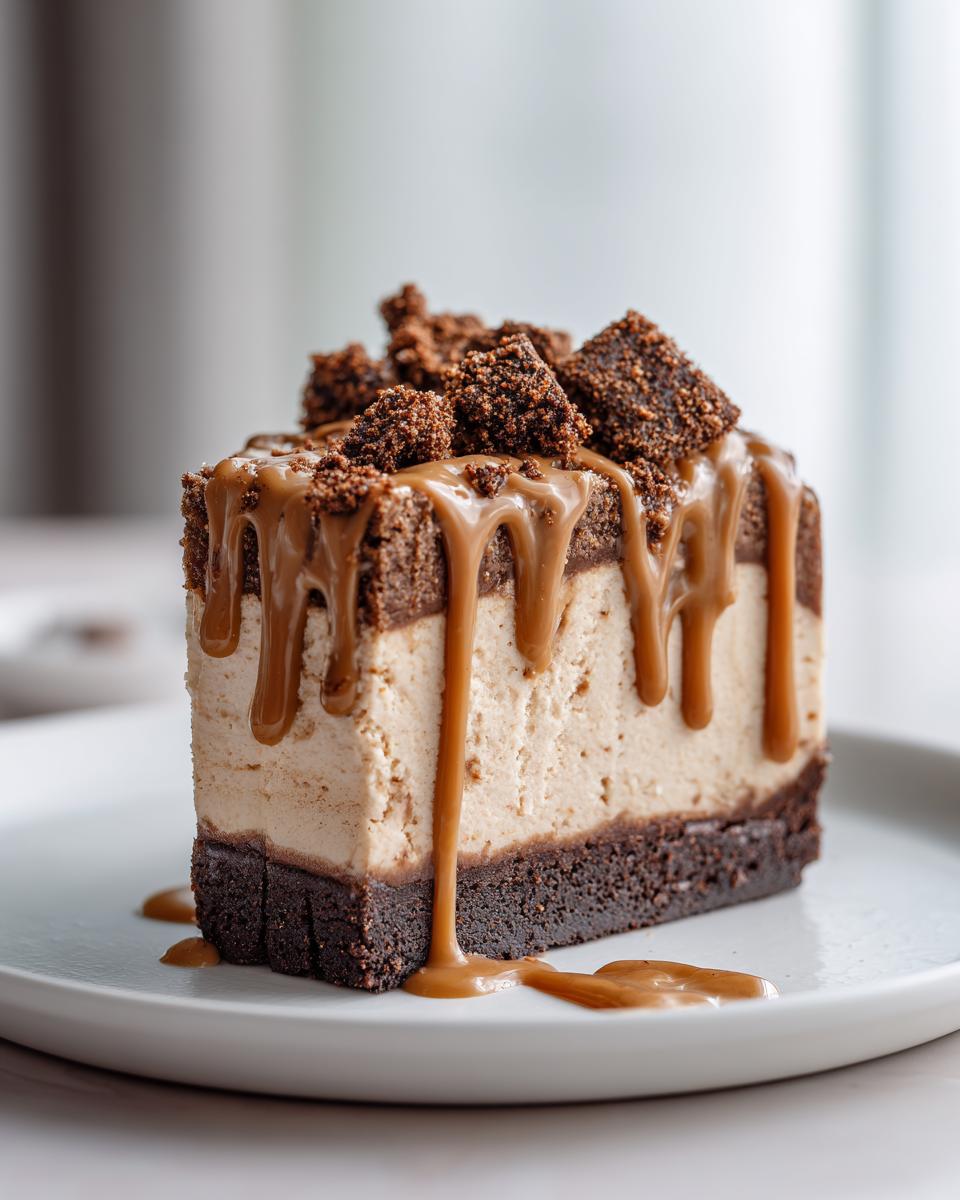
Here’s my favorite upgrade for a truly show-stopping centerpiece: salted caramel. Caramel and cookie butter are soulmates, honestly. Before drizzling the final layer of Biscoff spread, take about a quarter cup of store-bought salted caramel sauce and swirl it into the top layer of the filling before chilling. The salt just cuts through the sweetness perfectly. If you love cheesecake in smaller formats, you should absolutely look at how I adapt some of these ideas into cheesecake bars for easy sharing!
Serving Suggestions for Your Decadent Cheesecake
This biscoff cheesecake is definitely the star of the show, so make sure it gets the spotlight it deserves when you present it! Since it’s a no-bake recipe, serving it chilled is best—it keeps that incredibly creamy texture intact. I usually let it sit on the counter for about ten minutes just so it’s not fridge-cold, which lets the cookie butter flavor really shine through.
If this is part of a bigger spread, treat it like the magnificent centerpiece it is. A dusting of finely crushed Biscoff cookies around the base of the serving plate adds a beautiful contrast. It’s a stunning Dessert for Entertaining, much like my favorite cheese ball recipe is for appetizers. Honestly, a slice this rich needs nothing else!
Storing Your biscoff cheesecake Leftovers
This recipe is designed to be a brilliant Make Ahead Dessert, which means storage is super easy! Since there’s no baking involved, we want to keep it cold and protected. Cover your chilled biscoff cheesecake tightly with plastic wrap right in the springform pan—or transfer it gently to an airtight container if you’ve already sliced it. It keeps perfectly well in the fridge for up to four days. Seriously, the flavor deepens!
Now, if you have leftovers you just can’t get to right away, you can absolutely freeze it. Tightly wrap the whole thing (or individual slices) in plastic wrap and then foil. It freezes beautifully for about a month. When you’re ready to enjoy it again, let it thaw overnight in the fridge. It comes back to life just as creamy as when you made it! For more awesome batch recipes you can keep around, check out my guide to magic cookie bars.
Frequently Asked Questions About No Bake Treats
I totally get it; when you’re making something this decadent, you want to get it right the first time. Since this is one of those amazing no bake treats that relies on chilling instead of heat, people always have questions about texture and timing. Let’s walk through the common stuff so your biscoff cheesecake turns out perfect!
Can I use a different cookie for the biscoff cheesecake crust?
You totally *can*, but trust me, you’ll miss out! If you’re in a total pinch, you could use something like graham crackers or even vanilla wafers. However, Biscoff cookies are spiced—they have that beautiful hint of cinnamon and ginger baked right in. That’s what makes the crust harmonize with the Biscoff Cookie Butter in the filling. If you substitute, you’re changing the whole flavor profile of the dessert!
How do I know when my biscoff cheesecake is firm enough to slice?
This is the suspenseful part! The official technical time is six hours or preferably overnight. But you can test it! Gently tap the side of the springform pan—if the center still wobbles like Jell-O, it needs more time. If it looks mostly set and only gives a tiny, slight wiggle in the very center, it’s probably ready. Remember, you’re aiming for that glorious creamy cheesecake texture, so a little extra chill time never hurt anyone.
What is the best way to soften the Biscoff Cookie Butter for drizzling?
That thick, wonderful Biscoff Cookie Butter topping needs to be a drizzle, not a chunky dollop, right? Don’t put it in the microwave for too long or it will get super thin and runny. I just scoop out the amount I need—that last quarter cup—into a microwave-safe bowl and give it short bursts, maybe 10 seconds at a time, stirring well in between. You only want it warm enough to pour easily off a spoon. That way, when it hits the cold cheesecake, it firms up just a tiny bit, giving you that beautiful, glossy finish!
Understanding the Nutrition in This Cookie Butter Dessert
Now, I’m Ethan Carter, and I’m all about the joy of cooking, not counting every last macro! But since you’ve made this stunning Cookie Butter Dessert, perhaps you’re curious about what you’re diving into. Remember, these numbers are just estimates based on standard store ingredients, so they are a rough guideline for your perfect slice.
Here is what we are looking at per serving (one generous slice):
- Calories: 450
- Fat: 30g
- Carbohydrates: 40g
- Sugar: 35g
- Protein: 5g
It’s a treat, plain and simple, so enjoy it with zero guilt. You totally earned it by avoiding the oven today!
Share Your biscoff cheesecake Creation
I truly hope you loved making this biscoff cheesecake as much as I enjoyed perfecting it for this diary! My favorite part of running Little Kitchen Diary is seeing your successes. Please, come back and leave a star rating below—it helps me know what’s working!
And if you snapped a photo of your beautiful, no-bake slice, tag me! I love seeing your creations. If you have any questions or ideas, drop them in the comments or reach out anytime through my contact page. Happy eating!
PrintUltra-Creamy No-Bake Biscoff Cheesecake
Make this ultra-creamy, no-bake Biscoff cheesecake featuring a buttery cookie crust and a rich filling made with cookie butter. This simple cheesecake recipe requires no oven time and is perfect for making ahead.
- Prep Time: 20 min
- Cook Time: 0 min
- Total Time: 6 hr 20 min
- Yield: 10 servings 1x
- Category: Dessert
- Method: No-Bake
- Cuisine: American
- Diet: Vegetarian
Ingredients
- 2 cups Biscoff cookie crumbs
- 1/2 cup unsalted butter, melted
- 16 ounces cream cheese, softened
- 1 cup granulated sugar
- 1 teaspoon vanilla extract
- 1 cup heavy whipping cream, cold
- 1 cup Biscoff cookie butter (cookie spread), divided
- Optional: Extra crushed Biscoff cookies for topping
Instructions
- Prepare the crust: Combine the Biscoff cookie crumbs and melted butter in a bowl. Press the mixture firmly into the bottom of a 9-inch springform pan. Place the crust in the freezer while you prepare the filling.
- Beat the cream cheese: In a large bowl, use an electric mixer to beat the softened cream cheese until it is completely smooth. Scrape down the sides of the bowl.
- Add sugar and vanilla: Add the granulated sugar and vanilla extract to the cream cheese mixture. Beat until just combined and smooth.
- Incorporate cookie butter: Gently mix in 3/4 cup of the Biscoff cookie butter until it is fully incorporated into the cream cheese base.
- Whip the cream: In a separate, clean bowl, whip the cold heavy whipping cream until stiff peaks form.
- Fold together: Gently fold the whipped cream into the Biscoff cream cheese mixture until no streaks remain. Do not overmix.
- Assemble the cheesecake: Pour the creamy filling over the chilled crust in the springform pan. Smooth the top with a spatula.
- Chill: Cover the pan loosely with plastic wrap and refrigerate for at least 6 hours, or preferably overnight, until the cheesecake is firm.
- Prepare the topping: Warm the remaining 1/4 cup of Biscoff cookie butter slightly so it is pourable.
- Serve: Once set, carefully remove the cheesecake from the springform pan. Drizzle the melted Biscoff spread over the top. Sprinkle with crushed Biscoff cookies if desired. Slice and serve cold.
Notes
- For the easiest crust removal, line the bottom of the springform pan with parchment paper before adding the crumbs.
- Use room temperature cream cheese to prevent lumps in your filling.
- If you want a firmer topping drizzle, chill the melted Biscoff spread for 5 minutes before drizzling.
Nutrition
- Serving Size: 1 slice
- Calories: 450
- Sugar: 35
- Sodium: 300
- Fat: 30
- Saturated Fat: 18
- Unsaturated Fat: 12
- Trans Fat: 0
- Carbohydrates: 40
- Fiber: 1
- Protein: 5
- Cholesterol: 90