
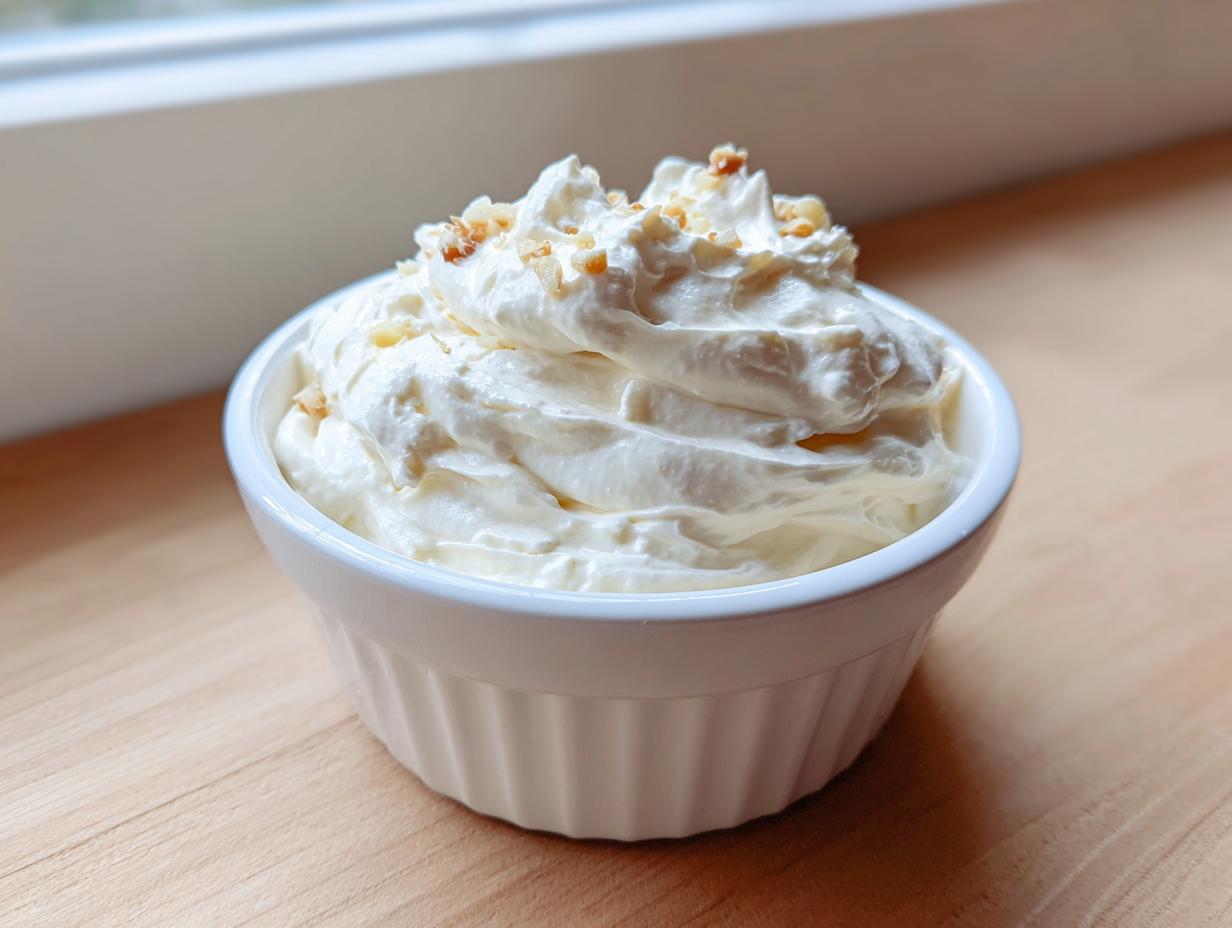
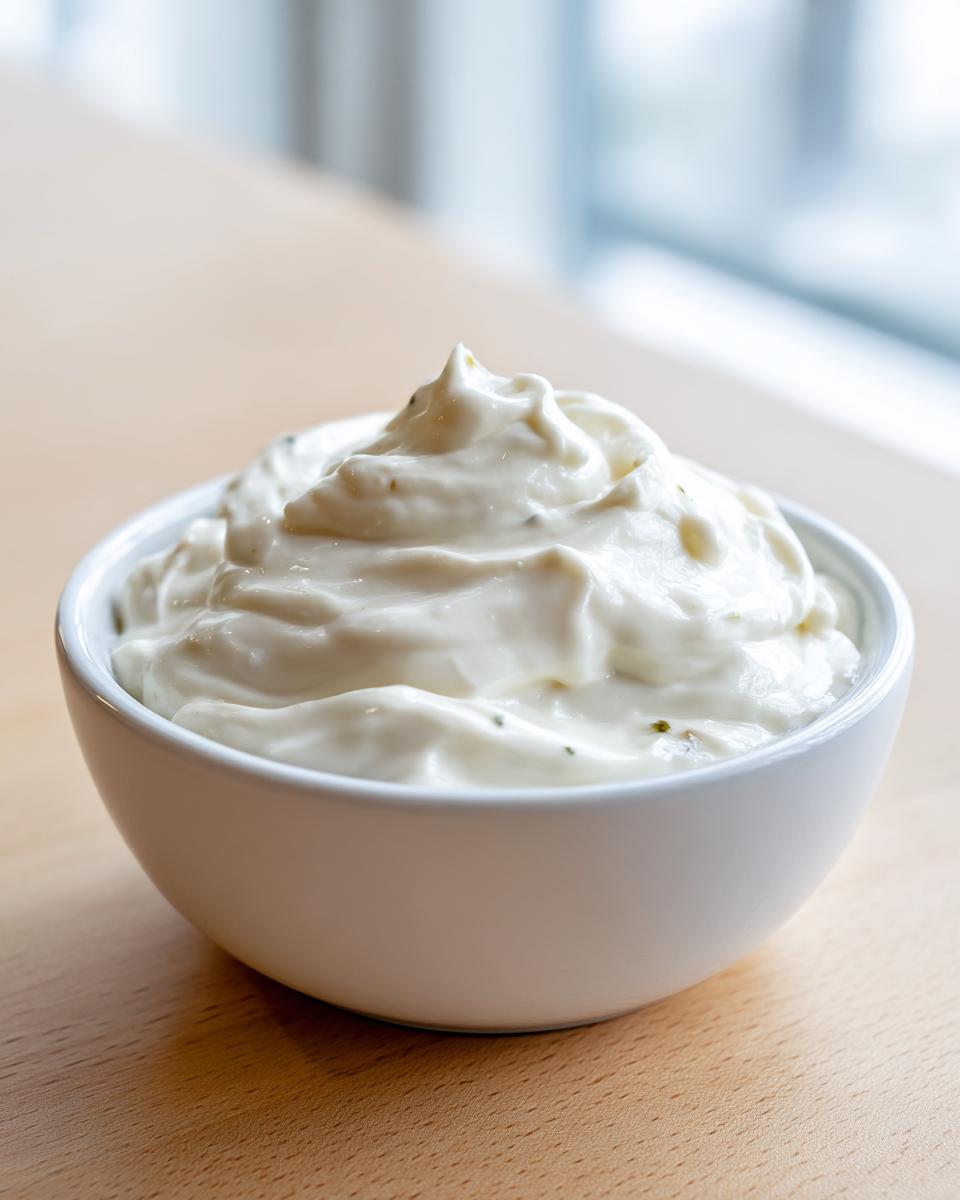
You know how it goes—life gets busy, and the joy of cooking gets pushed aside for quick fixes. That used to be me! I felt like I was missing that vibrant, home-cooked connection we all crave. But I refuse to settle for boring food just because I’m short on time. That’s why I’m so excited to share this absolute kitchen game-changer: our super easy, 5-Minute Creamy garlic aioli.
This isn’t some complicated, egg-yolk-emulsion headache from culinary school; this is real-life cooking that delivers that luxurious, restaurant-style flavor we all want. It’s proof that you can upgrade your fries, elevate your sandwiches, and add gourmet flair to any weeknight meal without spending hours over a stove. If you’re like me and need maximum flavor for minimum effort, this simple aioli is about to become your new favorite secret weapon. It goes perfectly alongside dipping bread in our cheesy garlic bread dip, too!
- Why This 5-Minute Creamy Garlic Aioli Recipe Works
- Ingredients for Your Simple Aioli Recipe
- How to Prepare Your Easy Aioli Sauce Recipe
- Tips for the Best Homemade Aioli Flavor
- How to Use Your Versatile Condiment Recipe
- Storage and Keeping Your Homemade Garlic Mayonnaise
- Frequently Asked Questions About Garlic Aioli
- Nutritional Estimates for Garlic Aioli
- Share Your Simple Aioli Recipe Experience
Why This 5-Minute Creamy Garlic Aioli Recipe Works
When I first started getting back into cooking, I tried making aioli the traditional way—whisking egg yolks forever. Yikes! It was messy and took way too long. This recipe is different because we are taking a wonderful shortcut that absolutely delivers on creaminess. It’s all about trusting simple, quality ingredients to do the heavy lifting for you.
- It’s unbelievably fast. Seriously, measure and whisk!
- The texture is silky smooth—no need to stress about splitting the emulsion.
- It tastes like that gourmet garlic aioli you always order at your favorite bistro.
Achieving Restaurant Style Aioli Texture
The texture is my favorite part! To get that gorgeous, silky mouthfeel, you have to go for full-fat mayonnaise. Don’t even think about low-fat versions for this! They just don’t emulsify the same way when we mix in that olive oil and lemon. Trust me, the richness of the full-fat variety is what makes this shortcut taste so incredible and prevent any grainy texture in your final aioli.
Quick Garlic Spread Ready in Minutes
This recipe is my secret weapon for those nights when I need something amazing ASAP. From garlic prep to finished sauce, we are timing this out to be ready in five minutes or less. That means you have a gourmet dipping sauce ready before the fries even cool down! It’s truly the definition of a quick garlic spread that feels gourmet.
Ingredients for Your Simple Aioli Recipe
Okay, let’s talk about what you need. The beauty of this garlic aioli is that it uses pantry staples that you probably already have on hand, which keeps our promise of simplicity intact. I listed everything out below—make sure you have these ready before you start the clock!
- One full cup of good quality mayonnaise. I really stress full-fat here; that’s where the body of the sauce comes from!
- Two large cloves of fresh garlic. We want this potent.
- One tablespoon of fresh lemon juice. Don’t reach for that thin bottle of juice, please!
- A tablespoon of olive oil—this is optional, but I find it adds a lovely roundness to the flavor.
- A quarter teaspoon of salt, plus whatever pepper you need to taste.
Ingredient Specifics and Quality Notes
Since this recipe is so short, the quality of your ingredients really shines through. You absolutely must use fresh garlic. Jarred minced garlic just doesn’t have the sharp, bright punch we need to cut through the richness of the mayo. Don’t even bother if it’s dusty!
Now, here is a little trick I picked up for getting the absolute maximum garlic flavor out of those cloves. Before you mix anything else in, take your finely minced or pressed garlic and stir it right into that tablespoon of fresh lemon juice. Let it sit there for about five minutes. The acid in the lemon actually helps mellow the raw edge off the garlic slightly while pulling out all that wonderful aromatic flavor we want in our final garlic aioli.
Also, don’t skimp on the mayo. This is the base of our creamy garlic dip, so using the good stuff makes all the difference in achieving that silky finish we are aiming for!
How to Prepare Your Easy Aioli Sauce Recipe
This is where the magic happens, and honestly, it’s so fast you’ll be shocked. Since we are skipping the traditional slow emulsion for this easy aioli sauce recipe, the mixing process is straightforward, but you do need to pay attention to a couple of little steps to make sure it comes out perfectly smooth and ready to use.
Remember how we let that minced garlic hang out with the lemon juice for about five minutes? That’s Step Zero! Now, grab your small bowl—no need to drag out the big stand mixer for this—and let’s get whisking. If you want to check out my guide for fluffy frosting later, I talk about whisking aeration there, but for this, we’re going for pure, smooth incorporation.
Mixing the Creamy Garlic Dip Base
First, dump that garlicky lemon juice mixture right into the bowl with your cup of mayonnaise. Toss in your pre-measured salt and pepper, and if you decided to use it, the optional touch of olive oil goes in now. Now, grab a regular old whisk and just go to town! You need to whisk everything together until you hit that perfect consistency. I look for it to be completely uniform—no streaks of oil, no little clumps of garlic floating around. We are looking for a beautiful, unified creamy garlic dip here. Because we used full-fat mayo, this should come together really quickly into that restaurant-style sauce we want!
Give it a quick taste test right here before chilling. Does it need more salt? A tiny squeeze more lemon for brightness? Adjust it now, because once it chills, those flavors really settle in. If you are a mustard fan, this is also where you’d stir in that Dijon if you wanted that zesty kick.
The Essential Chill Time for Perfect Garlic Aioli
Now, here’s the part where people rush, and that’s where they lose the battle for the *best* flavor. You absolutely must cover that bowl and put this garlic aioli in the fridge for at least 15 minutes. Seriously, don’t eat it straight away!
Why? Because raw garlic is potent, right? That chilling time is non-negotiable because it lets the powerful, sharp garlic notes actually weave themselves into the creamy mayo base. It mellows out just enough so you get that unmistakable, deep garlic flavor instead of just, well, raw garlic flavor. It turns it from just ‘mayo with garlic’ into a truly integrated sauce. For a bonus tip on handling those vanilla flavors that need time to bloom, check out my thoughts on whipping buttercream; the principle of letting flavors meld is the same!
Tips for the Best Homemade Aioli Flavor
Once you’ve got your basic creamy, garlicky base mixed up, it’s time to tweak it so it’s perfectly *yours*. This is where you stop just following a recipe and start cooking! We want that rich, savory flavor balanced with just the right amount of brightness. I’ve tested this sauce with every side dish under the sun, and I’ve found a couple of small adjustments that really take it over the top and help you achieve what I truly consider the best homemade aioli.
If you’re looking for inspiration on maximizing flavor in general, my friend over at Recipes Worth Repeating has some great tips for making the best garlic aioli, too. But here are the tweaks I love to make right in my own kitchen.
Customizing Your Zesty Garlic Aioli
The base recipe gives you a fantastic, clean flavor, but sometimes you want a little more kick, right? That’s where we turn this into a zesty garlic aioli instantly. Remember how I mentioned Dijon mustard? That’s your golden ticket!
If you want that extra little tang—that sharp, slightly pungent zing that cuts through rich foods—whisk in about half a teaspoon of quality Dijon mustard along with your salt and pepper during the main mixing stage. It won’t change the texture much, but it adds a wonderful layer of complexity. It’s my suggestion for when you’re serving this with grilled chicken or something rich like steak.
If you find your finished sauce is tasting a little heavy after chilling, don’t worry about adding more salt or garlic; add a tiny splash more lemon juice, or even just a drop of white wine vinegar. That extra pop of acidity brightens everything up without making your garlic aioli taste sour. Trust me, tasting and adjusting is the secret to gourmet flavor at home!
How to Use Your Versatile Condiment Recipe
Here’s the best part about whipping up a batch of this incredible garlic aioli—it goes on absolutely everything! If you’re always searching for that one sauce that takes basic food and makes it taste like you ordered it professionally, this is it. Keep it on hand because this recipe is seriously a versatile condiment recipe that I use weekly for everything from weeknight lunches to party snacks. My kids are always asking me to whip up a batch of tater tot nachos just so they can drench them in this sauce! People always ask me if I bought it premade, and I just laugh. For more inspiration on making great sauces, check out what my friends are doing over at The Food Charlatan for their take on aioli!
The Best Dipping Sauce for Fries
Let’s start with the classic reason everyone needs this sauce in their life: French fries! Forget those sad, watery ketchup cups. The richly creamy texture of this homemade garlic aioli clings perfectly to hot, crispy fries. It’s so much better than anything you’ll get at a fast-food place. Truly, once you taste this, you won’t go back to the competition. It’s seriously the best dipping sauce for fries if you ask me.
Elevating Sandwiches with This Quick Garlic Spread
This sauce is also amazing as a sandwich spread sauce. Skip plain mayo when you make your next burger or chicken cutlet sandwich. When I’m making buffalo chicken sliders, I take a little bit of this aioli and brush it directly onto the inside of the bun before toasting it lightly on the skillet. That subtle garlic and lemon flavor toasts right into the bread, giving the whole sandwich an instant gourmet lift. It’s such an easy step that makes a huge difference, and remember, it only took you five minutes!
Storage and Keeping Your Homemade Garlic Mayonnaise
Okay, so you made this amazing, creamy garlic aioli, and now what? You are not going to want to eat it all in one sitting—even though I’ve definitely tried! Since we used fresh ingredients, we need to treat this sauce right so it stays fresh and safe for dipping all week long.
The key here is refrigeration. Just like any good homemade condiment, you need to keep this sauce chilled. I always transfer whatever is left over into a clean, airtight container. I usually grab one of those little glass storage jars because they seal up so nicely, but any tight container works fine. We want to protect that beautiful garlic aroma!
If you treat your homemade garlic mayonnaise right—meaning, keep the lid tight and keep it cold—it will keep beautifully for up to one full week in the refrigerator. Seriously, a whole week of gourmet dipping sauce available whenever you need it! That’s pretty hard to beat when you consider how fast we made it. It’s so handy to just grab it straight from the fridge when I’m pulling out burgers or veggies for a quick side dish.
Frequently Asked Questions About Garlic Aioli
I know when you start looking for a new sauce recipe, you always end up with a bunch of little questions buzzing around in your head. That’s totally normal! When I was figuring out the best way to write down my shortcut version, I had tons of questions too. Here are a few things I hear often about making this wonderful garlic aioli at home. If you want to see how this compares to other creamy sauces, I talk a little about an emulsion classic, Caesar dressing, over here.
Is this garlic aioli recipe truly from scratch?
That’s a great question! In the strictest, historical sense, a traditional aioli is an emulsion made only from garlic, olive oil, and salt—basically homemade garlic mayonnaise created by slow crushing. *That* takes serious patience! My recipe is what most modern chefs mean when they say ‘aioli’—it’s a shortcut based on high-quality mayonnaise. It’s miles better than anything premade in a jar because you control the amount of fresh garlic and the brightness of the lemon. So, I call it ‘from scratch’ because *you* are making it with whole ingredients right now, even if we skip the hour of whisking eggs!
Can I make a roasted garlic aioli version?
Oh, yes! If you have an extra 40 minutes to roast a head of garlic (which is totally worth it sometimes!), you can create the most amazing roasted garlic aioli. The substitution is super easy. Skip using the raw, minced garlic altogether. Instead, once your garlic is roasted and cooled enough to handle, gently squeeze out 1 or 2 of those sweet, jammy cloves. Mash them gently with the back of a fork and whisk that paste right into your mayonnaise along with everything else. Roasted garlic is much mellower, so it gives you a deep, smoky flavor instead of that sharp bite.
What if I want a lemon garlic aioli tutorial?
You’re already halfway there! Our base recipe already includes that tablespoon of fresh lemon juice, which gives it a nice, bright base for a lemon garlic aioli. If you truly want it brighter and zippier, I suggest adding the zest of half a lemon—make sure you only get the yellow part, not the bitter white pith underneath! That zest is pure lemon oil and adds such an intense, fresh flavor. Honestly, sometimes if the sauce tastes a little flat after chilling, just adding a teaspoon more of fresh lemon juice or even a splash of apple cider vinegar perks it right up!
Nutritional Estimates for Garlic Aioli
I always get asked about the nutrition when I share this garlic aioli recipe, and I totally get it! We want deliciousness, but it’s good to know what we’re working with. I’ve pulled the estimates from the recipe information for you below. Remember, this is for a standard serving size, and since we are using mayonnaise and olive oil, it is technically a richer sauce, but oh my goodness, it’s worth it for how fast it comes together!
- Serving Size: 2 tablespoons
- Calories: 190
- Fat: 20g
- Saturated Fat: 3.5g
- Carbohydrates: 0.2g
- Protein: 0.3g
- Sodium: 180mg
Now, I have to give you my usual little dose of realism here, okay? These numbers are just estimates, and they can wildly change depending on the exact mayonnaise brand you use for your simple aioli recipe—full-fat versus a lighter brand, for example. Using a different quality olive oil or adding optional ingredients like Dijon mustard will also shift things around. But generally speaking, this is a high-flavor, low-carb sauce, which I love! Just think of it as a wonderful way to bring gourmet flavor to humble foods like fries and veggies.
Share Your Simple Aioli Recipe Experience
And that’s it! Seriously, that is the entire journey to making the best homemade aioli that tastes like you spent way more time on it than you actually did. I absolutely love hearing from you all when you try one of these quick fixes in your busy kitchens!
So, don’t be shy! Come back here and let me know what you thought. I always want to see how you used it. Did you drizzle it over perfectly cooked seafood pasta? Did you slather it generously on your burger? Or did you, like me, just eat half the batch with a spoon while waiting for the fries to finish heating up? Let me know your rating below, and share your experience with this incredibly fast garlic aioli!
Print5-Minute Creamy Garlic Aioli: Restaurant Style Sauce

You can make this creamy, restaurant-style garlic aioli in just five minutes using simple ingredients. It is a versatile condiment perfect for dipping fries or spreading on sandwiches.
- Prep Time: 5 min
- Cook Time: 0 min
- Total Time: 5 min
- Yield: About 1 cup 1x
- Category: Condiment
- Method: No Cook
- Cuisine: General
- Diet: Vegetarian
Ingredients
- 1 cup mayonnaise (full fat recommended for best texture)
- 2 large cloves garlic, minced very finely or pressed
- 1 tablespoon fresh lemon juice
- 1 tablespoon olive oil (optional, for richness)
- 1/4 teaspoon salt
- Freshly ground black pepper to taste
Instructions
- Place the minced or pressed garlic into a small bowl.
- Add the mayonnaise, fresh lemon juice, salt, and pepper to the bowl.
- If using, add the olive oil.
- Whisk all ingredients together until the mixture is completely smooth and uniform. This creates your easy aioli sauce.
- Taste the aioli and adjust salt or lemon juice if needed.
- Cover the bowl and chill the garlic aioli in the refrigerator for at least 15 minutes before serving. This allows the garlic flavor to fully integrate into the mayonnaise base.
Notes
- For a stronger garlic flavor, let the minced garlic sit in the lemon juice for 5 minutes before mixing with the mayonnaise.
- If you prefer a zesty garlic aioli, add 1/2 teaspoon of Dijon mustard.
- This homemade garlic mayonnaise keeps well in an airtight container in the refrigerator for up to one week.
Nutrition
- Serving Size: 2 tablespoons
- Calories: 190
- Sugar: 0.1
- Sodium: 180
- Fat: 20
- Saturated Fat: 3.5
- Unsaturated Fat: 16.5
- Trans Fat: 0
- Carbohydrates: 0.2
- Fiber: 0
- Protein: 0.3
- Cholesterol: 15