
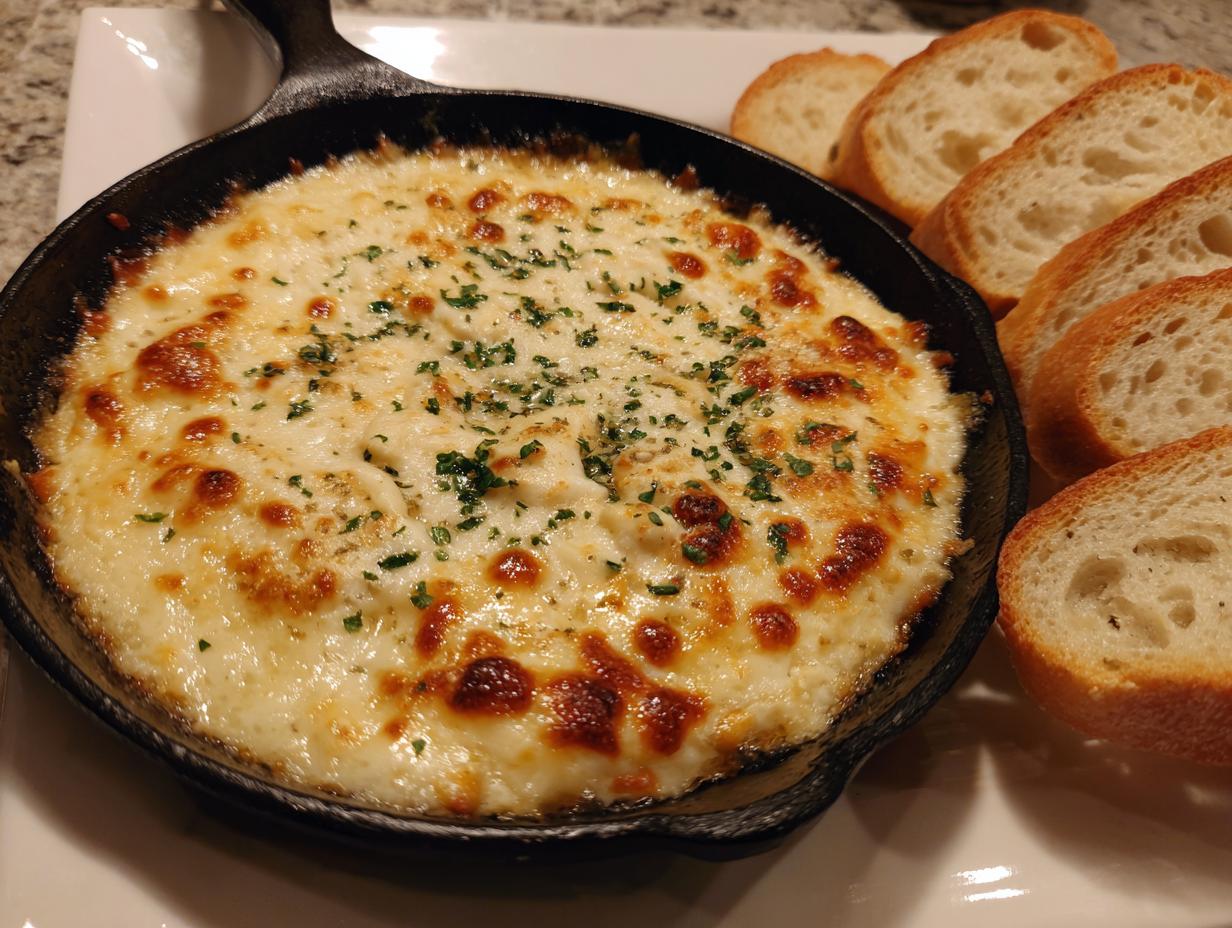
If you’re hosting, you know the real star of the show isn’t the main course—it’s the appetizer that disappears before the guests even sit down! For me, reclaiming my kitchen meant finding those recipes that deliver massive flavor without demanding hours of my busy schedule. And folks, this Cheesy Baked Garlic bread dip? This is the champion of that mission. It’s ridiculously creamy, packed with roasted garlic goodness, and it’s what I whip up every time I need an ultimate crowd-pleaser. Honestly, the smell alone will stop people in their tracks. It makes the simple act of tearing off a piece of crusty bread feel like a five-star event. It’s pure comfort food, and in the Little Kitchen Diary, we celebrate making the simple things magnificent, like this dip I just know you’ll love: easy baked street corn dip is also a winner if you want something different!
- Why This Cheesy Baked Garlic Bread Dip is the Ultimate Party Snack
- Ingredients Needed for the Best Cheesy Bread Dip
- How to Make This Savory Bread Dip: Step-by-Step Instructions
- Tips for Success When Preparing Your Bread Dip
- Serving Suggestions for This Ultimate Party Snack Bread Dip
- Storage and Reheating Instructions for Leftover Bread Dip
- Frequently Asked Questions About Making a Great Bread Dip
- Estimated Nutritional Breakdown for This Comfort Food Appetizer
- Share Your Favorite Bread Dip Creations
Why This Cheesy Baked Garlic Bread Dip is the Ultimate Party Snack
When I’m planning a get-together, I need snacks that work hard, and this dip absolutely delivers. It hits every mark for what makes great easy party dips: it’s warm, it’s cheesy, and it’s pure, unadulterated comfort food appetizers material. It’s the recipe that always gets rave reviews.
Quick Prep Time for a Flavorful Bread Dip
Listen, we don’t have hours to fuss, right? That’s why I love this so much! You only need about 10 minutes of hands-on time, and the whole thing is ready in under 35 minutes total. It really is one of the best quick bread dips out there. Seriously, you can turn this around faster than you can decide on a movie!
Incredibly Creamy Bread Dip Texture
Forget those dry, chalky dips that break your crusty bread! Thanks to the combination of softened cream cheese and a dollop of sour cream, this achieves the most luxurious, velvety, creamy bread dip texture once it comes out of the oven. It’s smooth enough to coat the bread perfectly every single time.
Ingredients Needed for the Best Cheesy Bread Dip
Getting the base right is half the battle when making any good bread dip. Make sure you have everything ready to go so mix time is painless! We need that rich cream cheese, the mozzarella, the Parmesan—we’re going hearty here. And please, please don’t skimp on the roasted garlic clove count; that’s where all that deep, savory flavor comes from!
Ingredient Notes and Substitutions for Your Bread Dip
Okay, about that garlic: if you haven’t roasted any ahead, don’t panic. You can roast a couple of heads wrapped in foil with a drizzle of olive oil at 400 degrees F for about 30 to 40 minutes until they are super soft. Mash it up smooth. Also, when it comes to the Parmesan, use the real stuff, grated fresh if you can manage it. That higher-quality Parmesan really makes a difference in a cheesy bread dip because it melts and incorporates better than the pre-grated tubs.
How to Make This Savory Bread Dip: Step-by-Step Instructions
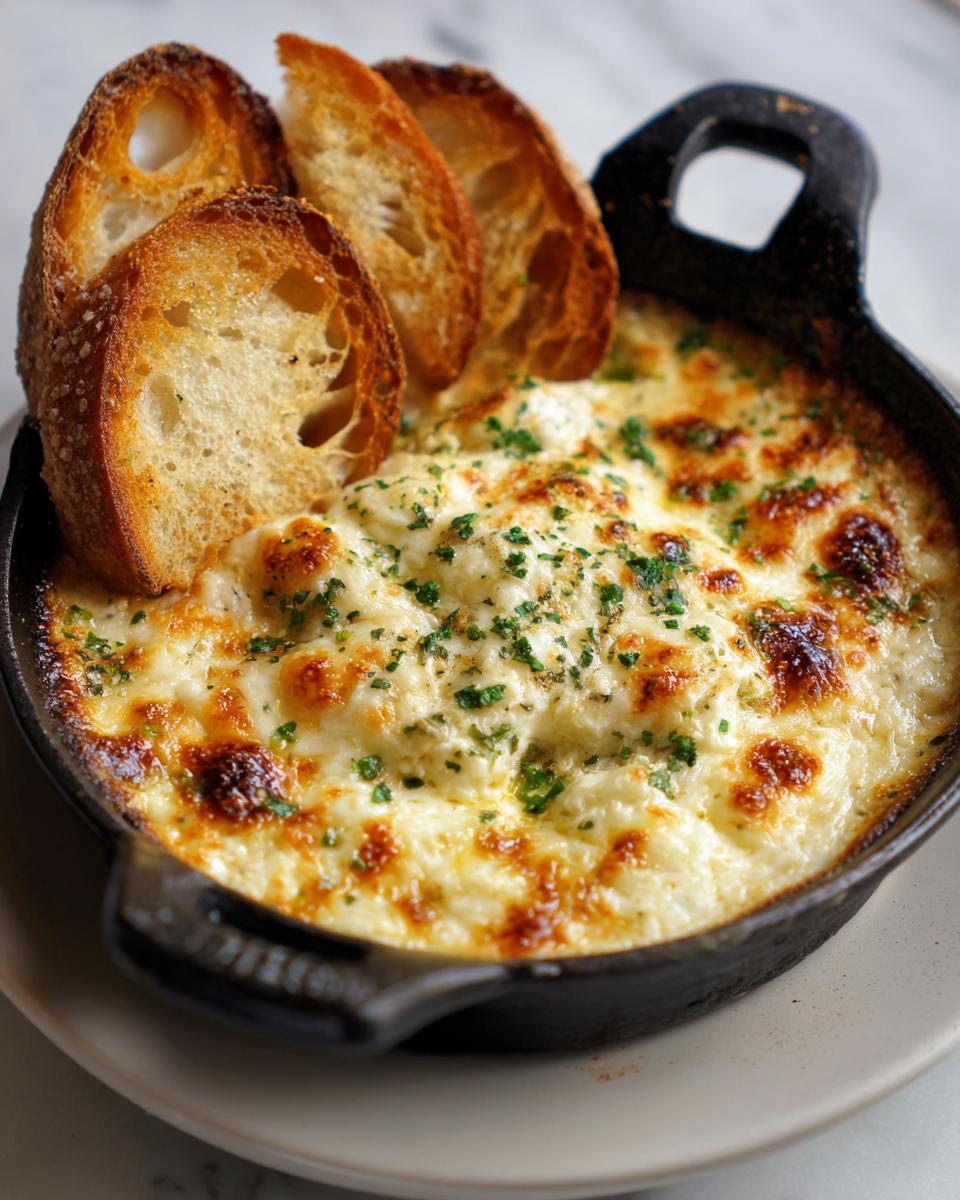
Don’t let those instructions intimidate you—this is truly one of the simplest baked appetizer recipes you’ll ever tackle. Before anything else, get your oven preheated to 375 degrees F. Then, make sure you’ve got an 8-inch skillet or a small baking dish ready to go; give it a quick light grease so nothing sticks.
Mixing the Creamy Bread Dip Base
Now for the real magic: the mix! Take your softened cream cheese, that cup of mozzarella, the Parmesan, the sour cream, and all your seasonings—including the mashed roasted garlic—and toss them into a medium bowl. Use a sturdy spoon or spatula and just work it until everything comes together. Trust me, you want to keep mixing until that whole base is completely smooth. We are aiming for lump-free perfection here, folks. That’s the secret to an amazing bread dip.
Baking Instructions for the Perfect Hot Dips for Gatherings
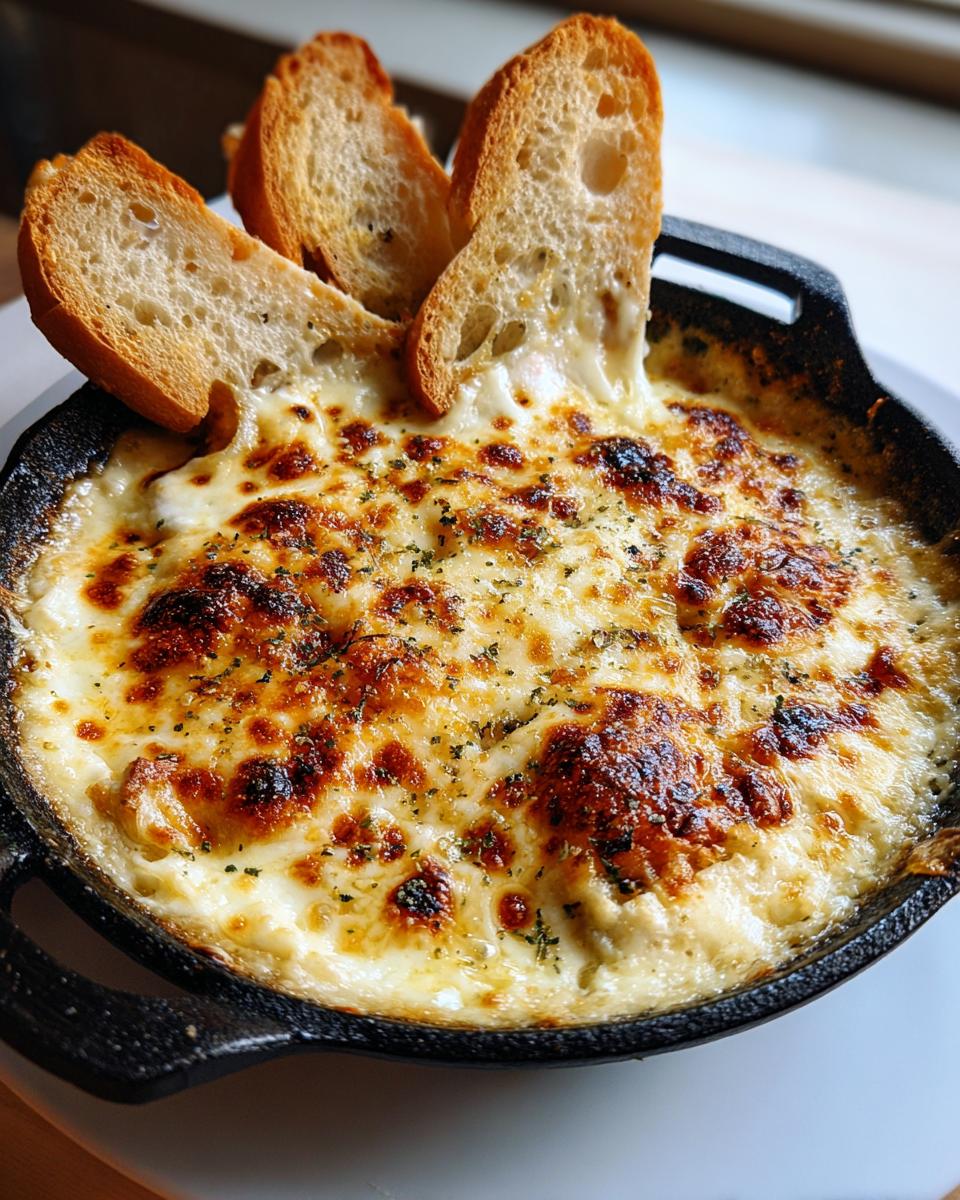
Once it’s smooth, spread that gorgeous mixture evenly into your prepared dish. Now, sprinkle that last bit of mozzarella right on top. Pop it into the hot oven for about 20 to 25 minutes. You’re looking for two things: the dip has to be piping hot all the way through, and that top layer of cheese should be wonderfully melted and just starting to turn golden brown around the edges. Check out this great example, too: Garlic Bread Dip.
When those 20 minutes are up, take it out and let it sit for about five minutes. It’ll be molten lava hot! Then just grab your bread and enjoy these hot dips for gatherings!
Tips for Success When Preparing Your Bread Dip
I’ve made this cheesy garlic bread dip so many times it’s practically automatic, but there are a couple of tricks that ensure it’s absolutely perfect every time you serve it. First, if you’re planning ahead—and you absolutely should for big parties—you can mix that whole creamy base up 24 hours in advance! Just cover it and tuck it into the fridge. Remember to add that final sprinkle of mozzarella right before it goes into the oven though, you don’t want that already melting!
Also, and this is important for a great bread dip experience, let it rest for just five minutes once it comes out. It’s still piping hot, but this little break keeps anyone from burning their mouths on molten cheese. Seriously, resist the urge to dive in immediately!
Serving Suggestions for This Ultimate Party Snack Bread Dip
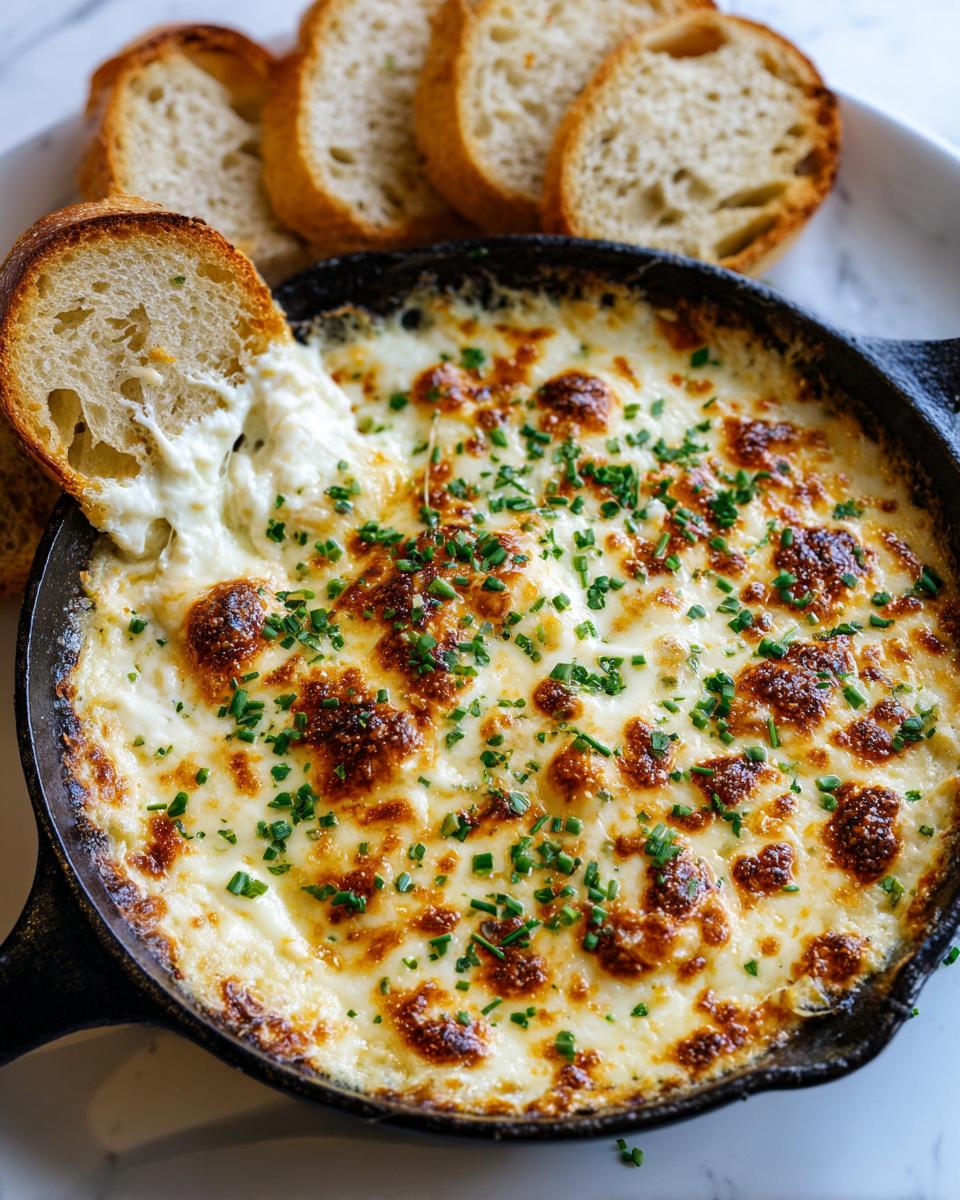
Okay, you’ve made the most incredible cheesy bread dip—it’s bubbling beautifully and smelling like every Italian bakery rolled into one. But what do you use to scoop up that cheesy goodness? This is where we focus on the best bread accompaniments to really make this a star among your shareable dip recipes.
The number one choice, hands down, has to be thick slices of crusty sourdough or a rustic Italian loaf. You want something sturdy that won’t break apart under the weight of all this glorious, hot cheese. Toasting these slices lightly—making crostini—adds a fantastic textural contract. That warm, soft dip against the crunchy bread? Perfection!
If you want to mix things up, I’ve had great success serving this alongside my homemade easy homemade breadsticks recipe. They bake up light and fluffy, perfect for tearing and dipping. Honestly, anything firm works well. Think sturdy crackers, pita chips, or even some crisp bell pepper strips if you want a low-carb option, but really, bread is the name of the game here!
Storage and Reheating Instructions for Leftover Bread Dip
First off, if you somehow manage to have leftovers of this glorious cheesy garlic bread dip, congratulations! You planned well for tomorrow’s lunch, because this stuff is almost as good the next day. The key to keeping the quality high for your leftover bread dip is how you store it. If you have any remnants in that baking dish, just cover it up tightly with plastic wrap or foil right away.
You can keep this dip refrigerated happily for about three to four days. Because it’s so heavily based on cream cheese and baked mozzarella, it holds up really well. Don’t try to freeze it, though; when you thaw cheesy dips like this out, the texture tends to get grainy and separate, and nobody wants that sad, greasy layer floating on top.
When you’re ready to bring it back to life, I strongly suggest reheating it in the oven. Skip the microwave if you can! Microwave heat melts the cheese unevenly and can make the texture rubbery really fast. Pop the dish back into a 350-degree oven for about 10 to 15 minutes. You want it bubbling gently and steaming hot all the way through. If it looks a little dry when you pull it out, just sprinkle a tiny splash of milk or a pat of butter right in the center before putting it back in for a couple of minutes. That little trick brings back just enough moisture to make it taste fresh-baked again!
Frequently Asked Questions About Making a Great Bread Dip
I get a ton of emails about this cheesy dip, and honestly, that’s the best part of running this diary—hearing what you all are making and what questions pop up! Dealing with party food can sometimes feel stressful, but this recipe is meant to simplify things. Here are a few things I hear most often when people are cooking up this ultimate party snack.
Can I turn this into a spinach artichoke dip bread bowl variation?
That’s a fantastic idea for a showstopper appetizer! You absolutely can take this base and run with it to create something similar to a spinach artichoke dip bread bowl. If you want to go that route, you’ll need to fold in about a cup of thawed, well-drained, chopped spinach and some canned artichoke hearts (chopped finely, of course). You might need an extra tablespoon or two of sour cream to keep the texture just right since the spinach adds density. While this recipe isn’t designed to bake *inside* a bread bowl—it bakes like a casserole—you can definitely bake it in a dish and serve it alongside a hollowed-out loaf for that rustic look!
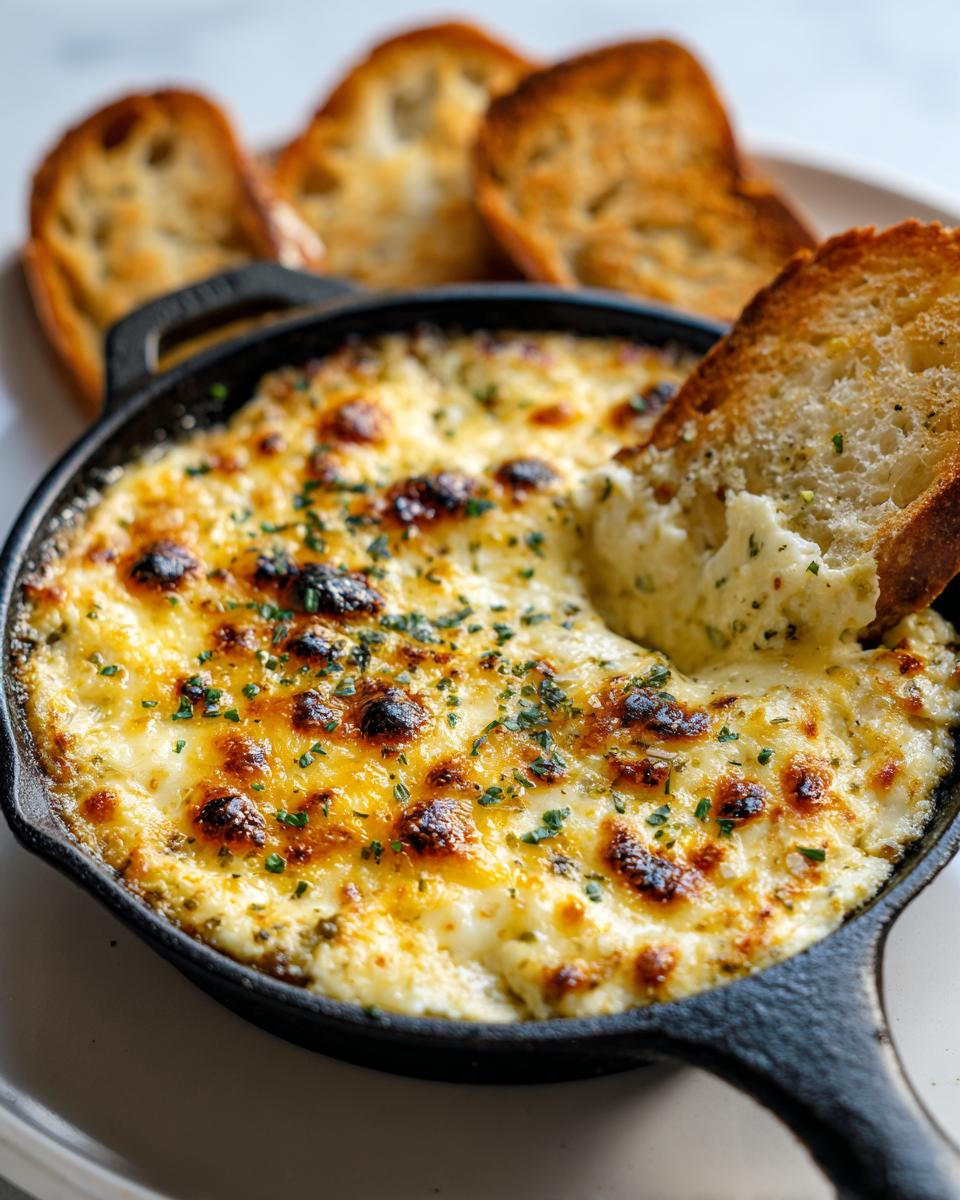
What is the best bread to use for this cheesy bread dip?
When you have a rich, cheesy bread dip this decadent, you need a dipping vehicle that won’t crumble under pressure. We don’t want sad little pieces of soft white bread turning into mush halfway to your mouth! I swear by sturdier breads. Think thick slices of baguette—toasted until they are crisp on the outside, or maybe a small loaf of sourdough. If you slice it thinly and toast it up, you get a perfect crostini that can handle every scoop. If you want something quicker, sturdy tortilla chips or pita chips work surprisingly well too!
Why is my baked bread dip a little oily on top after baking?
Oh, the dreaded oil slick! That usually happens because of the cheese, especially the mozzarella. Mozzarella is known to “weep” oil when it melts, which is just the fat separating a bit. Don’t worry, it’s totally safe to eat! If you want to minimize this next time, try grating your own low-moisture mozzarella or using one with a slightly lower fat content. Another trick that helps with this specific bread dip is making sure the cream cheese is fully incorporated and not too cold when you mix it; a smoother base mixes the fats better.
Can I make this dip ahead of time for a party?
Yes, this is one of the best things about this recipe for busy hosts! I mentioned this in the tips section, but it bears repeating: you can mix the entire base—everything except that final topping of mozzarella—up to 24 hours early. Cover it tightly and keep it chilled. When your guests arrive, just sprinkle the final cheese layer on top and pop it right into the oven. It cuts your final cooking time stress right down!
Estimated Nutritional Breakdown for This Comfort Food Appetizer
Look, I’m not a nutritionist calling in for a consultation, but I believe in being upfront about what we’re eating, especially when we’re getting into the good stuff like this gooey, cheesy comfort food appetizer. Since this is such a rich snack, the numbers tend to lean toward the decadent side, which is fine because we only make this for special game days or parties!
Here’s a general idea of what you’re looking at per serving (remember, this is based on the recipe yielding 6 servings, so portion control is your friend!). Keep in mind that every brand of cheese or sour cream will shift these totals a little bit, so think of this as your guide, not gospel truth for your specific bread dip batch.
- Calories: Approximately 245 per serving
- Total Fat: Around 20g (Wow, that’s the creamy goodness speaking!)
- Saturated Fat: About 12g
- Protein: A strong 14g—protein powers up the party!
- Carbohydrates: Just about 3g
- Sugar: Very low, only 1g, so the sweetness is mostly savory!
- Sodium: Around 450mg
It’s important to remember this is a rich, indulgent savory appetizer idea, not a daily salad. If you divide this recipe differently, the numbers change completely. If you serve it with light crackers instead of thick bread, your carb count will go up, but the satisfaction level stays maxed out!
Share Your Favorite Bread Dip Creations
Alright friends, that’s my whole process for getting this Cheesy Baked Garlic Bread Dip from my counter to your party spread! Now comes the part that I genuinely love the most—hearing from you. If you tried this recipe, whether it was a smashing success for game day or maybe you tried a little tweak I didn’t even think of, please let me know!
The Little Kitchen Diary really grows because of you all. Did you manage to roast the garlic perfectly? Did you sneak in a little smoked paprika? Head down to the comments section right below and tell me how your batch of this ultimate party snack turned out. A star rating really helps other folks decide to try this amazing bread dip, and trust me, I read every single comment you leave behind.
If you snap a picture of your hot, bubbling dish ready for dipping, please tag us on social media! Seeing my recipes come to life in your homes is the whole reason I started this diary in the first place. Happy dipping, everyone!
PrintCheesy Baked Garlic Bread Dip: The Ultimate Party Snack

Make this creamy, cheesy baked garlic bread dip using roasted garlic and Italian seasoning. It is a simple, flavorful appetizer perfect for sharing with crusty bread.
- Prep Time: 10 min
- Cook Time: 25 min
- Total Time: 35 min
- Yield: 6 servings 1x
- Category: Appetizer
- Method: Baking
- Cuisine: American
- Diet: Vegetarian
Ingredients
- 8 ounces cream cheese, softened
- 1 cup shredded mozzarella cheese
- 1/2 cup grated Parmesan cheese
- 1/4 cup sour cream
- 4 cloves roasted garlic, mashed
- 1 teaspoon Italian seasoning
- 1/2 teaspoon garlic powder
- 1/4 teaspoon salt
- 1/4 teaspoon black pepper
- 1/4 cup shredded mozzarella cheese, for topping
- Crusty bread or crostini, for serving
Instructions
- Preheat your oven to 375 degrees Fahrenheit. Lightly grease an 8-inch oven-safe skillet or small baking dish.
- In a medium bowl, combine the softened cream cheese, 1 cup mozzarella cheese, Parmesan cheese, sour cream, mashed roasted garlic, Italian seasoning, garlic powder, salt, and pepper. Mix until all ingredients are fully incorporated and the mixture is smooth.
- Spread the cheese mixture evenly into your prepared skillet or baking dish.
- Top the dip evenly with the remaining 1/4 cup of mozzarella cheese.
- Bake for 20 to 25 minutes, or until the dip is hot throughout and the top cheese is melted and lightly golden brown.
- Let the dip cool for 5 minutes before serving warm with slices of crusty bread.
Notes
- Roast your garlic ahead of time to save prep time. Wrap whole heads of garlic in foil with a little olive oil and bake at 400 degrees Fahrenheit for 30-40 minutes until soft.
- You can prepare the dip mixture up to 24 hours in advance. Cover and refrigerate, then add the topping cheese before baking.
- Serve this dip with toasted baguette slices, crackers, or vegetable sticks for dipping.
Nutrition
- Serving Size: 1/6 of dip
- Calories: 245
- Sugar: 1
- Sodium: 450
- Fat: 20
- Saturated Fat: 12
- Unsaturated Fat: 8
- Trans Fat: 0.5
- Carbohydrates: 3
- Fiber: 0
- Protein: 14
- Cholesterol: 60