
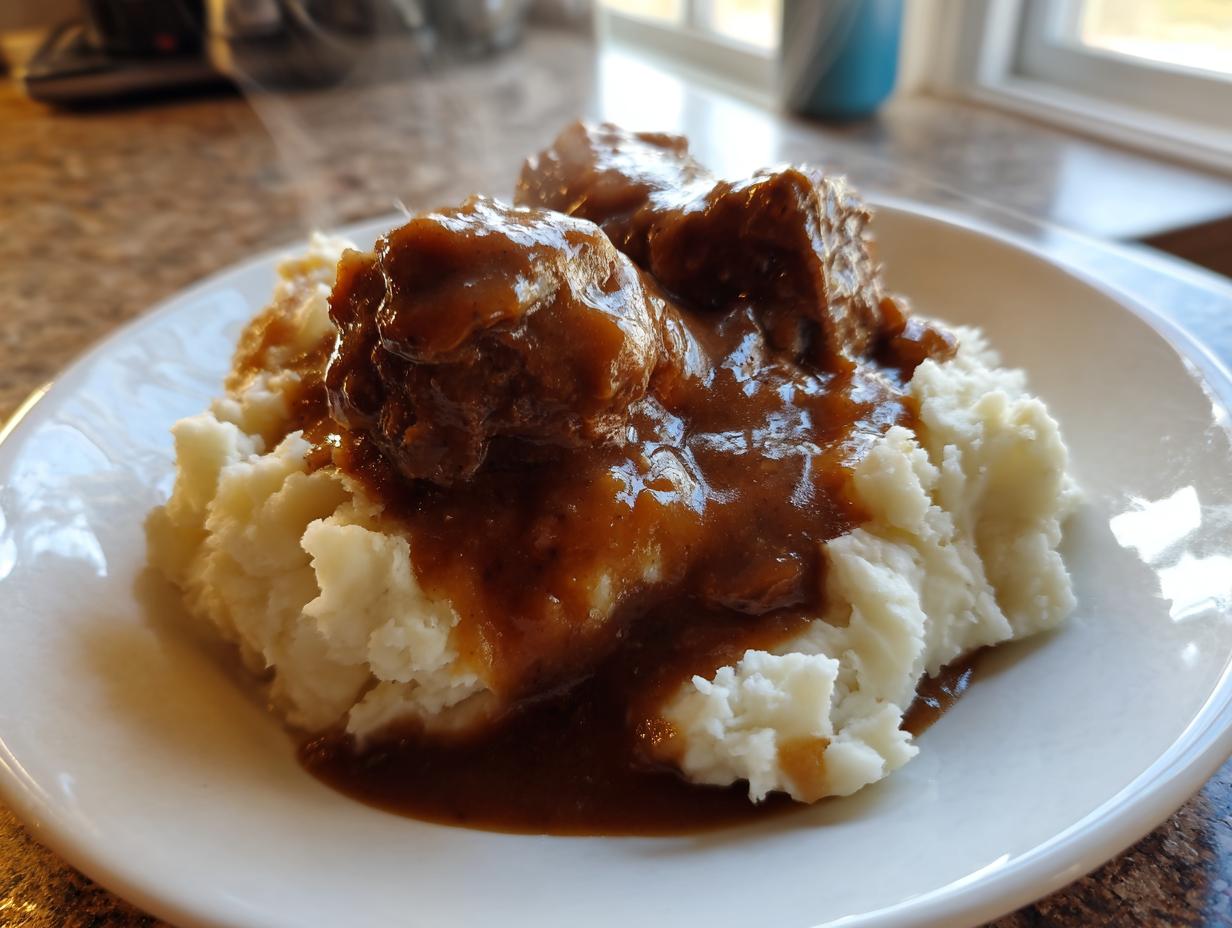
Let’s be honest, what is mashed potatoes without gravy? It’s just… sad. A meal isn’t truly finished until you’ve got something rich and savory draped over the top, right? That’s where this recipe steps in. I’m Ethan Carter, and here at Little Kitchen Diary, we focus on simple, delicious food that works for your real life. Today, I’m sharing what I call the ultimate **homemade brown gravy** recipe. The best part? We don’t need to wait until Sunday dinner or deal with those tricky roasting pan drippings. This is quick, pantry-friendly magic for any busy weeknight!
- Why This Homemade Brown Gravy is Your New Pantry Staple Gravy (No Drippings Needed)
- Ingredients for Ultimate Homemade Brown Gravy
- Stovetop Gravy Instructions for Perfect Homemade Brown Gravy
- Tips for Success: Making Your Homemade Brown Gravy Richer
- Ingredient Notes and Substitutions for Brown Gravy From Scratch
- Serving Suggestions for Your Quick Gravy for Mashed Potatoes
- Storage and Reheating Instructions for Homemade Brown Gravy
- Frequently Asked Questions About Making Brown Gravy From Scratch
- Estimated Nutrition for This Homemade Brown Gravy Recipe
- Share Your Homemade Brown Gravy Creations
Why This Homemade Brown Gravy is Your New Pantry Staple Gravy (No Drippings Needed)
I know that feeling—you’ve got dinner ready, the potatoes are fluffed, but you realize you didn’t roast a turkey or chicken, so there are zero drippings. Crisis averted! This recipe is designed specifically for those moments. Forget the packets filled with weird stabilizers; this is actual **Brown Gravy From Scratch**, and it relies entirely on ingredients I always have stocked.
We’re talking about a total time commitment of about 15 minutes. That speed lets this become your go-to **Pantry Staple Gravy**. The depth of flavor comes from properly browning the flour, which gives us that deep, savory note usually attributed to rendered fat. Trust me, this technique creates an amazing **No Drippings Gravy** that mimics the best **Classic Beef Gravy** you’ve ever had.
If you’re serving up my creamy mashed potatoes this week, this sauce is the perfect partner. Check out the full recipe details for the creamy mashed potatoes recipe that inspired me to perfect this luscious sauce!
Ingredients for Ultimate Homemade Brown Gravy
When you’re making this **homemade brown gravy** completely from scratch, details matter. Since we aren’t relying on drippings, the quality of these few simple items really shines through. I always suggest reaching for low-sodium beef broth because we have total control over adding salt later—that’s important for a well-seasoned sauce!
Here’s what you need to grab before you start the stove:
- 4 tablespoons unsalted butter (no margarine here, please!)
- 4 tablespoons all-purpose flour
- 2 cups beef broth (low sodium preferred)
- 1 teaspoon Worcestershire sauce
- 1/2 teaspoon onion powder
- 1/4 teaspoon garlic powder
- 1/4 teaspoon dried thyme
- Salt and black pepper to taste
That’s the whole list! Simple, reliable ingredients ready for action.
Stovetop Gravy Instructions for Perfect Homemade Brown Gravy
Making this sauce right is all about building layers of flavor quickly on the stove. Don’t rush the first step, because that’s what separates a pale, floury sauce from the **Best Homemade Gravy** that looks like it simmered for hours. If you follow these simple stovetop gravy instructions, you’ll nail that gorgeous color and texture every single time. I promise, once you master this, you won’t look back at the packets!
Creating the Flavorful Roux for Your Homemade Brown Gravy
This is where the magic begins! Melt your butter over medium heat until it’s sizzling gently. Then, whisk in your flour immediately. You need to cook this mixture—the roux—for about one to two minutes while stirring constantly. You’re aiming for a very light, nutty brown color. This step toasts the flour, which removes any raw taste and starts developing that deep savoriness needed for true **Velvety Gravy Recipe** results.
Whisking in Liquid and Simmering the Brown Gravy From Scratch
Now for the delicate part! Slowly, and I mean *slowly*, start whisking in your beef broth. Add just a splash at first, whisking hard until it disappears into a thick paste before adding the next bit of liquid. This slow addition is essential for preventing lumps in your **Brown Gravy From Scratch**. Once all the broth is incorporated, bring it up to a gentle simmer. Keep whisking occasionally for about three to five minutes until the sauce visibly thickens up. If you want to explore how I handle thickening liquids for rice, check out my tips on sticky rice—the whisking principle is the same!
Once it’s coating the back of a spoon nicely, stir in your flavor boosters like Worcestershire and spices. For more authentic, rich sauce inspiration, sometimes I look at how others approach their classic sauces, like this version from Beckett’s site here. Now, you have the richest **homemade brown gravy**!
Tips for Success: Making Your Homemade Brown Gravy Richer
Even though this is an incredibly forgiving and **Easy Brown Gravy Recipe**, there are a few little secrets I picked up the hard way that really elevate the flavor—it’s all about **How To Make Brown Gravy Better**!
If you want a deeper, darker color—the kind you see on restaurant plates—don’t pull the roux off the heat too soon! You can actually cook that butter and flour mixture for an extra minute or two until it reaches a shade deeper than light tan. Full disclosure: the very first time I made this years ago, I spaced out and let it go a little too dark, almost like chocolate. I panicked, but I just whisked in the broth faster, and honestly? It tasted incredible. It gave us this stunning, rich brown color without tasting burnt at all. It’s all about learning to trust your nose!
Now, consistency is king, right? If you taste it and it feels a bit too thick—maybe you’re using it over roasted potatoes instead of fluffy ones—just whisk in a tablespoon of warm water or broth at a time. Warm liquid mixes in so much better than cold liquid, preventing any chance of lumps forming. For those times when you want to experiment more with flavor or texture, check out my guide on rice texture; the physics of thickening sauces shares some similar rules!
Ingredient Notes and Substitutions for Brown Gravy From Scratch
One of the standout features of this **homemade brown gravy** is how flexible it is with your pantry contents. While the recipe calls for beef broth to nail that deep, savory profile we associate with a **Classic Beef Gravy**, you absolutely do not have to worry if you’re out of it! This recipe is perfectly suitable as a vegetarian sauce if you use good quality vegetable broth instead.
Here’s my secret if you are going vegetarian or using chicken broth: you need to lean harder on those seasonings. If you only have chicken broth, the flavor will naturally be lighter. To compensate, I always bump up the Worcestershire sauce by about half a teaspoon—it brings back a lot of that dark, umami depth you are missing. You can also try using mushroom broth here; it’s outstanding!
The only thing I really urge you to keep consistent is the butter and flour ratio, that’s the backbone of the texture. If you are sticking to the veggie path, you’re still getting robust flavor because we built this **Brown Gravy From Scratch** starting with that perfectly browned roux. If you are interested in baking some bread to sop up all this rich sauce, you should sneak a peek at my soda bread recipe—it’s fantastic for soaking up every last drop of gravy!
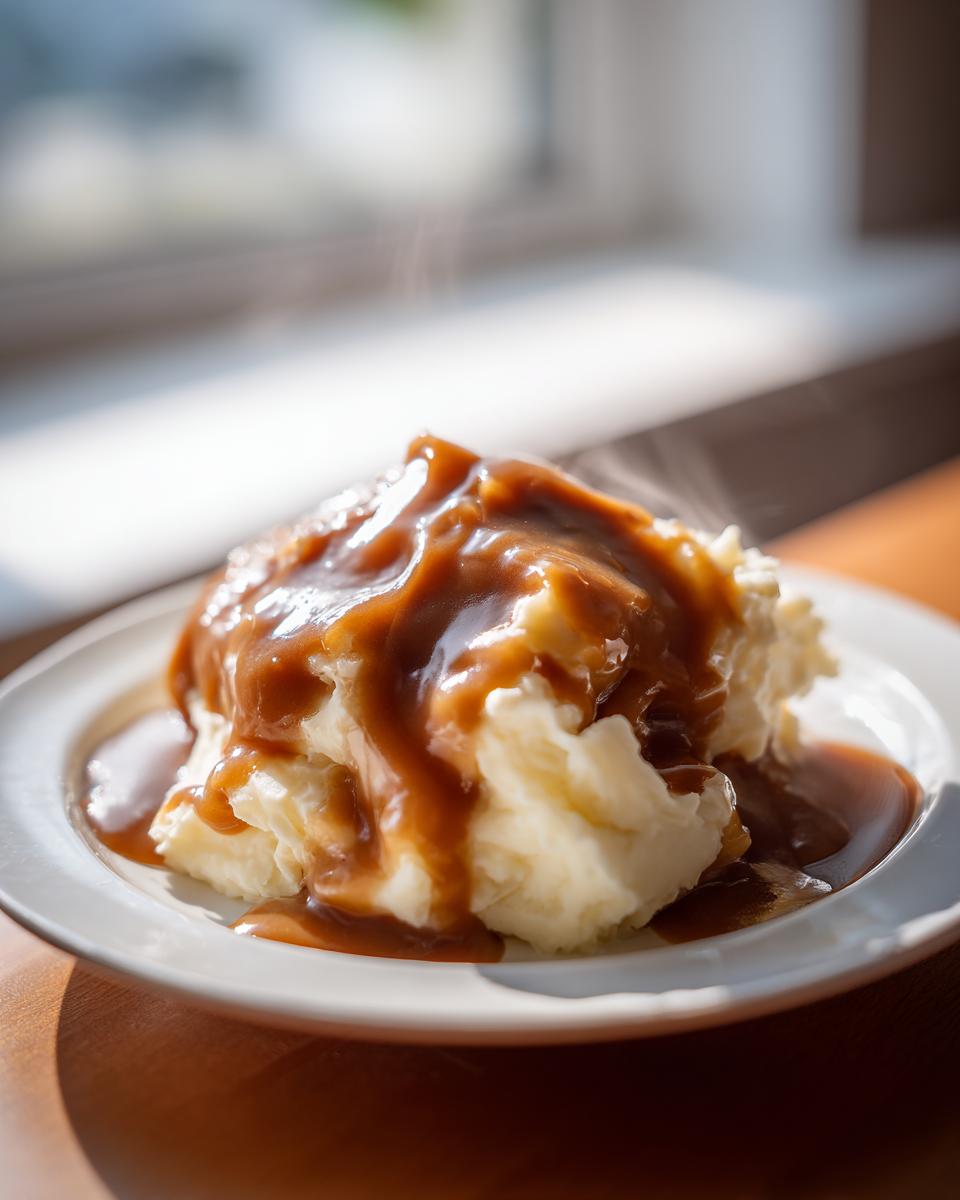
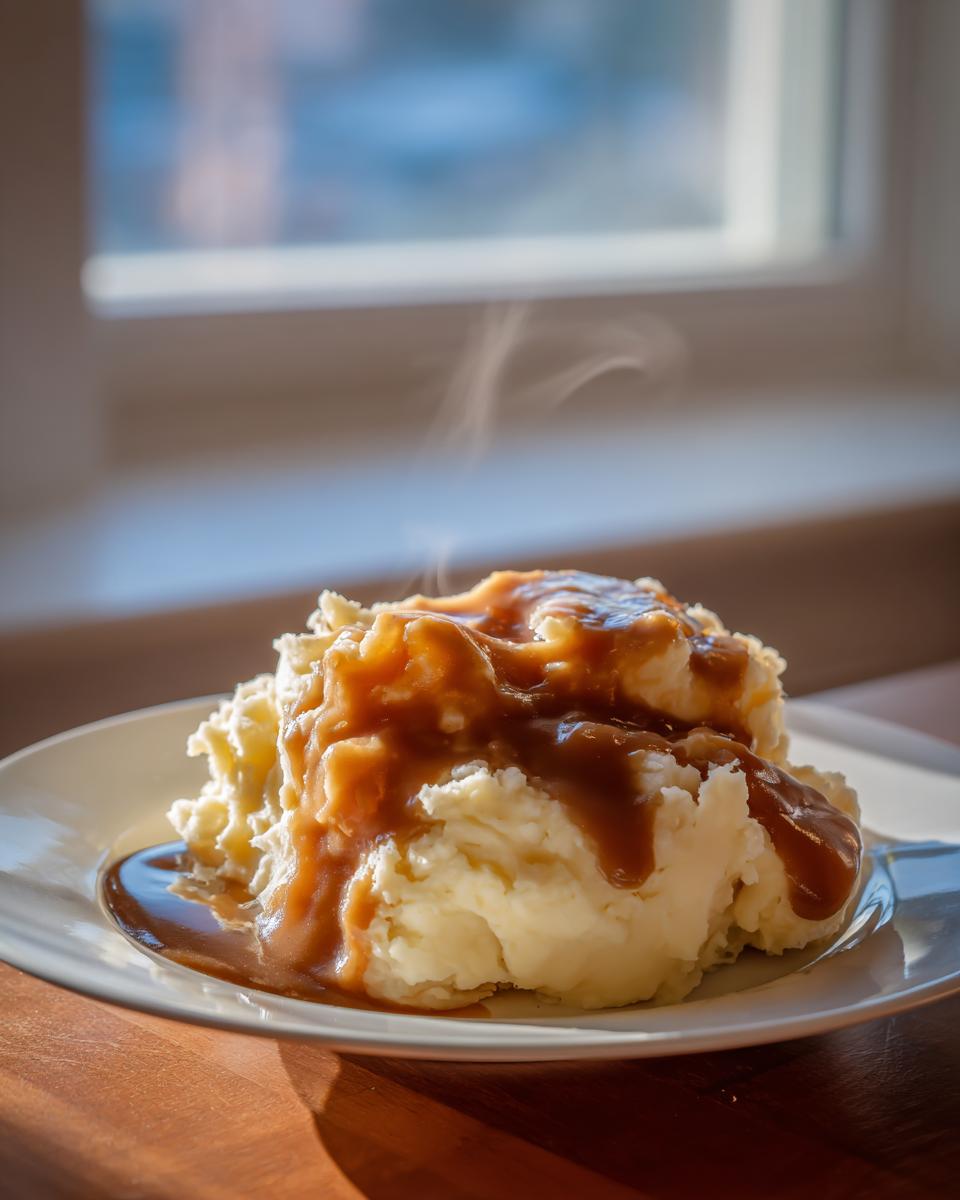
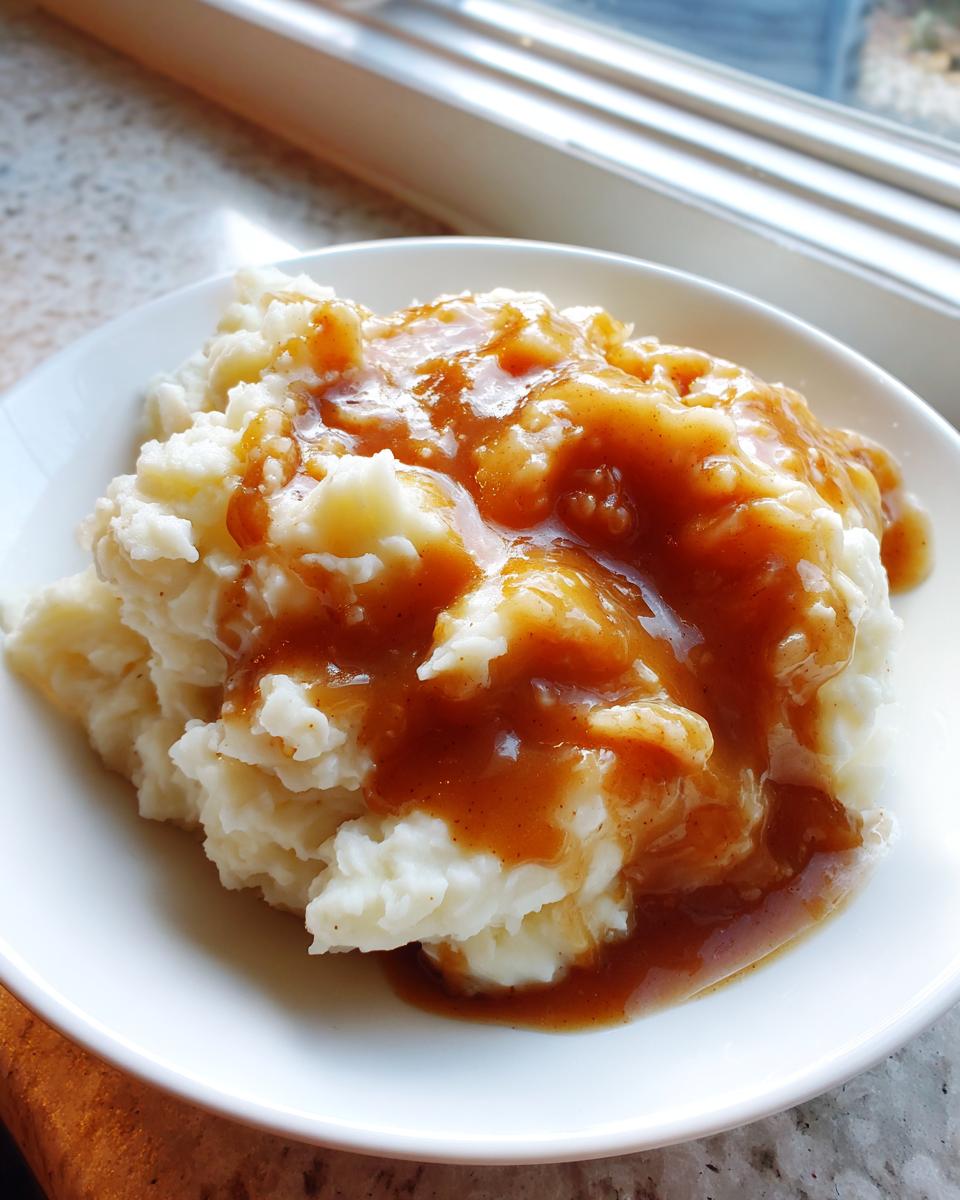
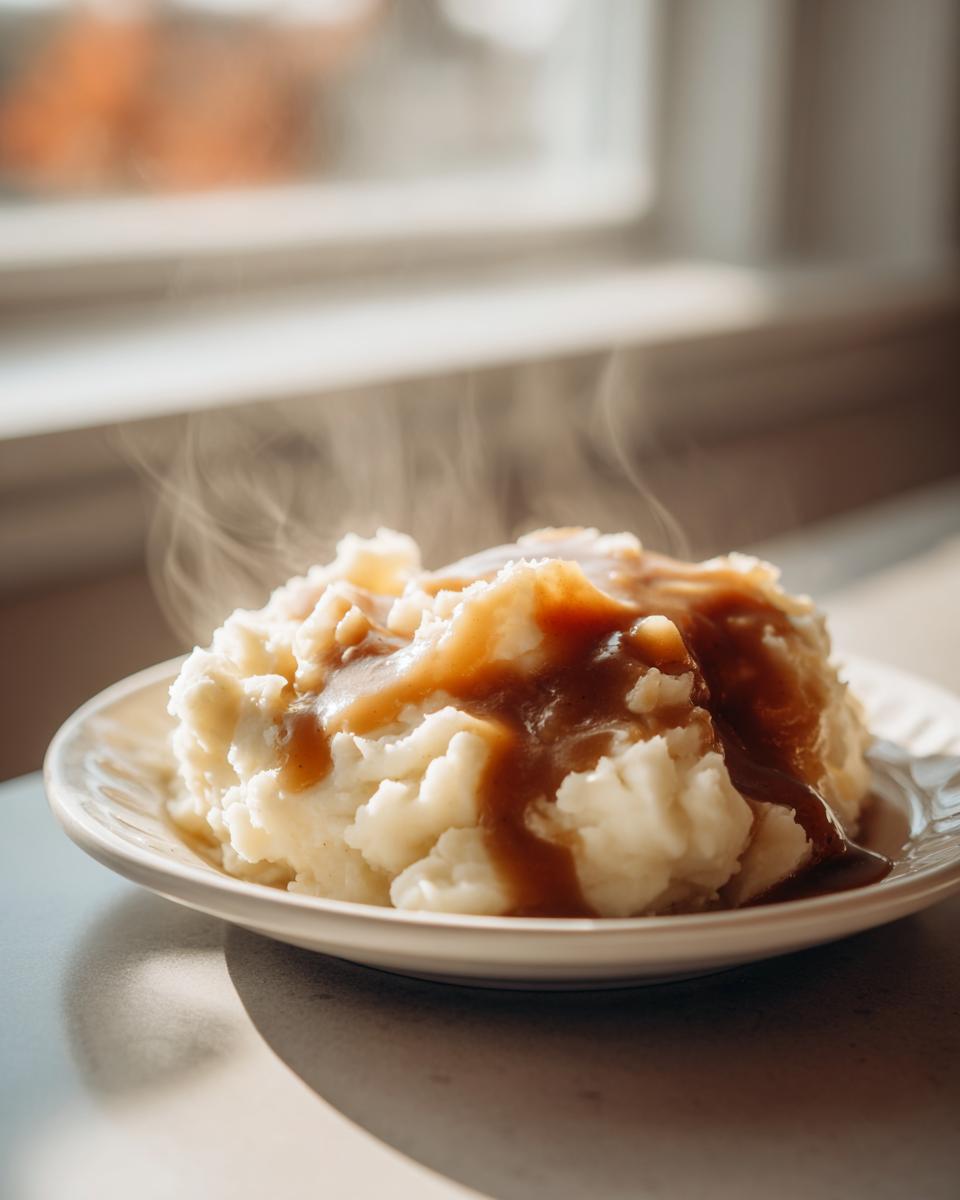
Serving Suggestions for Your Quick Gravy for Mashed Potatoes
Now that you have this beautiful, velvety sauce ready to go, the real question is: what are you smothering it in? This **Quick Gravy for Mashed Potatoes** is truly the workhorse of my kitchen. Naturally, my first choice is always a giant pile of creamy potatoes—I mean, that’s the classic setup for a reason!
But don’t stop there! This rich sauce takes comfort food to the next level. It’s absolutely essential for meatloaf, giving that dry-baked exterior a much-needed soak. If you’re making simple pan-fried pork chops, this gravy is your best friend. I also love drizzling it over biscuits—especially if you make my sweet potato biscuits—it turns breakfast leftovers into a savory dinner!
For a fantastic weekend meal, use this gravy over roasted potatoes. It gives them that perfect finish. You can find my favorite straightforward method for getting crispy edges on your potatoes right over here on the blog. Honestly, any dish that feels sad and dry needs a good, ladle-full of this!
Storage and Reheating Instructions for Homemade Brown Gravy
Okay, great news is that this **homemade brown gravy** reheats like a dream, which is crucial because I always make a double batch just for leftovers! Once you’ve finished enjoying your meal, let any extra gravy cool down slightly on the counter—don’t put boiling hot liquid straight into the fridge, please! Then, scoop the remainder into a clean, airtight container. It stays perfectly good in the refrigerator for about four days. I often use it later in the week on shepherd’s pie or just simple toast!
When it’s time to reheat, you’ll notice it has gotten quite thick—almost like a paste—and that’s totally normal! That thickness just means the flour has done its job holding onto all that goodness. Put the gravy in a small saucepan over medium-low heat. Crucially, whisk in a splash of warm water or extra broth while it heats up. Start slowly, adding just a tablespoon at a time until you stir it back into that perfect, velvety consistency we spent all that time creating at the start. It shouldn’t take more than five minutes to get it piping hot and ready to pour!
Frequently Asked Questions About Making Brown Gravy From Scratch
I get so many great questions about this recipe after people try it, which just proves how essential a good **from scratch sauce recipe** is! Since this recipe avoids drippings, people often want to know the tricks to maintain peak flavor. Here are some of the most common things folks ask me about achieving that rich, savory result.
How do I make brown gravy if I really don’t have any beef broth?
If you’re completely out of beef broth, you can certainly use chicken or vegetable broth, but remember what I said about flavor depth! This is the moment to really boost those seasonings. I suggest adding an extra half teaspoon of the Worcestershire sauce and maybe a tiny pinch of good quality black pepper to try and mimic those darker notes. For a real boost, remember that using mushroom broth is a fantastic alternative flavor enhancer. If you’re out of all broth, you can use water mixed with a high-quality beef bouillon cube or powder, but the flavor won’t be quite as rich.
Help! My gravy is lumpy. How do I fix this simple seasoned gravy?
Don’t panic, this happens to everyone! A lumpy sauce is almost always fixed the same way: you need to blend it. Take the lumpy gravy off the heat immediately. You can either use an immersion blender right in the pot to smooth out those flour pockets, or, if you don’t have one, scoop the whole batch into a standard blender and blend on low for just a few seconds until it’s smooth again. That’s one of the key **thickening gravy techniques**—blend it!
Can I make this recipe ahead of time?
Yes, absolutely! That’s the beauty of mastering **mealtime gravy essentials**. It stores so well. Once cooled, keep it in an airtight container in the fridge for up to four days. When you reheat it, just remember to whisk in a little warm water or broth slowly until it returns to its lovely, pourable state. It’s a great way to save time later!
Is this recipe truly vegetarian, or is it just a roast beef gravy alternative?
It is totally vegetarian, provided you use vegetable broth because the base is butter and flour (a roux). It’s a fantastic **Roast Beef Gravy Alternative** precisely because it avoids meat drippings entirely. If you want to try a recipe that tastes beefy without meat, you need great stock and those umami boosters like Worcestershire sauce (which is anchovy-based, so check if you need a strictly vegan option—if so, use a vegan Worcestershire substitute!). For more kitchen tricks, I sometimes look at how other cooks handle pantry efficiency over at Eating on Dime.
What is the best way to get that perfect velvety texture?
That perfect **velvety gravy recipe** look comes from two things: the roux and the whisking! Make sure you cook your roux until it’s light brown—that takes out the raw flour taste. Then, when adding the broth, you must whisk constantly and slowly, adding liquid bit by bit. Rushing the broth introduction is what causes lumps instead of that glorious, smooth shine. If you’re looking for other easy dipping sauce wins, you should check out my recipe for cheesy garlic bread dip!
Estimated Nutrition for This Homemade Brown Gravy Recipe
When we talk about a genuinely great **homemade brown gravy**, we also want to know what we’re putting on our plates, even when it’s just a simple sauce! Remember that because this is made completely fresh, these numbers are estimates based on the standard measurements in the recipe. Real life always means slight variations, but this gives you a clear average.
Here are the approximate nutritional details per 1/4 cup serving:
- Calories: 95
- Fat: 7g
- Saturated Fat: 4g
- Carbohydrates: 6g
- Protein: 2g
- Sodium: 320mg
This lovely **brown gravy from scratch** keeps the carbs and sugar low, making it an easy, savory addition to almost any dinner without weighing down your whole meal!
Share Your Homemade Brown Gravy Creations
Well, that’s it! You’ve conquered the roux and you now have the **best homemade gravy** ready to go. I seriously want to know what you served this amazing **homemade brown gravy** with! Did you go classic with potatoes, or did you ladle it over something unexpected?
Please, if you loved how simple and rich this was, take a second to rate the recipe with five stars and drop a comment below. It helps other busy home cooks find this recipe, and I love reading your success stories! If you have any lingering questions or just want to say hi, you can always reach out on the contact page—I read every single message!
PrintUltimate Homemade Brown Gravy (No Drippings Needed)
Make rich, savory brown gravy from scratch using basic pantry staples. This easy stovetop recipe creates a velvety sauce perfect for mashed potatoes, meatloaf, or roasts without needing meat drippings.
- Prep Time: 5 min
- Cook Time: 10 min
- Total Time: 15 min
- Yield: About 1.5 cups 1x
- Category: Sauce
- Method: Stovetop
- Cuisine: American
- Diet: Vegetarian
Ingredients
- 4 tablespoons unsalted butter
- 4 tablespoons all-purpose flour
- 2 cups beef broth (low sodium preferred)
- 1 teaspoon Worcestershire sauce
- 1/2 teaspoon onion powder
- 1/4 teaspoon garlic powder
- 1/4 teaspoon dried thyme
- Salt and black pepper to taste
Instructions
- In a medium saucepan, melt the butter over medium heat.
- Whisk the flour into the melted butter. Cook this roux, stirring constantly, for 1 to 2 minutes until it turns a light brown color. Do not let it burn.
- Slowly whisk in the beef broth, a little at a time, ensuring no lumps form before adding more liquid.
- Bring the mixture to a simmer, continuing to whisk until the gravy thickens, about 3 to 5 minutes.
- Stir in the Worcestershire sauce, onion powder, garlic powder, and thyme.
- Season with salt and pepper to your preference. Taste and adjust seasonings as needed.
- Remove from heat and serve your homemade brown gravy immediately over your favorite comfort foods.
Notes
- For a darker color, cook the roux for an extra minute or two until it reaches a deeper brown shade.
- If the gravy is too thick, whisk in a tablespoon of warm water or broth until you reach your desired consistency.
- For a richer flavor, substitute half of the beef broth with mushroom broth.
Nutrition
- Serving Size: 1/4 cup
- Calories: 95
- Sugar: 0.5
- Sodium: 320
- Fat: 7
- Saturated Fat: 4
- Unsaturated Fat: 3
- Trans Fat: 0
- Carbohydrates: 6
- Fiber: 0.2
- Protein: 2
- Cholesterol: 15