
Tell me the truth—have you ever ordered takeout sushi only to find the rice was either crunchy, mushy, or just tasted… sad? Ugh, I’ve been there more times than I care to admit. When I first started trying to recreate my favorite rolls at home, the actual rolling was fine, but the rice was always the weak link. It just didn’t have that perfect, slightly sweet, wonderfully tangy stickiness that makes the whole thing sing. That’s actually what kicked off my whole ‘Little Kitchen Diary’ project way back when. I was determined to get this sushi rice mastered because it’s the foundation of everything! Trust me, getting this right is easier than you think, and I’m going to show you exactly how we achieve that fantastic, restaurant quality rice right here in your own kitchen, stovetop or Instant Pot style.
- Why You Need This Perfect Sushi Rice Recipe
- Essential Ingredients for Authentic Japanese Rice Preparation
- How to Make Sushi Rice: Step-by-Step Stovetop Sushi Rice Instructions
- Alternative: Instant Pot Sushi Rice Method
- The Critical Seasoning Step for Restaurant Quality Rice at Home
- Tips for Success: Mastering Sushi Rice Texture
- Using Your Homemade Sushi Rice for Rolls and Bowls
- Storage and Reheating Instructions for Leftover Sushi Rice
- Frequently Asked Questions About Making Sushi Rice
Why You Need This Perfect Sushi Rice Recipe
Seriously, don’t start rolling until you nail this foundation! When your rice falls apart mid-wrap, or your sushi bowl rice base is bland, the whole dinner is a bust. This guide is focused strictly on giving you that perfect experience every single time. We’re skipping the frustration so you can focus on the fun—the filling and rolling!
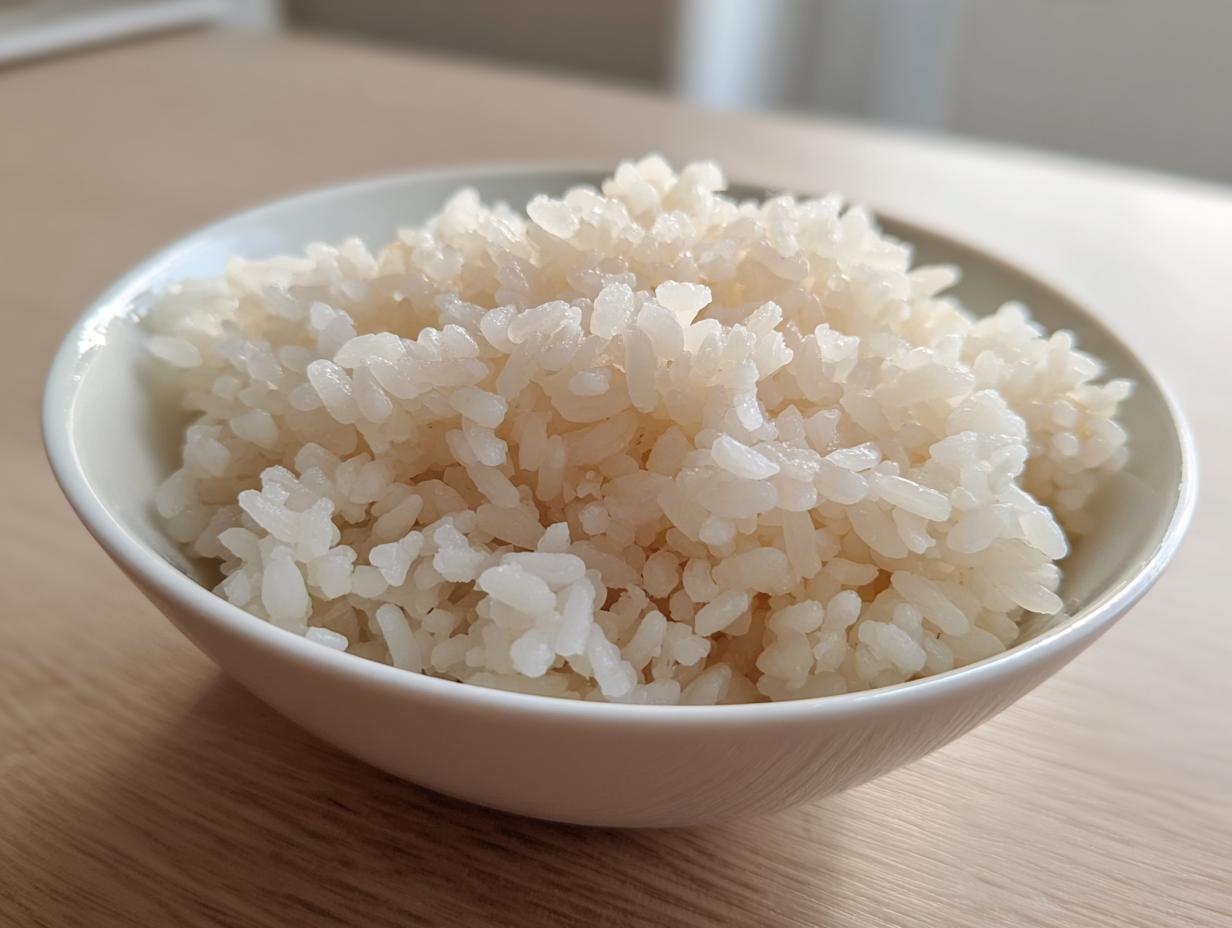
Achieving That Signature Sticky Rice for Sushi Texture
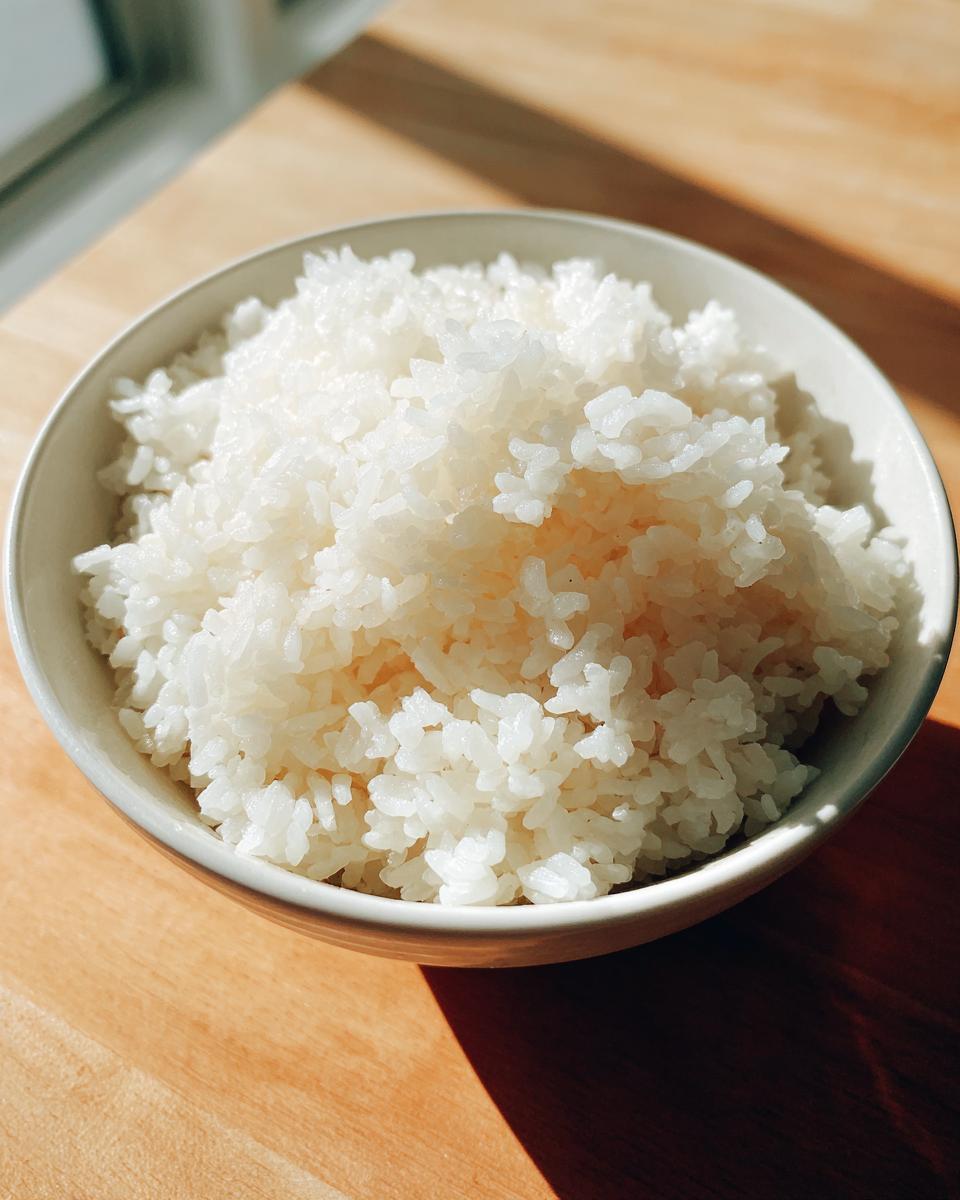
The stickiness isn’t just for show, friends! It’s what keeps your maki rolls intact when you dip them or keeps that perfect balance in a fresh sushi bowl. If you can manage this, you are miles ahead in mastering sushi rice texture. It should be glossy, plump, and just slightly tacky.
Simple Methods: Stovetop Sushi Rice Instructions or Instant Pot Sushi Rice
I know not everyone loves fussing over a stovetop burner for 20 minutes, and trust me, I get it after a long day. That’s why I include foolproof stovetop sushi rice instructions right next to the super-hands-off Instant Pot sushi rice method. You just pick what works best for your kitchen on any given night!
Essential Ingredients for Authentic Japanese Rice Preparation
Okay, before we even turn on the stove, we need to talk about the foundation. Using the wrong rice is the quickest way to disaster town for your sushi rice. I learned this the hard way when I tried to use what I thought was ‘plain white rice’ for my first attempt. Nope! It turned out looking more like sticky oatmeal than anything rollable.
The Best Rice for Sushi Rolls: Grain Selection
You absolutely must get the right grain. We are looking for short-grain Japanese rice—sometimes labeled Calrose if you are in the States. This rice has the perfect starch profile to get that beautiful, slightly gluey texture we need. If you grab long-grain rice, like Basmati or Jasmine? Forget it. They stay firm and separate when cooked, which is great for a curry, but terrible for sushi! It just won’t bind, and you’ll end up with sad, individual grains trying desperately to cling to your fillings.
Crafting the Perfect Sushi Rice Vinegar Mixture
This is where the flavor really pops! This simple **sushi rice seasoning guide** is the secret handshake to restaurant quality. You don’t need a dozen weird bottles; you just need the right balance of three things: rice vinegar, sugar, and salt. The measurements I use are just perfect for cutting through that richness without making the rice sour. It gives you that addictive tang that keeps you reaching for another piece!
How to Make Sushi Rice: Step-by-Step Stovetop Sushi Rice Instructions
Alright, if you’re avoiding the pressure cooker or just prefer the classic route, let’s get cozy with the stovetop method. This is where attention to detail really pays off for that authentic stovetop sushi rice instructions experience. First thing’s first: we have to wash that starch off. Put your two cups of rice in a fine-mesh sieve and run cold water over it while gently moving the rice around with your hand. Keep rinsing until the water running clear—it might take a few minutes, but this step is non-negotiable for great texture!
Next, drain it super well and let those grains soak in fresh cold water for about 30 minutes. This hydration step is clutch! After soaking, drain it again and toss the rice and exactly two cups of fresh cold water into a heavy pot. Bring that to a good boil over medium-high heat.
Now, here’s the big rule that I learned the hard way: as soon as it hits a rolling boil, you immediately kill the heat to the lowest setting possible, slap that lid on, and walk away. Seriously, don’t peek! You need to let it simmer for a full 15 minutes untouched. Lifting that lid lets the steam escape, and we need every bit of that steam to cook the grains perfectly. After 15 minutes, turn off the heat and let it rest, still covered, for another 10 minutes. You can check out another great stovetop technique over at Aline-Made’s guide if you want another perspective!
Alternative: Instant Pot Sushi Rice Method
I love my stovetop method, but if you’re rushing or you just plain trust your pressure cooker more (and who doesn’t?), the **Instant Pot sushi rice** option is a lifesaver. It’s incredibly consistent, and honestly, it requires far less hovering from me, which is great for busy weeknights.
After you do all that crucial rinsing and soaking—remember, don’t skip that part!—you’ll combine your drained rice and the requisite two cups of cold water right inside the Instant Pot liner. Lock that lid down, make sure your vent is set to ‘Sealing’ because we need all that trapped steam, and set it to High Pressure for exactly 10 minutes. Set a timer, maybe step away and check your emails, the usual!
The most important part here is what happens *after* the 10 minutes are up. Don’t just quick-release it! You need to let that pressure release naturally for a full 10 minutes. That natural release period is what lets the steam settle back into those grains gently, giving you a better texture than a fast release ever could. After the 10 minutes are up, you can carefully flip the valve to manually release anything left over. For more neat cooking hacks like this, check out what my friend is doing over at Umami Girl!
Once it’s depressurized, transfer it right away to your large bowl and get it seasoned according to the next step. Honestly, the Instant Pot makes my Instant Pot turkey breast look lazy—it’s just that easy!
The Critical Seasoning Step for Restaurant Quality Rice at Home
Okay, the rice is cooked perfectly, whether you sweated over the stovetop or trusted your Instant Pot. Now comes the moment that separates the amateurs from the pros who are making **restaurant quality rice at home**: seasoning! We need to mix that warm, tangy vinegar mixture into the hot rice, but you can’t just dump it in and stir like you’re making pasta!
First, grab the absolute biggest, non-metallic bowl you own. I prefer wood or even thick glass. Why? Because the acidity in the vinegar mixture can react with metal bowls, and nobody wants a weird metallic taste tainting their beautiful **sushi rice**. Once the rice is in the bowl, gently drizzle that warm vinegar mixture evenly over the top. Don’t just dump it all on one spot; try to coat the surface so it incorporates slowly. If you ever struggle with balancing rich flavors like this, remember the approach I use when building up flavor in my caramelized onions—it’s all about layering!
Now, grab your wooden paddle or a sturdy spatula. You aren’t stirring this; you are *slicing* and *folding*. Think about gently cutting down through the rice and then folding the bottom layers up to meet the top. This motion works the seasoning in without smashing the delicate grains—remember, we want plump, not pasted, rice. This is where I always put in the extra effort!
Here’s one of my favorite little tricks for that glossy, perfect finish: as you are slicing and folding, use a small hand fan (or a piece of cardboard, nobody’s judging!) to fan the rice slightly. Cooling the rice quickly while you incorporate the vinegar mixture helps it absorb that seasoning faster and gives the surface that incredible, slightly firm, glossy look. Keep slicing and folding until the liquid is absorbed and the rice is cooled down to roughly body temperature. It should feel slightly warm to the touch when done. If you want to see how folks on the internet are making their seasoning amazing, check out Cooking Fee’s take for inspiration!
Tips for Success: Mastering Sushi Rice Texture
Whew! Seasoning is done, but don’t just walk away yet! We’re almost at the finish line, but a couple of little habits I picked up from my many failed batches can ensure you get that perfect, slightly tacky result every time. This is where we take this from a good batch of rice to an **easy sushi component recipe** you’ll ace instantly. If you’ve ever worried about your rice drying out before you could even make your rolls, pay attention!
Once you’ve fanned and folded the rice until it’s that perfect lukewarm temperature, you need to let it rest. Cover the entire bowl with a clean, slightly damp kitchen towel or even a damp paper towel. Don’t wrap it tight with plastic wrap, because that traps too much moisture and you risk steaming it into mushiness instead of keeping that lovely texture.
This covering keeps the rice from getting that crusty, hard layer on top while it cools to the perfect serving temperature. And speaking of temperature—this is critical for that authentic feel. You want your **sushi rice** to be served near body temperature, not hot from the stove, and definitely not cold from the fridge! Cold rice gets hard, and your fillings won’t taste right against it. Think warm hug, not ice block.
Also, a quick reminder from the last step: seriously ditch the metal utensils when you’re working with this rice after the vinegar is added. I know it’s easy to grab a metal spoon, but trust me, the metal changes the flavor profile of the vinegar seasoning, and we worked too hard for that! I always pull out my designated wooden rice paddle for this job. If you’re looking for some creative ways to finish up leftovers or use rice in other ways, I love looking at creative recipes like my pear crisp for inspiration on different flavor pairings!
If you want to see some fantastic visual guides on how people manage their rice texture and resting process, check out the brilliant tips shared over at Stretch Recipes. A little inspiration never hurt anyone when you’re mastering a new technique!
Using Your Homemade Sushi Rice for Rolls and Bowls
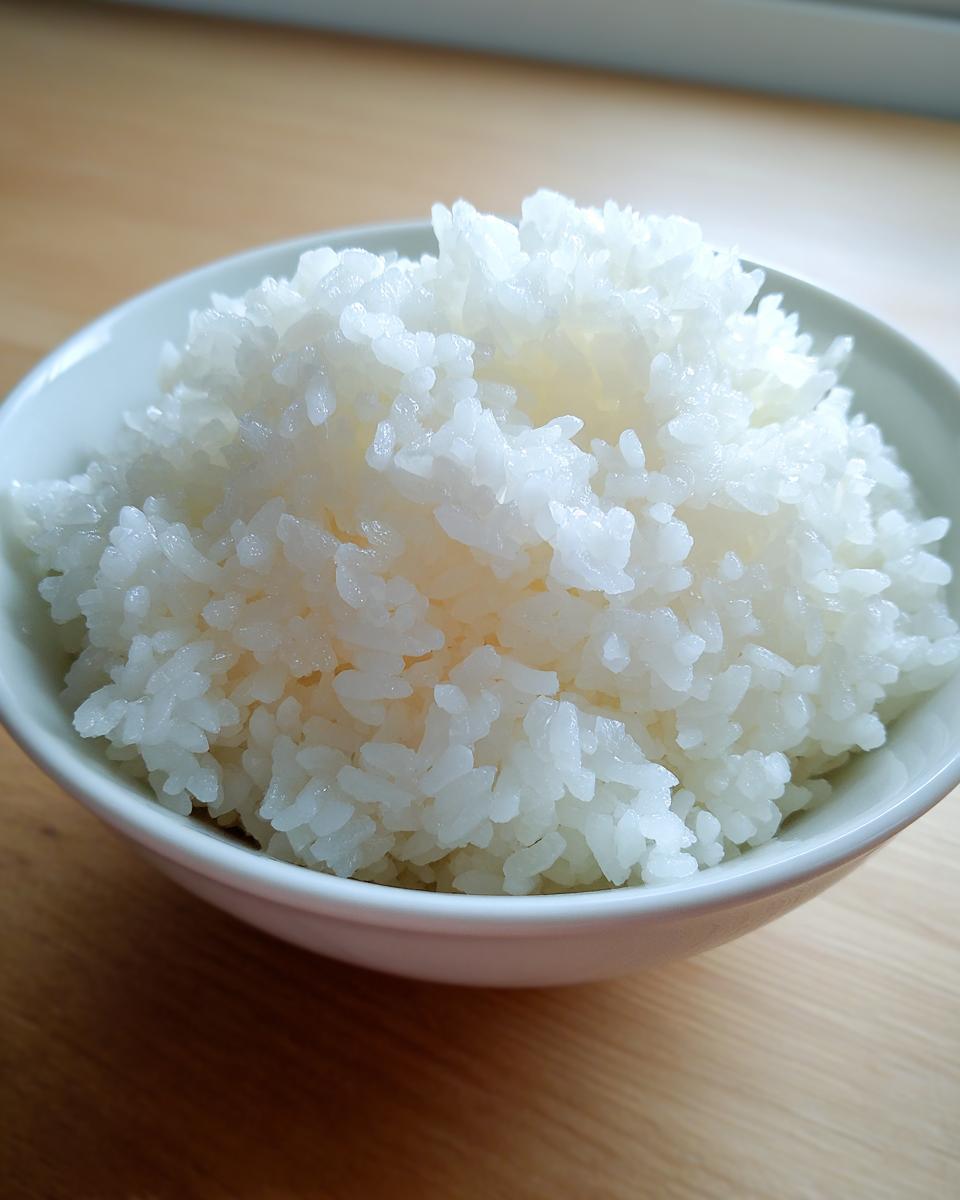
So, you’ve got this gorgeous, glossy, perfectly seasoned bed of rice ready to go. That’s the hardest part honestly handled! Now, it’s time to decide what delicious creation you’re putting it into. The amazing thing about mastering this foundational sushi rice is that it works beautifully for every application.
If you’re making maki rolls or nigiri, the slight stickiness is exactly what you need to keep your nori from peeling apart or your fish resting securely on top. You should be working with it while it’s still slightly warm—that’s when it’s most pliable and cooperative.
But if you’re building a big, satisfying **sushi bowl rice base**, this recipe is perfect for that too! You can pack a nice layer in the bottom of your bowl, and that slight tang from the vinegar mixture cuts through rich toppings like spicy salmon or avocado slices so nicely. Whether it’s rolled tight or served loose, recognizing that this rice recipe provides the backbone for virtually any Japanese-style dish is empowering. You’ve officially graduated from basic boiled rice!
Storage and Reheating Instructions for Leftover Sushi Rice
Now, I know what you’re thinking: what if I made too much? It happens! Fortunately, this seasoned **sushi rice** stores pretty well, but you have to remember that the vinegar mixture changes things slightly compared to plain white rice. Because we added sugar and salt to the vinegar, it actually keeps the rice from becoming rock hard quite nicely, but you still need to treat it gently.
The rule of thumb I stick to is that this rice is best eaten the day it’s made, but it should absolutely be fine for a day, maybe two, tucked away in the fridge. Here’s the key step for storage, inspired by my general habit of keeping leftovers fresh—you can see how I get my mashed potatoes perfect by treating them right!
When you put it away, make sure you immediately cover the rice bowl tightly with plastic wrap, pressing the wrap right down onto the surface of the rice itself. This stops any moisture loss. If you’re worried about it drying out, you can cover it with a damp paper towel underneath the plastic wrap. Keep it in the main compartment of the fridge—not the door, where the temperature fluctuates too much.
When it’s time to use up those leftovers? Resist the urge to blast it in the microwave! Microwaving seasoned rice tends to heat it unevenly and can make some parts stiff while others stay cold. If you want to restore that perfect texture, the best technique is steaming. You can place the rice in a steamer basket over simmering water for just a few minutes until it’s warm through. This gently reintroduces moisture. If you are absolutely desperate, very short bursts (like 15 seconds at a time) in the microwave work for a quick sushi bowl night, but you’ll lose a bit of that signature fluffiness. Honestly, a dedicated steamer basket is worth it if you plan on making **sushi rice** often!
Frequently Asked Questions About Making Sushi Rice
We’ve covered the boiling, the seasoning, and the cooling, but I know sometimes a few quick hits answer those last nagging questions before you dive in. It’s totally normal! I still have questions pop up every time I make a big batch. Here are some of the things I hear most often when people ask me about achieving that perfect finish for their homemade rolls. Feel free to check out my easy lunch ideas section too, if you’re planning what to do with your leftovers!
Can I substitute the rice vinegar in the sushi rice seasoning guide?
Look, I get it—sometimes you just don’t have rice vinegar on hand. But if you are aiming for that authentic flavor we discussed in the **sushi rice seasoning guide**, you really should try to stick to it. Rice vinegar is milder and slightly sweeter than standard distilled white vinegar. If you absolutely must substitute, white wine vinegar is your closest cousin, but use about 25% less, because it’s sharper. Apple cider vinegar is okay in a total pinch, but honestly, it will change the flavor profile entirely. It just won’t taste like proper **sushi rice**!
Why is my sushi rice not sticky?
This is the dreaded breakdown scenario! If your rice isn’t achieving that **sticky rice for sushi** texture, there are usually three culprits. One: you definitely used the wrong grain type—remember, long-grain rice won’t cut it. Two: you didn’t soak the rice long enough before cooking, so the inside never hydrated right. Three, and this is common, you probably stirred or mashed the rice too vigorously when you were folding in the seasoning. You want to slice and fold, not stir! If you mash those grains, you break them down and release starch too late, turning it into paste instead of cohesive stickiness.
What is the ideal temperature to serve homemade sushi rice?
This is super important for the overall experience. We aren’t making risotto here! The ideal temperature for using your **homemade sushi foundation** is just slightly warmer than room temperature—yes, basically body temperature. When you finish fanning and folding the seasoning in, you want it to feel comfortably warm in your hand, but never piping hot. If it’s too hot, it steams the nori wrapper and makes it soggy; if it’s ice cold from the fridge, it gets stiff and tastes dull. Warm and ready to roll is the magic spot!
PrintHow to Make Perfect Sushi Rice at Home: Simple Stovetop and Instant Pot Guide
Learn the simple steps to make restaurant quality sushi rice at home. This guide provides clear instructions for achieving perfectly sticky, seasoned rice using either a stovetop or Instant Pot method, ideal for your homemade sushi rolls or bowls.
- Prep Time: 30 min (includes soaking)
- Cook Time: 20 min
- Total Time: 50 min
- Yield: 4 servings 1x
- Category: Side Dish
- Method: Stovetop or Pressure Cooking
- Cuisine: Japanese
- Diet: Vegetarian
Ingredients
- 2 cups short-grain Japanese rice (sushi rice)
- 2 cups cold water (for cooking)
- 1/2 cup rice vinegar
- 2 tablespoons white sugar
- 1 teaspoon salt
Instructions
- Rinse the rice: Place the short-grain rice in a fine-mesh sieve. Rinse under cold running water, gently agitating the grains with your hand until the water runs clear. This removes excess starch.
- Soak the rice: Drain the rinsed rice well and place it in a bowl. Cover with fresh cold water and let it soak for 30 minutes. Drain thoroughly before cooking.
- Cook the rice (Stovetop Method): Combine the drained rice and 2 cups of cold water in a heavy-bottomed pot with a tight-fitting lid. Bring the water to a boil over medium-high heat. Once boiling, immediately reduce the heat to the lowest setting, cover, and simmer for 15 minutes. Do not lift the lid during this time.
- Cook the rice (Instant Pot Method): Combine the drained rice and 2 cups of cold water in the Instant Pot liner. Secure the lid and set the vent to sealing. Cook on High Pressure for 10 minutes. Allow the pressure to naturally release for 10 minutes before manually releasing any remaining pressure.
- Prepare the seasoning: While the rice cooks, combine the rice vinegar, sugar, and salt in a small saucepan. Heat gently over low heat, stirring until the sugar and salt fully dissolve. Do not boil the mixture. Remove from heat and let it cool slightly.
- Season the rice: Transfer the hot, cooked rice to a large, non-metallic bowl (wood or glass is best). Pour the prepared vinegar mixture evenly over the rice.
- Mix and cool: Using a slicing or folding motion with a wooden paddle or spatula, gently incorporate the seasoning into the rice. Avoid stirring or mashing the grains. Fan the rice as you mix to help it cool quickly to body temperature. This process creates the signature sticky texture.
- Rest: Cover the seasoned rice with a damp cloth or paper towel until ready to use for maki, nigiri, or sushi bowls.
Notes
- Use a Japanese short-grain rice or Calrose rice for the best sticky texture.
- Do not use metal utensils when mixing the seasoned rice, as the vinegar can react with the metal.
- The rice should be used when it is near body temperature, not hot or cold from the refrigerator.
Nutrition
- Serving Size: 1 cup cooked
- Calories: 205
- Sugar: 5
- Sodium: 280
- Fat: 0.5
- Saturated Fat: 0.1
- Unsaturated Fat: 0.4
- Trans Fat: 0
- Carbohydrates: 45
- Fiber: 0.5
- Protein: 4
- Cholesterol: 0