
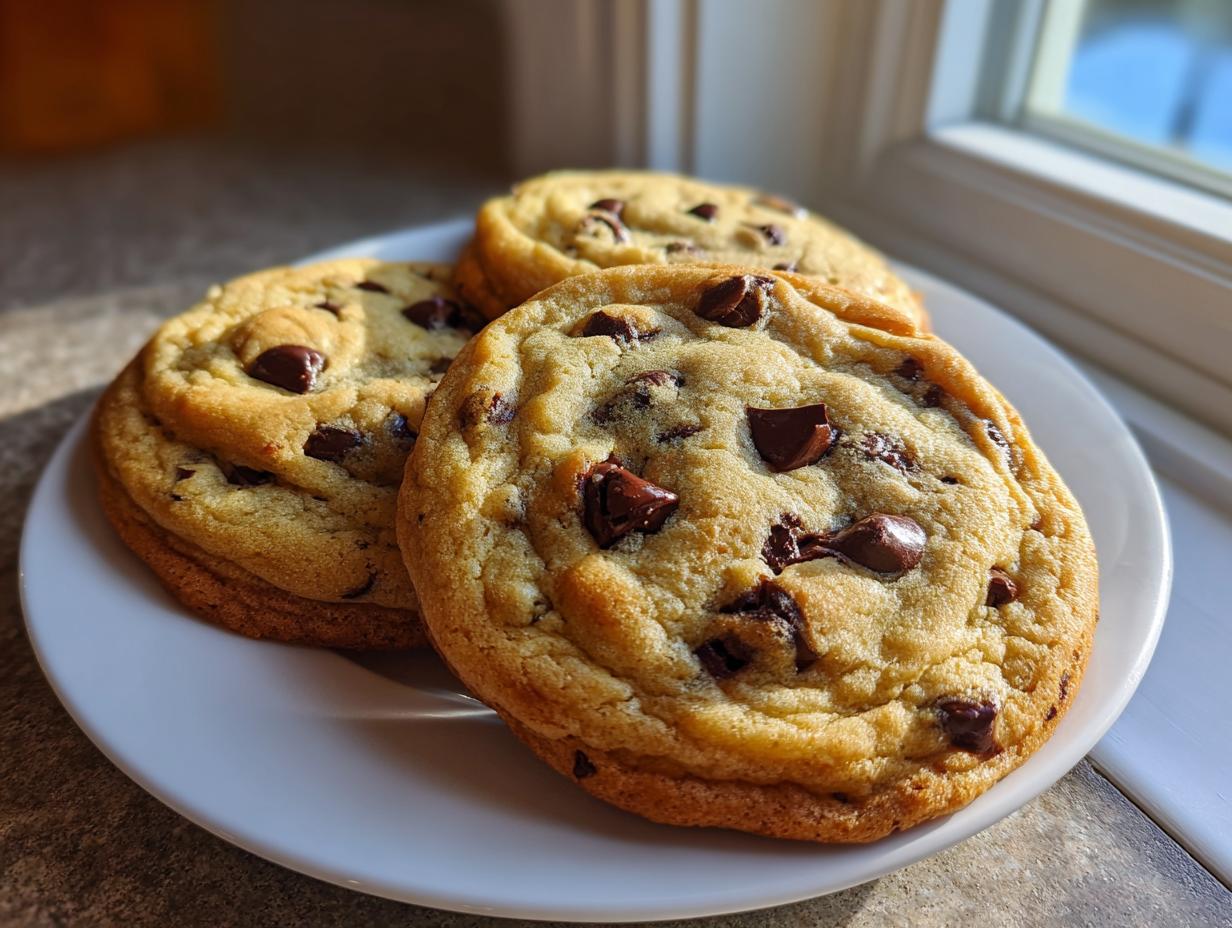
You know that craving, right? The one that hits suddenly—the moment you just need a warm, gooey center, slightly crisp-edged chocolate chip cookie. For years, when life got crazy busy and I was just trying to get dinner on the table, my kitchen went quiet, and those cravings went unanswered. I thought making the best chocolate chip cookie recipe meant waiting hours for dough to chill, but that just wasn’t realistic for my weeknights! If you’re looking for easy dessert ideas that feel incredibly special, check out my no-bake mini cheesecake recipe while you wait for these to bake.
Well, I cracked the code, friend. This isn’t just another recipe; this is the ultimate secret weapon: The Ultimate No-Chill, Thick & Chewy Bakery Style Chocolate Chip Cookies. I developed this batch right here in my own kitchen diary because I needed that ultimate comfort food fast. Trust me when I tell you, these glorious, gooey chocolate cookies come together in under 30 minutes from start to finish. Stop settling for flat, hard cookies! We’re bringing the bakery experience straight to your table tonight.
- Why This is the Best Chocolate Chip Cookie Recipe for Busy Days
- Gathering Ingredients for Your Ultimate Chocolate Chip Cookies
- Step-by-Step Instructions for Quick Chocolate Chip Cookies
- Expert Tips for Perfect Chocolate Chip Texture
- Variations on Classic Chocolate Chip Cookies
- Serving Suggestions for Homemade Cookies Easy
- Storage and Reheating for Soft and Chewy Cookies
- Frequently Asked Questions About Chocolate Chip Cookies
- Share Your Ultimate Comfort Cookies Experience
Why This is the Best Chocolate Chip Cookie Recipe for Busy Days
I get it, life moves fast. You want soft and chewy cookies that taste like they took all day, but you only have about half an hour before you need to switch gears. That’s why this recipe is a game-changer. We skip the chill time completely. Most recipes make you wait because the butter is too soft or the liquid ratio throws everything off balance. Not here!
I found that by using butter that’s truly just softened—not melted, but definitely not fridge-cold—and adjusting the sugar ratio slightly, the structure holds up beautifully even at 375 degrees. This means you go from mixing bowl to cooling rack unbelievably fast. You can serve these homemade cookies easy style, tonight!
For a really impressive bake, I always recommend checking out my easy brown sugar cinnamon pear crisp recipe for a different kind of comfort treat, but for speed, these no chill chocolate chip cookies can’t be beaten.
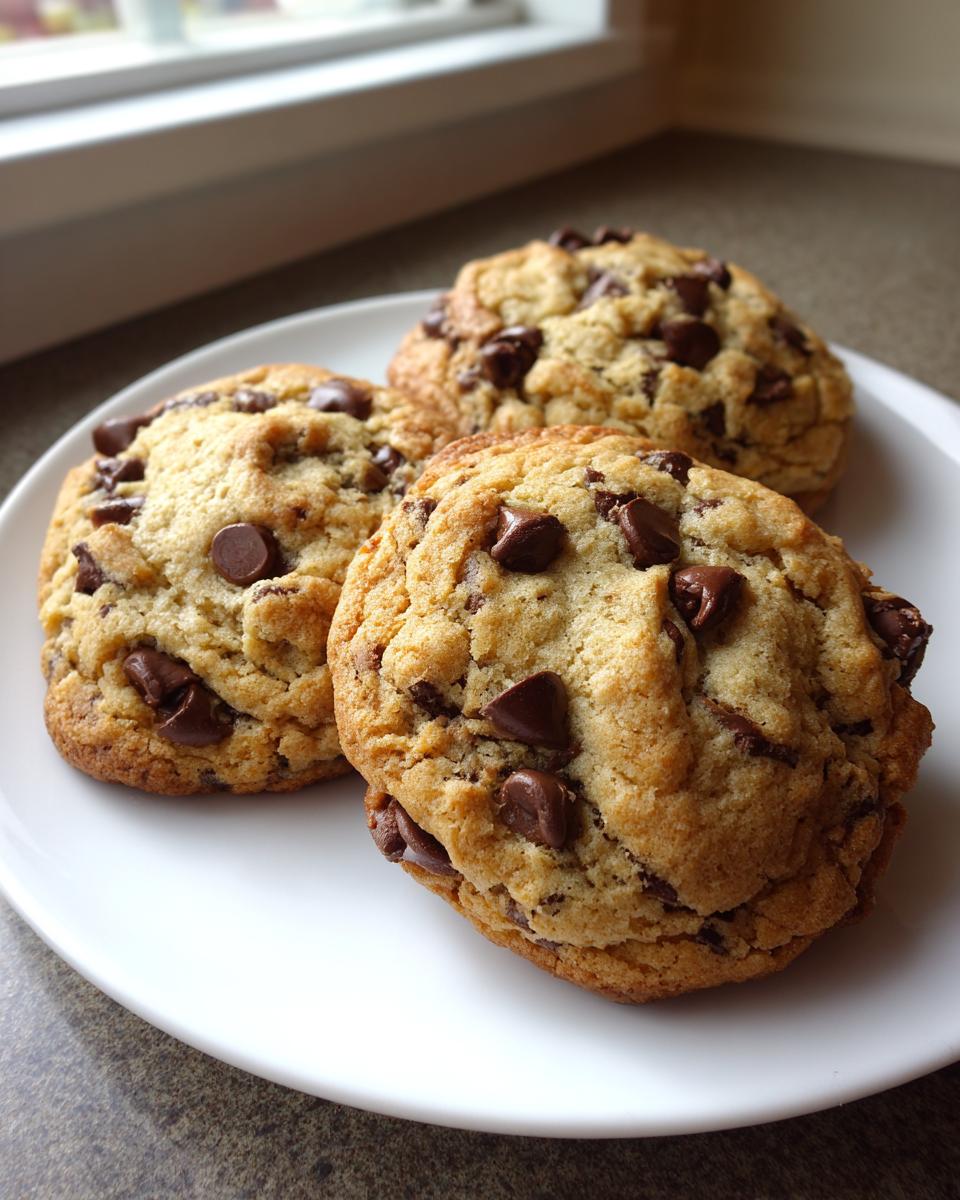
Achieving Bakery Style Chocolate Chip Cookies Texture
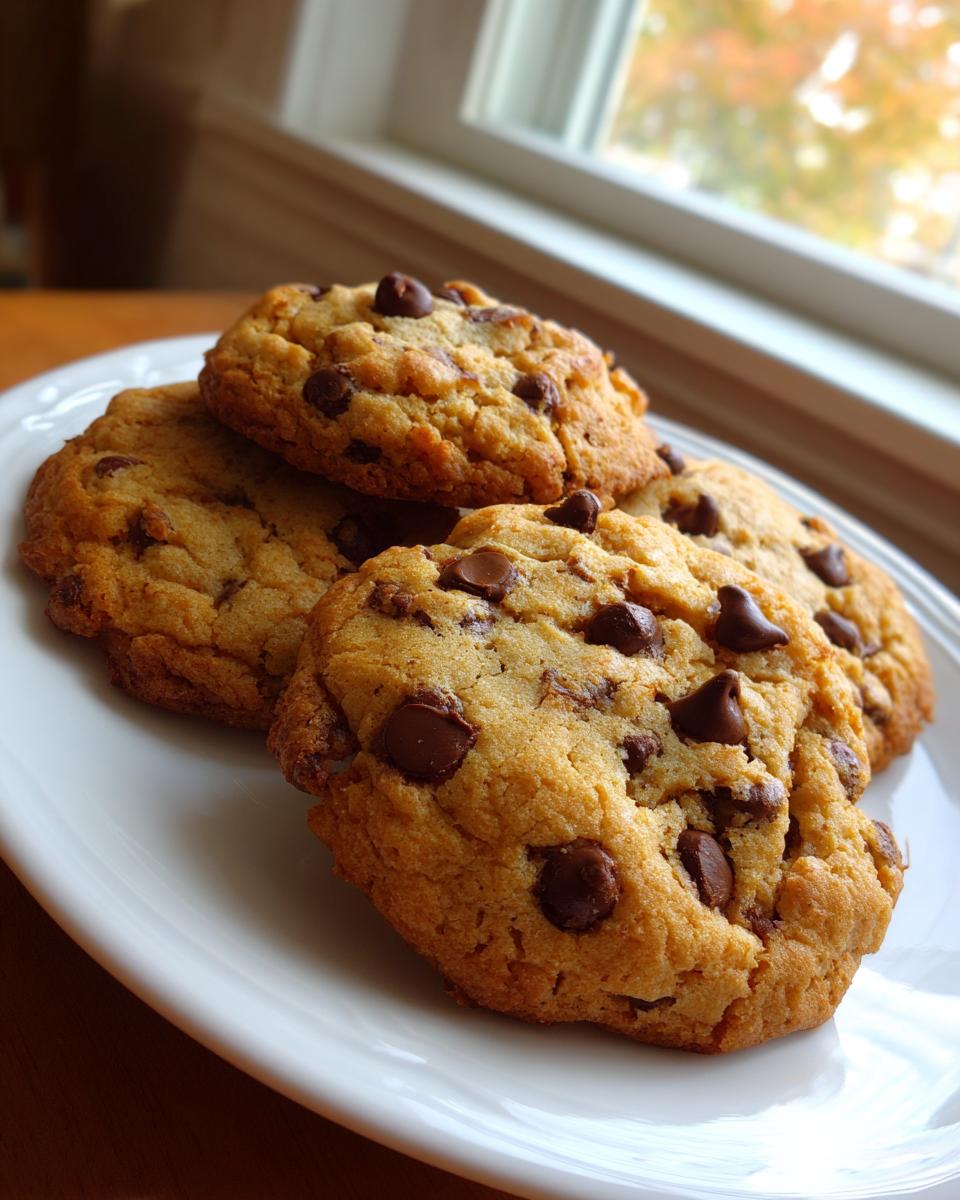
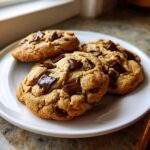
The magic that makes these bakery style chocolate chip cookies is all about those edges versus the center. We want that slight crackle when you bite in around the perimeter, right? That comes from the perfect balance of brown sugar and granulated sugar. But the center? That stays beautifully soft and gooey. The precise amount of flour we use ensures they don’t flatten out into mere discs. They bake up thick, chewy, and exactly how you pictured them when that craving hit!
Gathering Ingredients for Your Ultimate Chocolate Chip Cookies
Okay, before we dive into the mixer, let’s talk about setting ourselves up for success. Since we aren’t waiting around for the dough to chill, the quality and state of your ingredients matter even more! This recipe is incredibly straightforward—no weird, hard-to-find items needed—but precision here is what guarantees those thick chocolate chip cookies we are aiming for.
You’ll be bagging up about two dozen glorious cookies from this batch, so gather everything up and make sure you have your measuring cups ready. I need you to be very specific here: your butter must be truly softened, meaning you can gently press into it, but it shouldn’t feel oily or warm to the touch. Also, when you measure that brown sugar, really pack it down into the cup!
We are using two full cups of semi-sweet chips because why would we ever skimp on the good stuff? If you want a super easy side project while the cookies bake, pop over and look at my easy apple dumpling crescent roll recipe—it’s another winner from the diary!
Here is what you need to round up before we start the creaming process:
- 1 cup (that’s 2 sticks!) unsalted butter, softened—I cannot stress this enough, softened, not melted!
- ¾ cup light brown sugar, making sure you pack it down firmly.
- ¾ cup granulated sugar to balance things out.
- 2 large eggs—make sure they are at room temperature if you can swing it, it helps the texture!
- 1 tablespoon of good vanilla extract.
- 2 ¼ cups all-purpose flour.
- 1 teaspoon baking soda—this is our lift agent!
- ½ teaspoon salt to keep that chocolate flavor popping.
- 2 cups of your favorite semi-sweet chocolate chips.
Step-by-Step Instructions for Quick Chocolate Chip Cookies
Now that we have all our supplies ready, let’s jump into the mixing! Because we aren’t chilling this dough, timing and temperature are your best friends right now. Remember, this entire process is built to give you quick cookie recipes that deliver massive flavor payoff. Preheat that oven right away to 375 degrees Fahrenheit, and make sure you line a couple of baking sheets with parchment paper. Parchment is non-negotiable here; it helps us get those evenly colored bottoms!
While the oven warms up, we tackle the wet ingredients. In a big bowl, get your softened butter mixed with both the brown and granulated sugar. You’ve got to work this mixture until it’s genuinely light and fluffy. If you’re using a hand mixer, this takes a good couple of minutes. This step is absolutely crucial for our thick chocolate chip cookies because it incorporates the air we didn’t allow for later by skipping the chill time. After the sugars look creamy, drop in your eggs one at a time, mixing well after each one, then swirl in that vanilla.
Creaming Butter and Sugars for Thick Chocolate Chip Cookies
Seriously, spend the two to three minutes necessary here! You are aiming for that pale yellow, almost whipped appearance. If your butter is too cold or you rush this part, your cookies will spread out too much later. We want all those little air bubbles locked in! Don’t worry about scrubbing down the sides perfectly; just give it a good mix until it looks like fluffy goodness.
Next, let’s handle the dry stuff. In a separate bowl, whisk together your flour, baking soda, and salt. Whisking dry ingredients ensures the leavening is evenly distributed, preventing any surprise domes or overly salty bites. Now, slowly add this dry mixture to your creamed butter mixture. Run your mixer on low speed and only mix until you see the flour streaks just disappear. When I say ‘just combined,’ I mean stop as soon as you don’t see dry pockets anymore. Overmixing right now develops gluten, and we want tender, not tough!
Finally, grab a spatula and fold in those two cups of chocolate chips. I actually like to check out other fantastic baker tips when I have a moment, like these great chocolate chip cookie tips for inspiration!
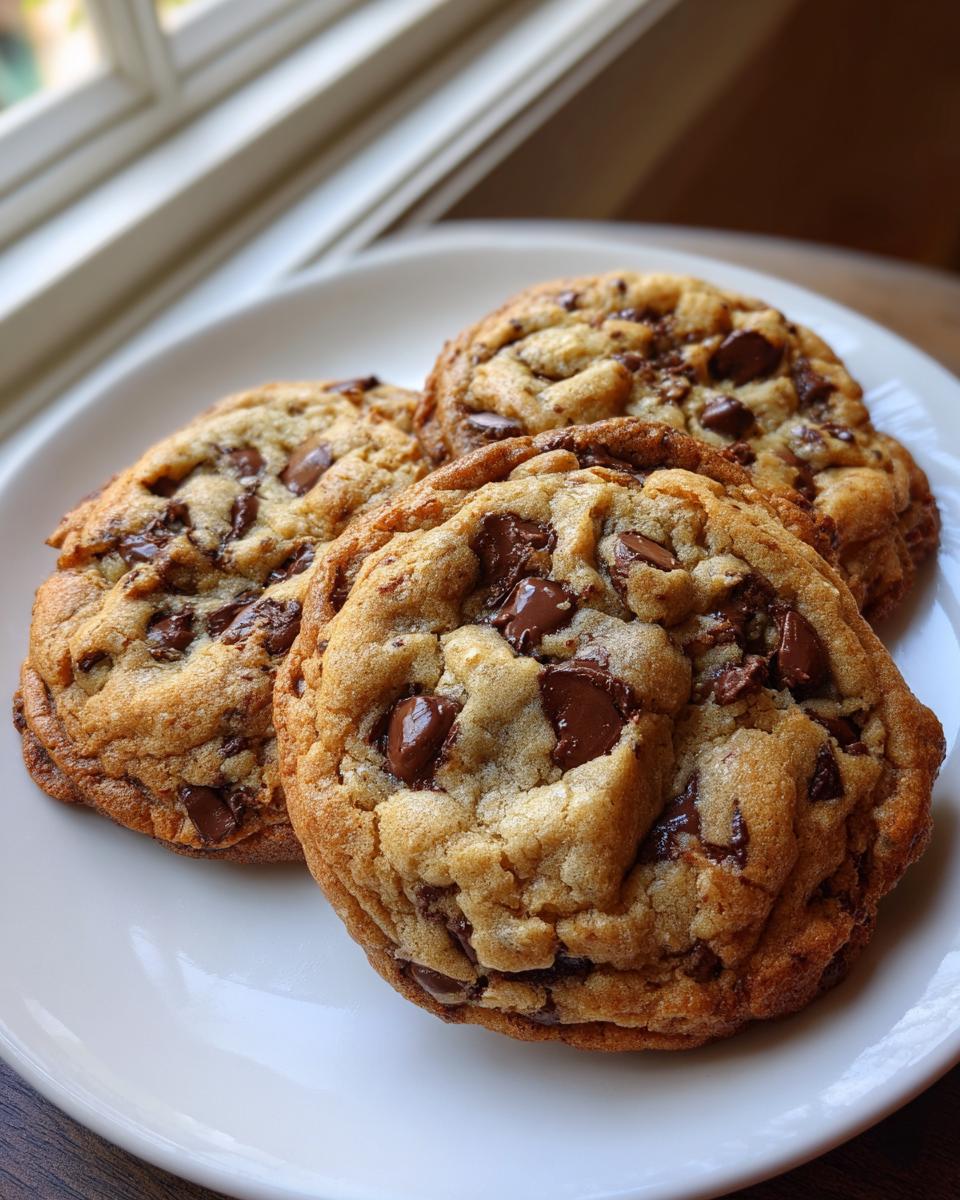
Baking and Cooling for Gooey Chocolate Cookies
Drop rounded tablespoons of dough onto your prepared sheets, spacing them about two inches apart. If you want them extra thick, pile the dough slightly higher rather than spreading it out. Pop them into your 375°F oven. They bake surprisingly fast—usually 9 to 12 minutes. You are looking for the edges to look nicely golden brown, but the centers should still look slightly soft or even a tad underbaked when you pull them out. This is the secret to those gooey chocolate cookies!
Do not touch them yet! Let them rest right on that hot baking sheet for a full 5 minutes. This resting period continues the cooking gently so the centers set up just right without drying out. After five minutes, carefully transfer them to a wire rack to finish cooling. If you’re making my easy homemade breadsticks for dinner, these cookies are ready right after!
Expert Tips for Perfect Chocolate Chip Texture
When it comes to making the very best batch of chocolate chip cookies, it’s honestly all in the details. I’ve spent time flipping through my diary notes and cross-referencing what works best when you need those cookies fast, and I found a few crucial pointers that guarantee that amazing perfect chocolate chip texture everyone chases.
You already know I hinted at brown butter earlier? That’s a total flavor booster! If you have an extra five minutes before you start creaming, take a stick of your butter, melt it down until it foams and those milk solids turn nutty brown at the bottom of the pan—that’s brown butter! Just let it cool slightly so it’s solid but soft before you cream it with the sugars. It adds this unbelievably deep, caramel note that takes these cookies over the top. You can try a half-and-half approach next time you bake, maybe using brown butter for half the amount called for in the main recipe, and standard softened butter for the rest.
I also suggest you check out my thoughts on making an incredible chocolate caramel toffee crunch cake if you want to go for serious decadence! But regardless of your add-ins, nailing the structure first is key.
Ingredient Temperature Matters for Great Chocolate Chip Cookies
I listed room temperature eggs in the ingredients list, and I really want you to stick to that if you can! This isn’t about being fussy; it’s pure science, I promise. When your eggs are at room temperature, they emulsify (which just means they combine smoothly) much better with the creamed butter and sugar. Cold eggs can actually cause the butter mixture to seize up or look curdled, which messes up all those tiny air pockets we worked so hard to create when creaming!
A poor emulsion means the cookie dough won’t hold its structure as well in the oven. Since we skipped the chill time, we need everything else to be as ready as possible to produce those thick, bakery-style results. A smooth base equals a thick cookie!
If you want to see how another amazing baker tackles texture, take a look at these tips from an expert here; it really clarifies a lot of the structural points we talked about!
Variations on Classic Chocolate Chip Cookies
The beauty of this base recipe is how wonderfully sturdy and adaptable it is. Since we nailed the structure by skipping the chill time, you’ve got a perfect canvas for creativity! The classic semi-sweet is amazing, but don’t stop there if you’re feeling adventurous. This is your chance to make something truly unique for your next gathering. Think about turning these into loaded chocolate chip cookies!
What about mixing up your chocolate? I often swap out half those semi-sweet chips for dark chocolate chunks for a deeper flavor, or even toss in some milk chocolate chips if the kids are helping me bake. You can bring in texture too—toasted pecans or walnuts work like a dream. Just make sure if you use nuts, you toast them lightly first! It wakes up the flavor immensely. If you want to see an example of how I swap ingredients slightly for a seasonal twist, check out my peppermint chocolate chip cookies recipe for inspiration!
Trying Brown Butter Chocolate Chip Cookies
We touched on this earlier, but I want to stress it again: brown butter is honestly the fastest way to elevate any cookie. It takes maybe three extra minutes of hands-on time, but the reward is massive. When you melt the butter down until those milk solids turn deep golden brown and it smells incredibly nutty, you are infusing fat with complex caramel and toffee notes. That flavor melts right into the dough, giving you that rich taste you usually only find in the absolute best, most artisanal bakery cookies. It pairs especially well if you use dark chocolate!
Serving Suggestions for Homemade Cookies Easy
Now that you have these incredible, warm, thick cookies, what do you do? Well, you have to eat at least one immediately, preferably while it’s still slightly molten! For a super simple, classic pairing that screams comfort, nothing beats a big glass of ice-cold milk. If you’re feeling ambitious, a scoop of vanilla bean ice cream turns this quick bake into an epic dessert.
I also love topping mine with just a tiny sprinkle of flakey sea salt right after they come out of the oven. That little salt contrast cuts through the sweetness perfectly, especially if you used semi-sweet chips. If you need another simple yet impressive treat for a weeknight, you absolutely have to try my easy no-bake classic tiramisu recipe—it requires zero oven time!
Storage and Reheating for Soft and Chewy Cookies
You absolutely cannot let these glorious, perfect cookies go stale! Keeping them soft and chewy is just as important as getting them baked right in the first place. Since these cookies are so thick and loaded with moisture, they actually hold up better than thinner cookies, but we still need a plan.
For short-term storage—say, the next three to four days—you need an airtight container. I generally let them cool completely before locking them up. If you stack them, trying putting a small piece of wax paper or parchment paper between each one. This stops them from sticking together, which is a big win when you’re trying to pull out just one perfect cookie!
If you have more than two dozen cookies, or if you know you won’t eat them all within four days, freezing is the way to go. Flash freeze them first on a baking sheet for about an hour, then transfer them all into a heavy-duty freezer bag. They are great frozen for up to three months!
When you just absolutely MUST have that warm, gooey center again, don’t even think about the microwave for too long! That gets chewy cookies tough fast. Pop one (or two!) on a microwave-safe plate and warm it for just 10 to 15 seconds. It’s long enough to soften the chocolate chips and warm the dough without drying it out. For a real treat, try reheating it for 3 minutes in a 350°F oven—it brings back that fresh-from-the-oven crisp edge. If you are hosting dinner soon, you might want to look up my recipe for creamy mashed potatoes to pair them with later!
If you’re looking for more great tips on keeping cookies fresh after baking, this external advice is super helpful too: soft and chewy chocolate chip cookies.
Frequently Asked Questions About Chocolate Chip Cookies
I know you’re eager to get baking, but sometimes questions pop up when you’re looking at ingredients you don’t usually use! Because this recipe aims for that perfect thick, bakery-style result, people often ask about structure. I’ve pulled the top three questions I get about getting those easy dessert ideas just right in your own kitchen.
Why did my chocolate chip cookies spread too much?
This happens when the dough is too warm when it hits the oven, usually because the butter was too soft or even melted when you creamed it. If the butter melts too fast in the oven, the structure collapses before the flour has a chance to set. Also, if you use too much liquid or too much white sugar compared to brown sugar, they will spread. The secret to these cookies staying thick is making sure your butter is just softened, not greasy, and that we creamed it properly with the sugars to build that initial structure!
Can I use shortening instead of butter in these chocolate chip cookies?
You absolutely can, but you’ll change the flavor profile completely! Butter gives us that rich, homemade flavor we are aiming for here. Shortening has a higher fat content and doesn’t melt as quickly, which *will* help them stay thicker, but they end up tasting much milder and a bit greasier. For the truly best chocolate chip cookie recipe experience, stick with the butter, or try my note about brown butter for extra depth!
I have a fantastic recipe for easy French toast if you’re looking for other quick morning treats! Let me know if you have any other questions after you bake your first batch!
Share Your Ultimate Comfort Cookies Experience
Okay, now the best part: diving in! I truly hope that as you’ve followed these steps, your kitchen has filled with that amazing, unmistakable aroma of fresh-baked chocolate. That’s the smell of comfort, and that’s what this Little Kitchen Diary is all about—making life delicious and easy, even when you need your favorite treats right now!
I’m crossing my fingers that these chocolate chip cookies are the thickest, chewiest batch you’ve ever pulled out without worrying about chilling the dough. Did they live up to the promise? Did you get that perfect crispy edge and gooey center? Don’t be shy!
I want to hear every detail! Were they as easy as I promised? Leave a comment below and tell me your thoughts, give this recipe a star rating, and let me know if you tried any fun variations, like adding toasted nuts or trying that brown butter trick. If you snapped a picture of your glorious, bakery-style haul, tag me on social media! I love seeing your successes in your own kitchens. Every time you share your baking adventure, you help keep this diary full of real-life, delicious cooking inspiration. For more about my journey, you can always check out the About Page!
PrintThe Ultimate No-Chill, Thick & Chewy Bakery Style Chocolate Chip Cookies
Follow this simple recipe to make the best homemade chocolate chip cookies. You get thick, bakery style results that are soft and chewy inside with slightly crisp edges, all without needing to chill the dough.
- Prep Time: 15 min
- Cook Time: 12 min
- Total Time: 27 min
- Yield: 2 dozen cookies 1x
- Category: Dessert
- Method: Baking
- Cuisine: American
- Diet: Vegetarian
Ingredients
- 1 cup (2 sticks) unsalted butter, softened
- ¾ cup packed light brown sugar
- ¾ cup granulated sugar
- 2 large eggs
- 1 tablespoon vanilla extract
- 2 ¼ cups all-purpose flour
- 1 teaspoon baking soda
- ½ teaspoon salt
- 2 cups semi-sweet chocolate chips
Instructions
- Preheat your oven to 375 degrees Fahrenheit. Line baking sheets with parchment paper.
- In a large bowl, cream together the softened butter, brown sugar, and granulated sugar until light and fluffy. This takes about 2 to 3 minutes with a mixer.
- Beat in the eggs one at a time, mixing well after each addition. Stir in the vanilla extract.
- In a separate medium bowl, whisk together the flour, baking soda, and salt.
- Gradually add the dry ingredients to the wet ingredients, mixing on low speed until just combined. Do not overmix.
- Fold in the chocolate chips using a spatula.
- Drop rounded tablespoons of dough onto the prepared baking sheets, spacing them about 2 inches apart. For thicker cookies, slightly mound the dough.
- Bake for 9 to 12 minutes, or until the edges are golden brown and the centers look slightly underbaked.
- Let the cookies cool on the baking sheet for 5 minutes before transferring them to a wire rack to cool completely.
Notes
- For extra flavor, substitute half of the butter with browned butter. Let the butter cool slightly before creaming it with the sugars.
- If you prefer a crispier edge, bake for 1 minute longer.
- For the best texture, use room temperature eggs.
Nutrition
- Serving Size: 1 cookie
- Calories: 180
- Sugar: 15g
- Sodium: 95mg
- Fat: 10g
- Saturated Fat: 6g
- Unsaturated Fat: 4g
- Trans Fat: 0g
- Carbohydrates: 22g
- Fiber: 1g
- Protein: 2g
- Cholesterol: 30mg