
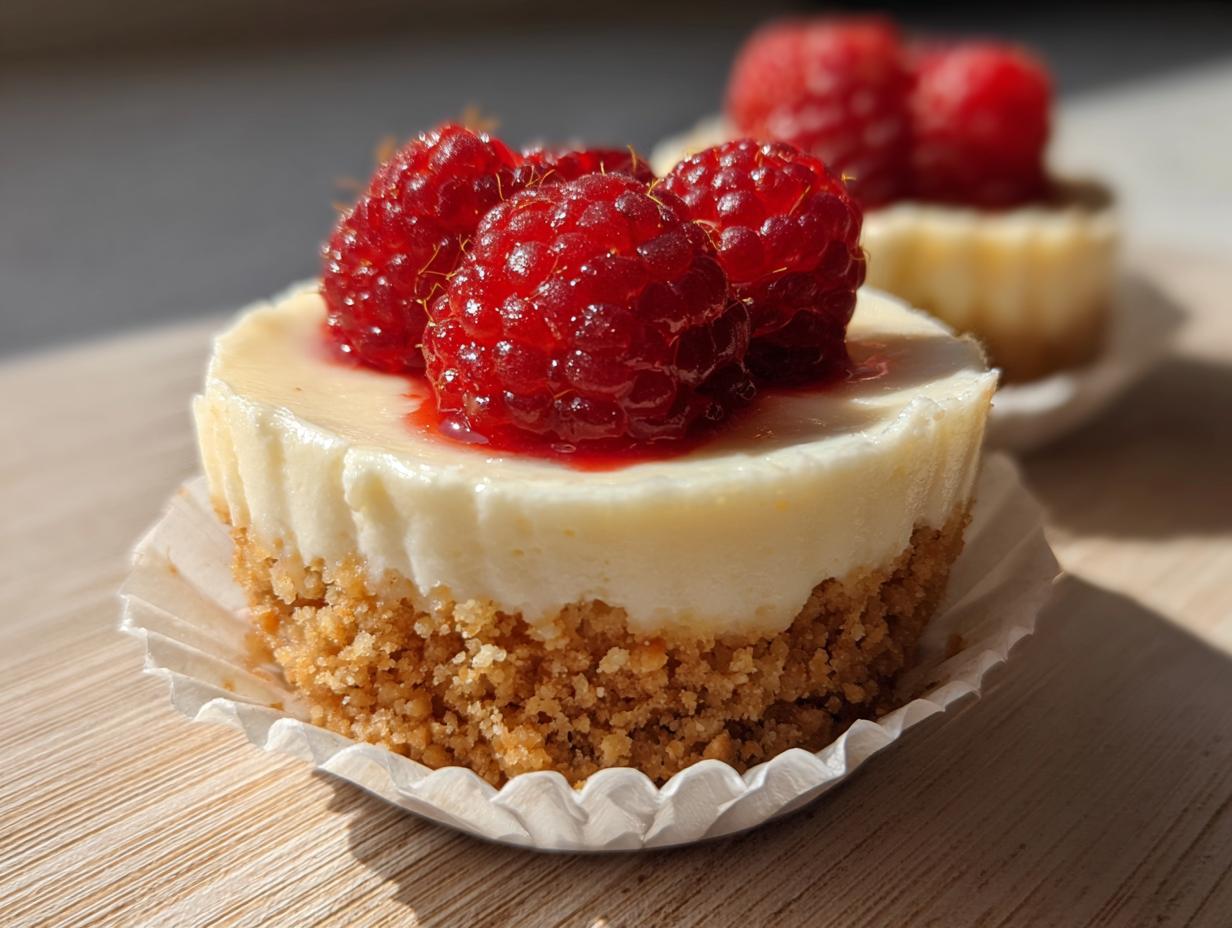
I know that feeling when a sweet craving hits, but the thought of turning on the oven feels like way too much work. That’s exactly why I’m sharing what might be the most useful recipe in my little kitchen diary: these Easy No-Bake Mini Cheesecake Cups. Seriously, they are just dreamy! When you need a quick cheesecake dessert that still delivers that rich, creamy cheesecake filling everyone expects, this is it. Forget complicated techniques; this recipe is all about bringing simple, joyful moments back to your busy week. If you’re looking for the best mini cheesecake that tastes utterly indulgent, you’ve found your match.

- Why This Easy Mini Cheesecake Recipe Is Your New Go-To Dessert
- Gathering Ingredients for Your Mini Cheesecake Cups
- How to Make Mini Cheesecakes: Step-by-Step Instructions
- Expert Tips for the Best Mini Cheesecake Recipe
- Customizing Your Mini Cheesecake Topping Ideas
- Storage and Keeping Portable Cheesecake Treats Fresh
- Frequently Asked Questions About This Mini Cheesecake Recipe
- Estimated Nutritional Data for This Quick Cheesecake Dessert
- Share Your Sweet Bites Recipe Success
Why This Easy Mini Cheesecake Recipe Is Your New Go-To Dessert
I truly believe that the best recipes are the ones that give you the biggest payoff with the least amount of fuss. That’s why these easy mini cheesecakes earned permanent residence in my recipe book. They check every box for a busy weeknight or a spur-of-the-moment gathering.
- Zero oven time means no frantic hovering and absolutely no risk of cracks!
- They come together faster than you think—truly a quick cheesecake dessert when you need one.
Perfect Individual Cheesecake Desserts
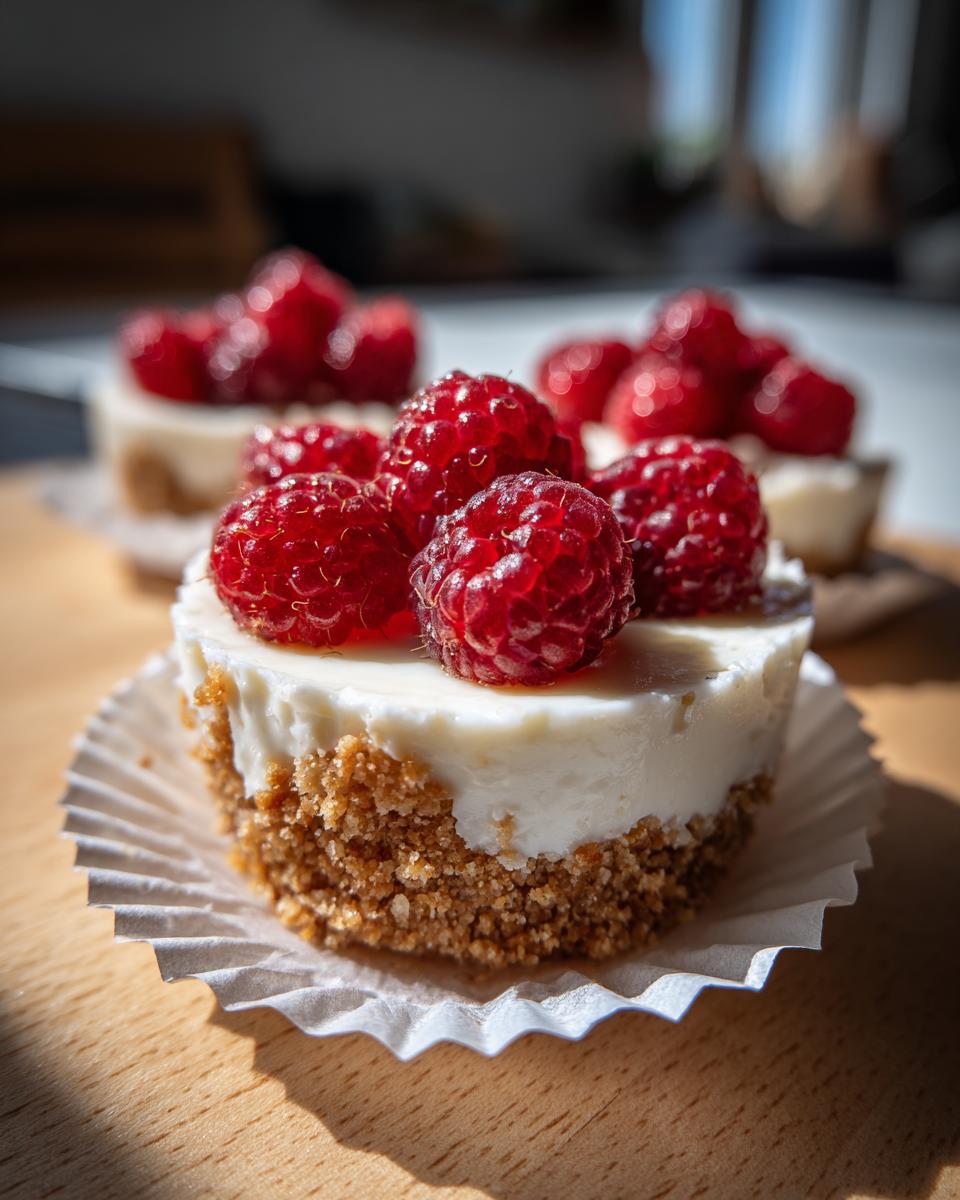
Let’s face it: slicing a whole pie is messy, especially when you’re trying to juggle plates at a party. These are already portioned! You just grab and go. They are wonderfully portable cheesecake treats, which makes serving simple and keeps things neat for everyone.
Achieving the Creamy Cheesecake Filling Without Baking
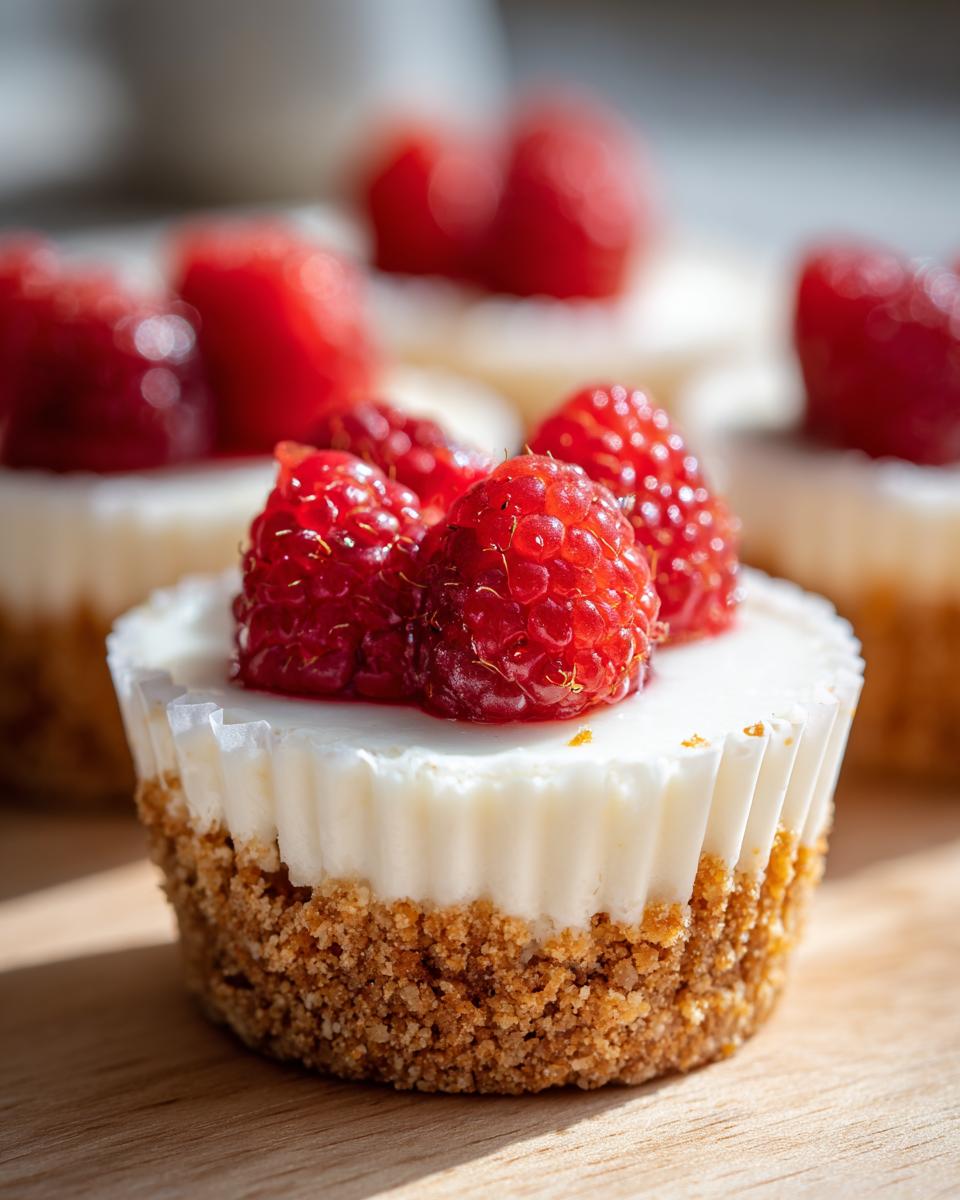
The texture here is everything. You get that signature, rich, velvety mouthfeel, but without any baking guesswork. The heavy cream is my secret weapon here—it whips right into the cream cheese mixture, making it incredibly light and fluffy. We get that perfect, unbelievably creamy cheesecake filling every single time, guaranteed. No cracks, no fuss!
Gathering Ingredients for Your Mini Cheesecake Cups
Okay, sourcing the right components for these mini cheesecake cups is super straightforward. Remember, we are skipping the oven, so everything is about the quality of what goes into the base and the filling. I always try to have everything out on the counter before I start mixing—it keeps things moving smoothly, which is key when we’re trying to make things easy!
For the Graham Cracker Crust Desserts
For the base, you need to keep it simple and compact. You’ll need 1 1/2 cups of graham cracker crumbs, 1/4 cup of granulated sugar for locking everything together, and 6 tablespoons of unsalted butter that must be melted. My little pro tip here? Make sure those graham cracker crumbs are as fine as sand. Smaller crumbs pack down tighter, giving you that solid, sturdy base for your single-serving treats.
For the Creamy Cheesecake Filling
This is where that famous creamy texture comes from! Grab a full 16 ounces of full-fat cream cheese—and this is vital—it absolutely *must* be softened to room temperature. Nobody wants lumps! You’ll also need 1 cup of powdered sugar, 1 teaspoon of vanilla extract, and 1/4 cup of heavy cream. That heavy cream is what keeps the filling light, so don’t skip it!
How to Make Mini Cheesecakes: Step-by-Step Instructions
Making these mini cheesecakes is honestly one of the easiest things you’ll do all week. Since we’re using the no-bake method, the process is broken down into three simple parts: crust, filling, and chilling. Just follow along, and you’ll have perfect mini cheesecake cups ready for the fridge in minutes!
Preparing the Bite Sized Cheesecake Crust
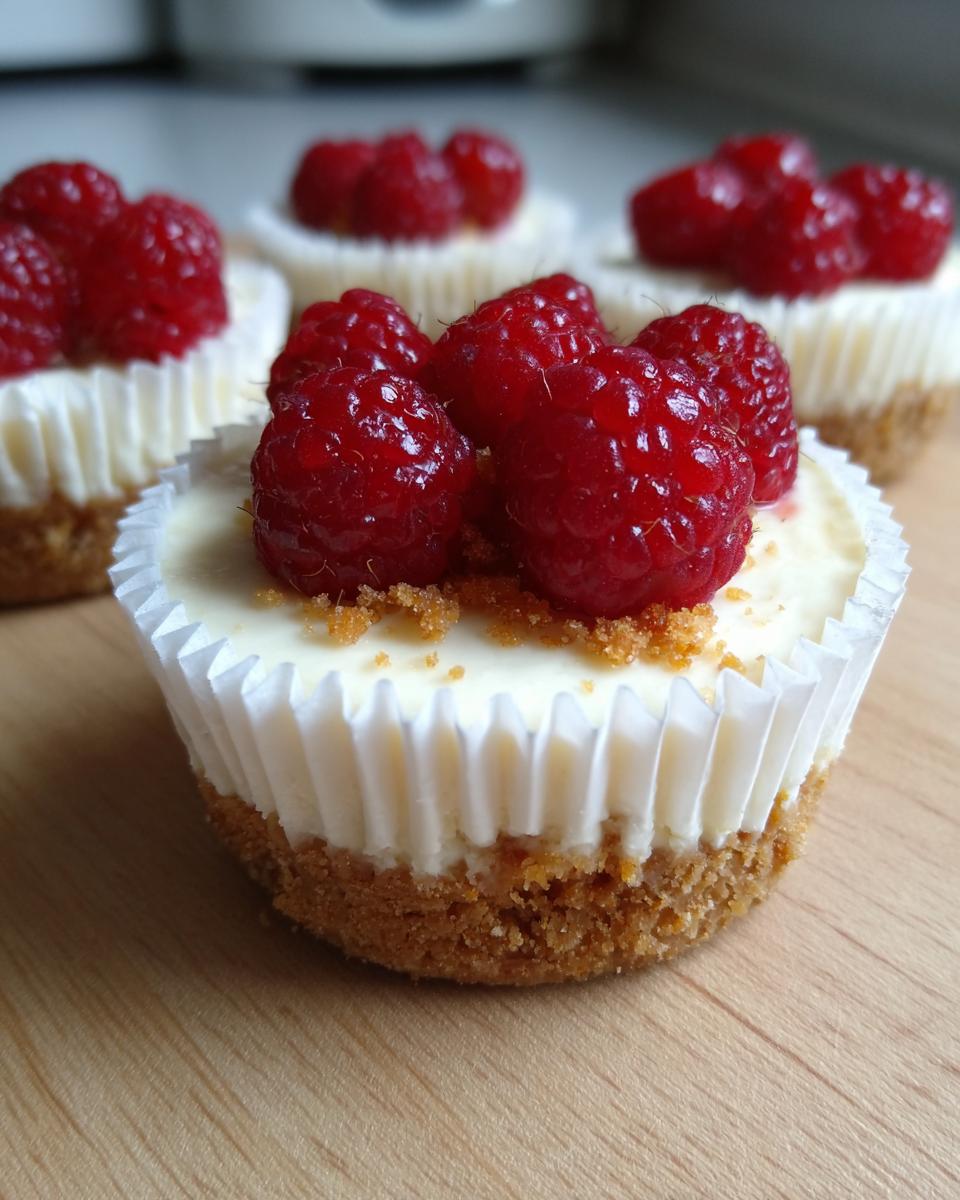
First, get your 12-cup muffin tin ready with paper liners—that’s your best friend for easy removal later. Now for the crust! You’re going to mix your graham cracker crumbs, that little bit of sugar, and the melted butter in a bowl. Stir it until it looks like wet sand. Take about a tablespoon and a half of that mixture and press it really firmly into the bottom of each paper liner. Push down hard; you want a solid base! Once they’re all packed in, pop that tin straight into the freezer while you whip up the filling. A cold base sets the crust up perfectly.
Mixing the No Oven Cheesecake Filling
Grab a big bowl and your mixer. The absolute first step is beating that softened cream cheese until it is completely smooth and glorious. No lumps allowed! Once you see that silky texture, start adding the powdered sugar and vanilla, mixing it slowly until it just barely comes together. Stop mixing as soon as it’s combined! And here’s the last bit: slowly drizzle in the heavy cream. Beat it again until it’s light and airy. If you overmix cream cheese once the sugar is in, it can get a little grainy, so be gentle!
Assembling and Chilling the Mini Cheesecake Cups
Time to fill them up! You can use a spoon, but honestly, a piping bag makes this step so neat and professional looking. Divide the creamy filling evenly over those chilled crusts. Make sure the tops look nice and smooth.
Now for the hardest part: waiting! You have to chill these individual cheesecake desserts for a minimum of four hours, but I always tell people if you can wait overnight, you win! That overnight chill is what truly transforms the filling from soft to that firm, sliceable, perfect texture we all crave.
Expert Tips for the Best Mini Cheesecake Recipe
Getting these mini cheesecakes right isn’t just about following the steps; it’s about knowing the small secrets that make the flavor and texture sing. Since this is a no-bake recipe, ingredient quality and temperature play an even bigger role than usual. Trust me, a little attention here saves you from disappointment later!
Ingredient Notes and Substitutions for Your Mini Cheesecake
Always use full-fat cream cheese here. If you try to skimp with the low-fat stuff, the texture will be thin and watery, and that’s the opposite of the rich vibe we want for our creamy cheesecake filling. Also, if you happen to be out of heavy cream—oops!—you can swap it 1:1 with sour cream. It will give the filling just a tiny bit of extra tang, which I actually really love.
And remember that freezer tip for the crust I mentioned? If you are rushing, putting the crust base in the freezer for exactly 10 minutes before adding the filling guarantees it won’t crumble when you bite into it. It’s a tiny step that really locks everything into place!
Customizing Your Mini Cheesecake Topping Ideas
Now that you have these perfect, cool, and creamy little bites, the fun really begins! This is where you let your imagination run wild with mini cheesecake topping ideas. Since the filling is so nicely balanced, it’s a fantastic canvas for whatever you’re craving.
If I’m making these for a party, I usually set out small bowls of toppings so guests can build their own little dessert. Fresh raspberries and blueberries look gorgeous against the white filling. For serious indulgence, you absolutely have to try a drizzle of good quality caramel sauce or even some melted dark chocolate. These bite sized cheesecake treats are ready to be dressed up!
Storage and Keeping Portable Cheesecake Treats Fresh
The best part about these portable cheesecake treats? They are make-ahead superstars! Since we skipped the oven, they hold up beautifully in the fridge. You can definitely make these a day or two before your event, which takes so much stress out of party prep, right?
They stay perfectly good for up to four days stored in an airtight container in the refrigerator. You want them nice and cold when you serve them, so make sure they chill for that full four hours minimum before you even think about topping them. No need to reheat anything—these individual cheesecake desserts are always best served straight from the cold!
Frequently Asked Questions About This Mini Cheesecake Recipe
It’s totally normal to have questions when you’re trying out a new dessert, especially when it promises that perfect creamy texture without needing the oven! I’ve collected some of the things I always get asked about these easy mini cheesecakes. Having answers upfront means you can skip the trouble and get straight to enjoying these wonderful sweet bites recipe successes.
Can I make a New York Style Mini Cheesecake using this recipe?
That’s a great question! Traditional New York style generally means a baked cheesecake that has a denser, richer texture, often involving eggs and a water bath. Since this is our super swift no bake mini cheesecakes version, the texture will be lighter and fluffier, more like a mousse, though still incredibly rich because we’re using full-fat cream cheese and heavy cream. It’s decidedly *not* New York style, but trust me, it’s absolutely delicious for anyone wanting a quick cheesecake dessert!
How do I prevent my mini cheesecake cups from sticking to the liners?
This is one of my favorite tips I learned when making these individual portion desserts! The paper liners are your friend, but if they stick, it’s a pain to peel away. I highly recommend chilling the crust base in the freezer for that 10 minutes I mentioned before you add the filling. Getting that butter and crumb mixture completely firm locks the crust in place. Also, when you peel them out later, peel the liner away slowly from the sides rather than yanking it straight up. Slow and steady wins the race!
Why is my filling runny even after chilling?
If your creamy cheesecake filling stays soft, it usually comes down to two culprits. First, was your cream cheese fully softened before you started? Cold cream cheese won’t incorporate smoothly. Second, and this happens sometimes, if we accidentally overmix or use too little heavy cream, it won’t set up right. If you followed the steps and it’s still too soft, pop it back into the fridge for another two hours. If that fails, sometimes adding an extra tablespoon of powdered sugar can help bind it slightly next time, but for now, just enjoy them a bit softer!
Estimated Nutritional Data for This Quick Cheesecake Dessert
I’m sure you’re curious about what’s in these little bites of joy! As you know, since this is a quick cheesecake dessert and we aren’t baking, the ratios are a little different than a full-sized New York slice. Here’s the approximate nutrition breakdown per serving, just for the base recipe without any extra drizzles or fruit you might add on top.
- Serving Size: 1 cup
- Calories: 280
- Sugar: 22g
- Sodium: 180mg
- Fat: 18g (11g Saturated)
- Carbohydrates: 25g
- Protein: 5g
Just keep in mind that these values are estimates! They rely on the exact brands of cream cheese and the type of graham crackers you use. If you pile on the chocolate sauce, the numbers are definitely going up!
Share Your Sweet Bites Recipe Success
I really hope these mini cheesecake cups make cooking simple and joyful for you, just like they do for me!
If you tried this recipe, please let me know how they turned out. Did you use caramel or berries on top? Drop a rating below and share your photo with me! We’re all about bringing easy, delicious food back to our tables here at the Diary, and your feedback truly helps our little kitchen grow. Head over and see what others thought on no bake mini cheesecakes inspiration!
PrintEasy No-Bake Mini Cheesecake Cups

Make these creamy, bite-sized mini cheesecakes without turning on your oven. This simple recipe uses a graham cracker crust and results in perfect individual desserts for any party or sweet craving.
- Prep Time: 20 min
- Cook Time: 0 min
- Total Time: 4 hr 20 min
- Yield: 12 servings 1x
- Category: Dessert
- Method: No-Bake
- Cuisine: American
- Diet: Vegetarian
Ingredients
- 1 1/2 cups graham cracker crumbs
- 1/4 cup granulated sugar (for crust)
- 6 tablespoons unsalted butter, melted
- 16 ounces cream cheese, softened
- 1 cup powdered sugar
- 1 teaspoon vanilla extract
- 1/4 cup heavy cream
- Optional toppings: fresh berries, chocolate sauce, caramel
Instructions
- Prepare a 12-cup muffin tin by lining each cup with paper liners.
- Make the crust: In a small bowl, mix the graham cracker crumbs, 1/4 cup granulated sugar, and melted butter until combined.
- Press about 1 1/2 tablespoons of the crumb mixture firmly into the bottom of each muffin liner to form the crust. Place the tin in the freezer while you prepare the filling.
- Make the filling: In a large bowl, beat the softened cream cheese with an electric mixer until smooth. Scrape down the sides.
- Gradually add the powdered sugar and vanilla extract, mixing until just combined and smooth. Do not overmix.
- Slowly mix in the heavy cream until the filling is light and creamy.
- Spoon or pipe the cheesecake filling evenly over the chilled crusts in the muffin cups. Smooth the tops.
- Chill the mini cheesecakes in the refrigerator for at least 4 hours, or until firm. For best results, chill overnight.
- Before serving, top each mini cheesecake cup with your desired toppings, such as fresh berries or a drizzle of sauce.
Notes
- For a firmer crust, chill it in the freezer for 10 minutes before adding the filling.
- If you do not have heavy cream, you can substitute with an equal amount of sour cream for a slight tang.
- These individual cheesecake desserts keep well in the refrigerator for up to 4 days.
Nutrition
- Serving Size: 1 cup
- Calories: 280
- Sugar: 22
- Sodium: 180
- Fat: 18
- Saturated Fat: 11
- Unsaturated Fat: 7
- Trans Fat: 0.5
- Carbohydrates: 25
- Fiber: 1
- Protein: 5
- Cholesterol: 55