
Honestly, I’m embarrassed by how long I relied on those plastic squeeze bottles of syrup growing up. You know the ones—they taste sweet, sure, but they’re mostly just corn syrup and additives, right? When I started digging my way back into real cooking, one of the first things I swore off was store-bought topping. Seriously, why buy it when you can make something infinitely better in about ten minutes?
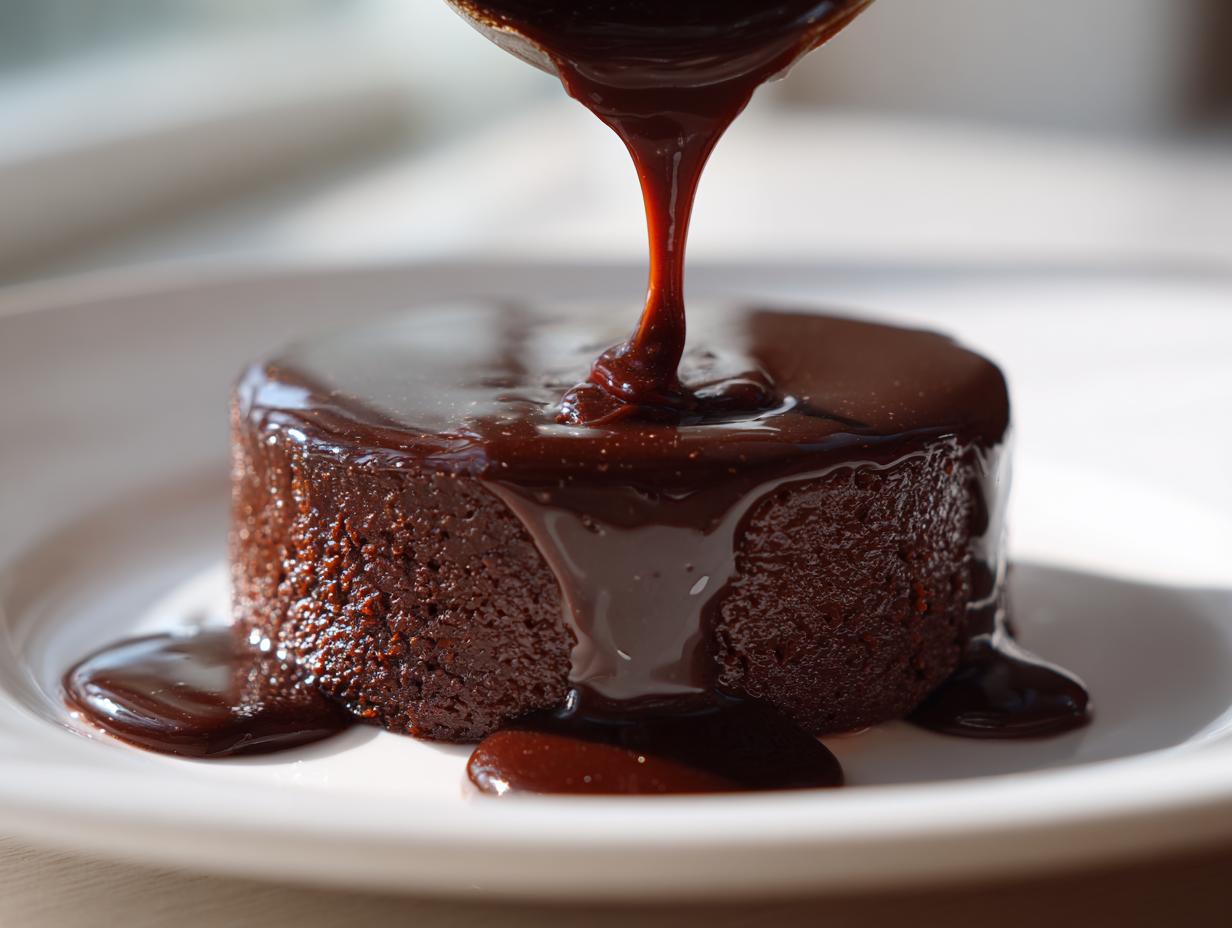
This recipe for homemade chocolate syrup is pure pantry magic. We’re using good old cocoa powder, sugar, and water, and that’s it! I promise this rich cocoa syrup will redefine what you think a good drizzle should taste like. It’s my staple now, whether I’m doctoring up my morning coffee or drowning vanilla ice cream. Welcome to the simple, delicious side of dessert condiments.
- Why This Homemade Chocolate Syrup Beats the Jarred Stuff (EEAT Focus)
- Ingredients for Your Quick Pantry Staple Chocolate Syrup
- How to Make Chocolate Syrup from Scratch in 10 Minutes
- Tips for the Perfect Velvety Chocolate Topping
- Versatile Uses for Your DIY Dessert Drizzle
- Storage and Making Ahead for Your Homemade Chocolate Topping
- Variations: Making Gluten Free Chocolate Sauce or Vegan Options
- Frequently Asked Questions About Making Chocolate Syrup
- Serving Suggestions for Your From Scratch Chocolate Syrup
Why This Homemade Chocolate Syrup Beats the Jarred Stuff (EEAT Focus)
When I first started making this, I realized immediately why my grandmother insisted on doing things from scratch. You gain so much control over what you’re eating! This isn’t just nostalgia talking; it’s about superior taste and texture that you just can’t replicate in a factory setting.
This is, hands down, the best homemade chocolate syrup you’ll ever try. Here’s why pulling out a saucepan for five minutes is totally worth it:
- Flavor Purity: You taste real cocoa, brightened by vanilla, not artificial flavorings.
- Ingredient Control: We skip the high-fructose corn syrup completely. This is important to me, and I bet it is to you too!
- Speed: It’s unbelievably fast. Seriously, you can whip this up before the ice cream melts.
Plus, knowing exactly what went into your syrup gives you the confidence to drizzle it liberally. If you’re looking for other recipes where quality ingredients shine, check out my thoughts on the best chocolate chip cookies—same principle applies!
Ingredients for Your Quick Pantry Staple Chocolate Syrup
Seriously, look at this lineup. If you’ve baked anything in the last year, you already have every single thing required for this quick pantry staple syrup. That’s what I love about it—no emergency grocery runs needed!
Here is exactly what you need to gather up:
- 1 cup granulated sugar
- 1 cup unsweetened cocoa powder
- 1 cup water
- 1 teaspoon vanilla extract
- Pinch of salt
That’s it! No fancy thickeners, no mystery powders. Just the basics coming together to make something phenomenal. Grab your saucepan and let’s get gooey!
How to Make Chocolate Syrup from Scratch in 10 Minutes
I know, I know, stovetop recipes for a simple condiment sound like overkill, but trust me on this one—you need that gentle heat to bloom the cocoa and completely dissolve the sugar. If you don’t heat it, you end up with gritty sugar at the bottom of your jar, and nobody wants that in their rich cocoa syrup tutorial!
This whole process is ridiculously fast, hitting that 10-minute mark easily. The key to avoiding those common lumps is all in the very first step. Don’t rush the initial mixing! For folks who love getting deep into kitchen techniques, understanding how these small steps affect the final texture is key, much like when I explain the creaming process for my easy vanilla buttercream recipe.
Combining Dry Ingredients and Water
Go ahead and grab a medium saucepan—nothing fancy! First, whisk together the sugar, the unsweetened cocoa powder, and that tiny pinch of salt. You want to make sure these dry ingredients are perfectly married before you introduce liquid. Then, slowly pour in the water while whisking constantly. Keep stirring until you see absolutely no dry pockets or lumps. This slurry should look smooth, almost like wet sand before you turn on the heat.
Simmering the Chocolate Syrup Base
Now, place that smooth mixture over medium heat. You have to stand right there and stir almost constantly while it heats up. We are looking for the moment it just starts to bubble around the edges and gently boil—that tells us the sugar is fully dissolved. Once you hit that, drop the heat right down and let it simmer for exactly one minute. Do not, under any circumstances, let this turn into a giant, rolling boil, or you risk seizing up the sugar!
Finishing and Cooling Your Silky Smooth Chocolate Sauce
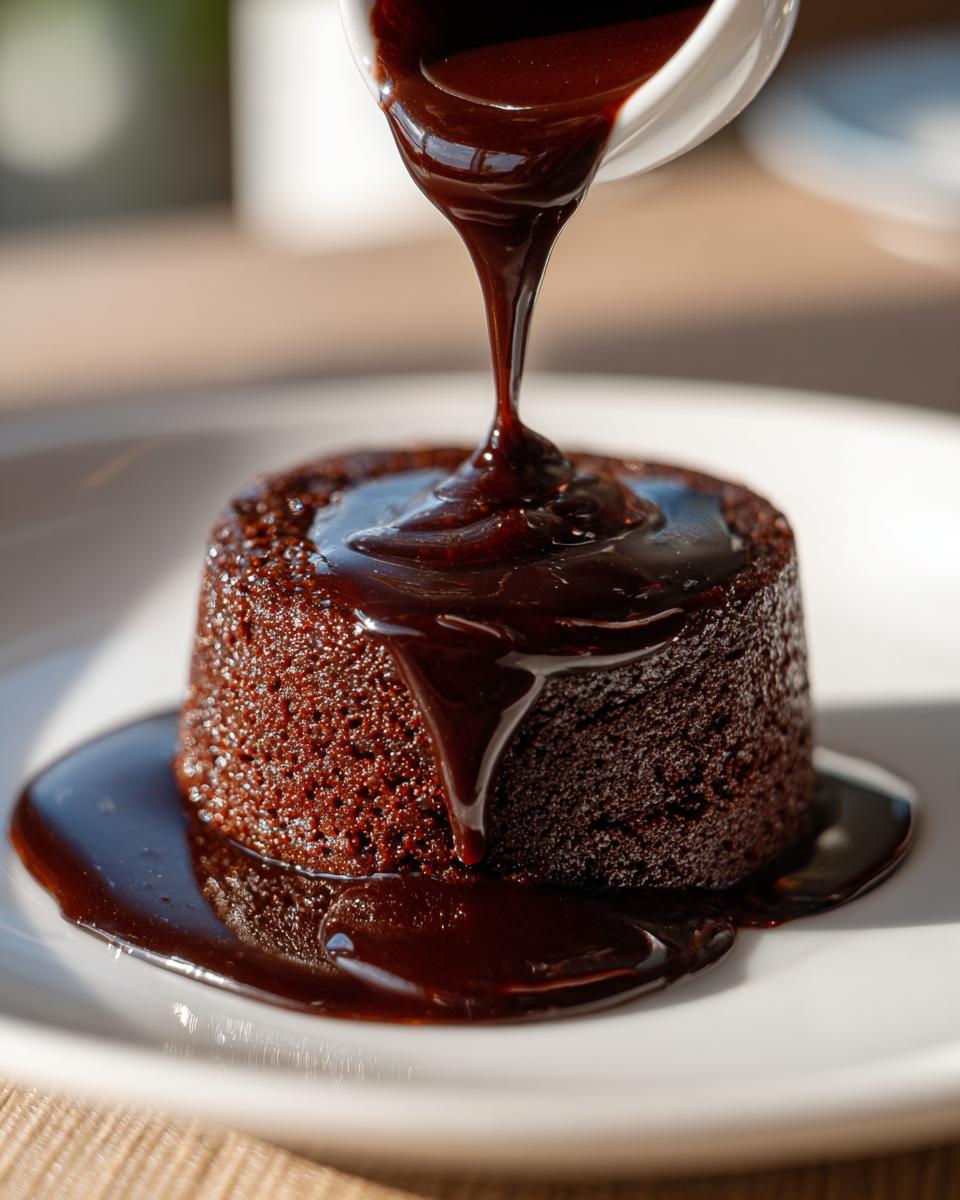
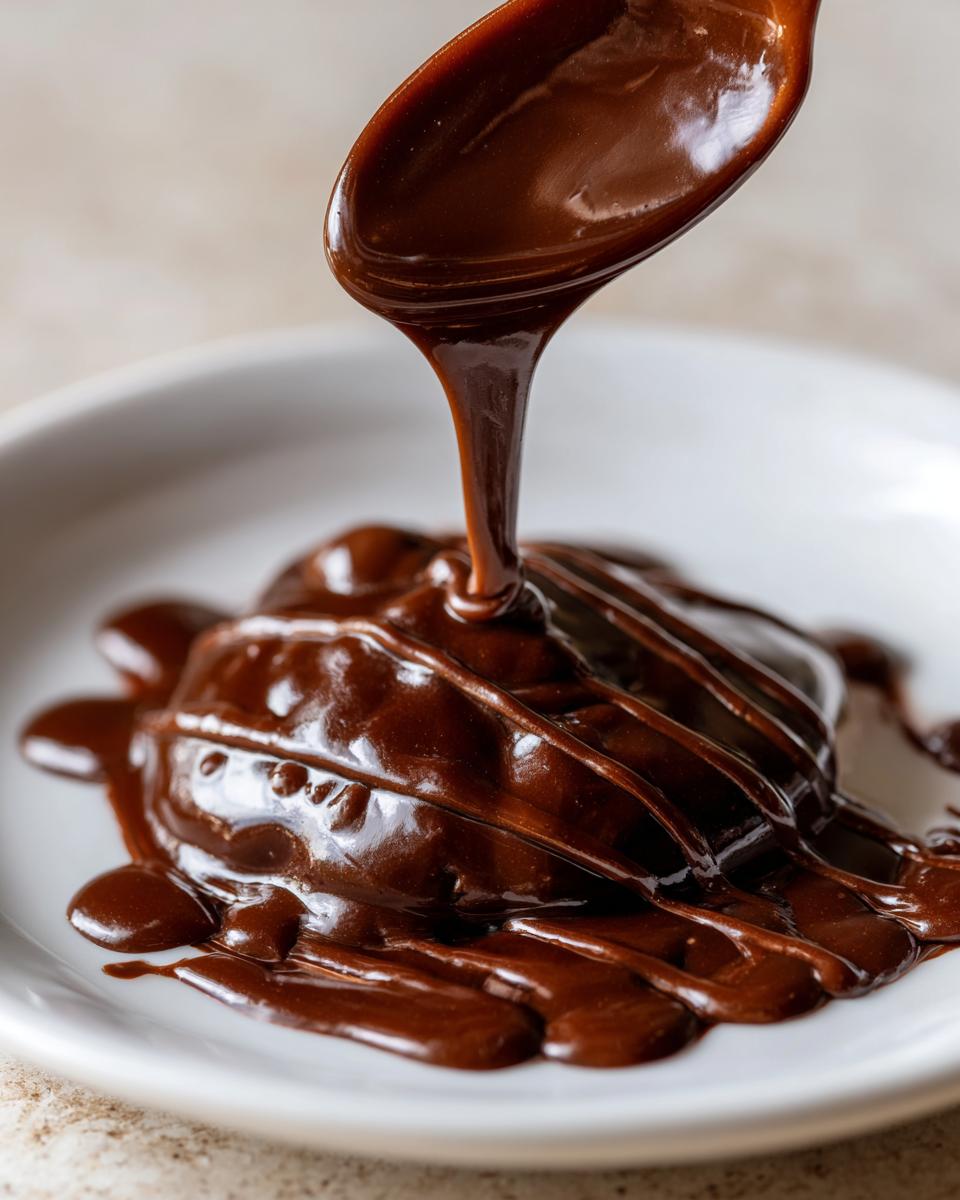
Once that minute of gentle simmering is up, pull the pan right off the burner. This is when we stir in the vanilla extract—it adds such a lovely complexity! Now comes the hardest part: waiting. Pour your amazing, freshly cooked syrup into a jar for cooling. Remember: it will look a little thin right now, but as it cools down, it magically transforms into that thick, silky smooth chocolate sauce you’ve been dreaming about. Patience! If you rush it, you won’t get the right texture.
Tips for the Perfect Velvety Chocolate Topping
You’ve made the syrup, fantastic! Now let’s talk about how to make sure it’s utterly perfect every single time you use it. Small tweaks make a huge difference, especially when you’re planning on using this as an ice cream topping recipe.
The recipe gives you a really versatile syrup—great for thinning out in milk, but maybe a bit too thin for a dramatic drizzle over a slice of pie, right? If you want a seriously thick velvety chocolate topping, try reducing the water by about two tablespoons next time you make a batch. Just a little less water, and you get that super-rich, almost ganache-like texture when it cools.
And storage? Super easy. Keep it in an airtight jar in the fridge. It lasts for ages—up to two weeks without any flavor degradation. Seriously, make a big batch on Sunday, and you’re set for coffee runs all week long. It’s decadent enough to be added to a French silk pie or just drizzled over fruit!
Versatile Uses for Your DIY Dessert Drizzle
Okay, once you have this jar of thick, homemade goodness staring back at you, you’ll realize the sheer potential! Forget what you thought you knew about using syrup. This isn’t just stuff for kids’ pancakes, although it is fantastic on my fluffy strawberry pancakes, I won’t deny it.
My absolute favorite use is making a proper mocha. A big spoonful or two whisked into hot milk and espresso makes the most incredible chocolate simple syrup for coffee—it tastes so much fresher than anything the coffee shop pumps out. And let’s not forget sneaking a drizzle over a bowl of ice cream when no one’s looking!
It’s also fantastic for spiking up other drinks. Try cooling down a glass of milk with a few dollops for instant chocolate milk, or use it as the base for a rich, homemade whipped hot chocolate! You’ll find yourself reaching for this bottle daily.
Storage and Making Ahead for Your Homemade Chocolate Topping
One of the greatest advantages of this easy chocolate sauce recipe is how long it lasts. Since we aren’t dealing with fresh dairy right here (just cocoa and sugar!), it keeps beautifully. Make sure you pour the cooled syrup into a clean, airtight jar—I keep mine hiding in the back of the fridge.
You can safely keep this homemade topping for right around two weeks. That totally satisfies my need for a make ahead dessert sauce; I make one batch, and I’m covered for sundaes and lattes for days. Plus, having it chilled makes it thicker for drizzling! If you love making things ahead, you have to check out my easiest 3-ingredient Oreo fudge recipe sometime, too!
Variations: Making Gluten Free Chocolate Sauce or Vegan Options
Maybe you’re avoiding gluten, or perhaps you’re keeping things strictly plant-based—I totally get it! The great news here is that this basic framework for a homemade chocolate topping is incredibly flexible. It’s all about understanding which parts you can swap without ruining the structure. You’ll find that this recipe is often simpler to adapt than those complicated sauces that rely on stabilizers.
For instance, if you’re trying to make a gluten free chocolate sauce, stop worrying right now! Cocoa powder, sugar, salt, vanilla—none of those things have gluten. So long as your cocoa powder isn’t cross-contaminated (always check the label if you’re extremely sensitive!), you are good to go. This recipe is naturally safe for my gluten-free friends!
Switching to dairy-free or vegan is just as painless, generally speaking. Because the base of our recipe uses water, we aren’t introducing any dairy milk to begin with. That’s a huge win! If you wanted to make an extra rich version, you could experiment with swapping the water for oat milk or almond milk, although I suggest trying it with water first, as that gives you the purest chocolate flavor. For those looking strictly at sugar content, I know some folks hunt for alternatives—if cutting sugar is your goal, I’ve seen some interesting takes out there.
If you absolutely must have a sugar-free version, I usually point people toward specialized resources, like this one on sugar-free chocolate syrup, because swapping sweeteners often requires a totally different cooking technique to keep the texture right. But for standard vegan or GF needs, this recipe shines through!
If you enjoy adapting recipes in this way, you might also like my approach to making chocolate zucchini muffins; blending everyday ingredients into something wonderful is always the goal here in my kitchen!
Frequently Asked Questions About Making Chocolate Syrup
Whenever I post this super speedy recipe, I get a ton of great questions, which honestly, I love! It means folks are actually planning to skip the grocery store aisle and make this themselves. That’s exactly what Little Kitchen Diary is all about—bringing quality back to the basics.
Here are the things I hear most often about getting that perfect, silky smooth chocolate sauce. If you have another question, feel free to zip me a note on my contact page!
Can I make this no cook chocolate sauce?
I totally understand wanting to skip a burner step, especially in the heat of summer! But here’s the thing: for this specific mix of granulated sugar and cocoa powder, gentle cooking is necessary. You need that low heat to completely dissolve all the sugar crystals. If you skip heating it, you end up with a gritty no cook chocolate sauce that settles into a sugary sludge at the bottom of your jar. It’s only about five minutes on the stove, so it’s barely cooking, but that time is non-negotiable for that perfect texture!
How do I make this into a chocolate milk maker concentrate?
That’s a smart idea! If you want a super strong base for a chocolate milk maker, you can absolutely use this recipe as your starting point. To create a thicker concentrate that really packs a punch when mixed with cold milk, just slightly reduce the water content. I’d try cutting the water down from 1 cup to about 3/4 cup, whisking it in as usual. You’ll notice it thickens up significantly more as it cools. Use a spoonful or two for a regular glass of milk, or load it up for an extra decadent batch!
Can I use brown sugar instead of white sugar in this easy chocolate sauce recipe?
You absolutely can, and it changes the flavor profile quite a bit! If you swap the granulated white sugar for light or dark brown sugar, you’ll get a deeper, almost caramel-like molasses note running through your syrup. It’s delicious, no doubt, and it adds lovely complexity to the easy chocolate sauce recipe. Just know that brown sugar can sometimes make the final texture slightly softer because of the moisture content it carries, so always start with the white sugar for the most reliable, classic result!
Serving Suggestions for Your From Scratch Chocolate Syrup
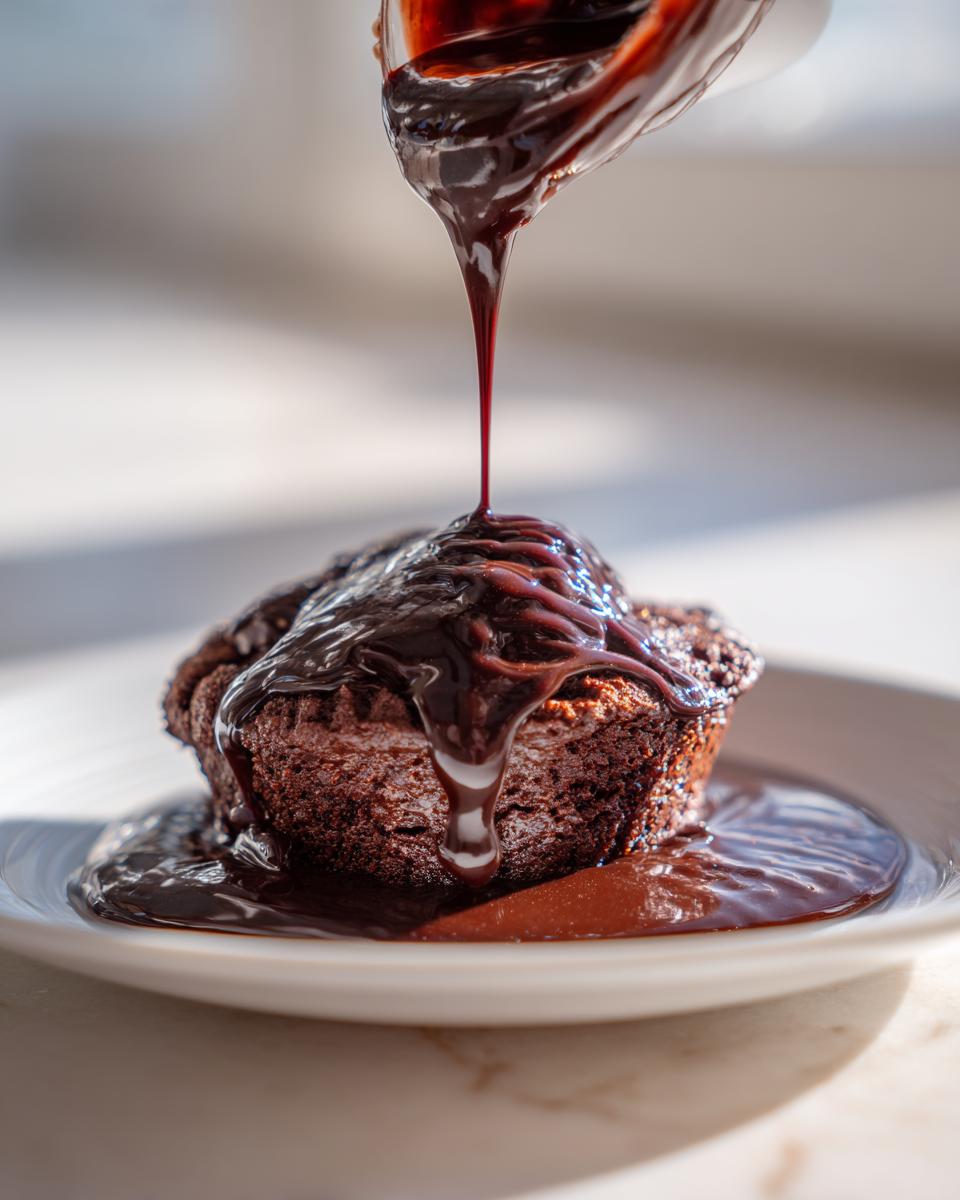
Now that you have this glorious, glistening bottle of homemade from scratch chocolate syrup, the real fun begins! We all know it’s divine on ice cream or pancakes, but honestly, why stop there? This stuff is so rich, you can start using it in ways you never thought of before.
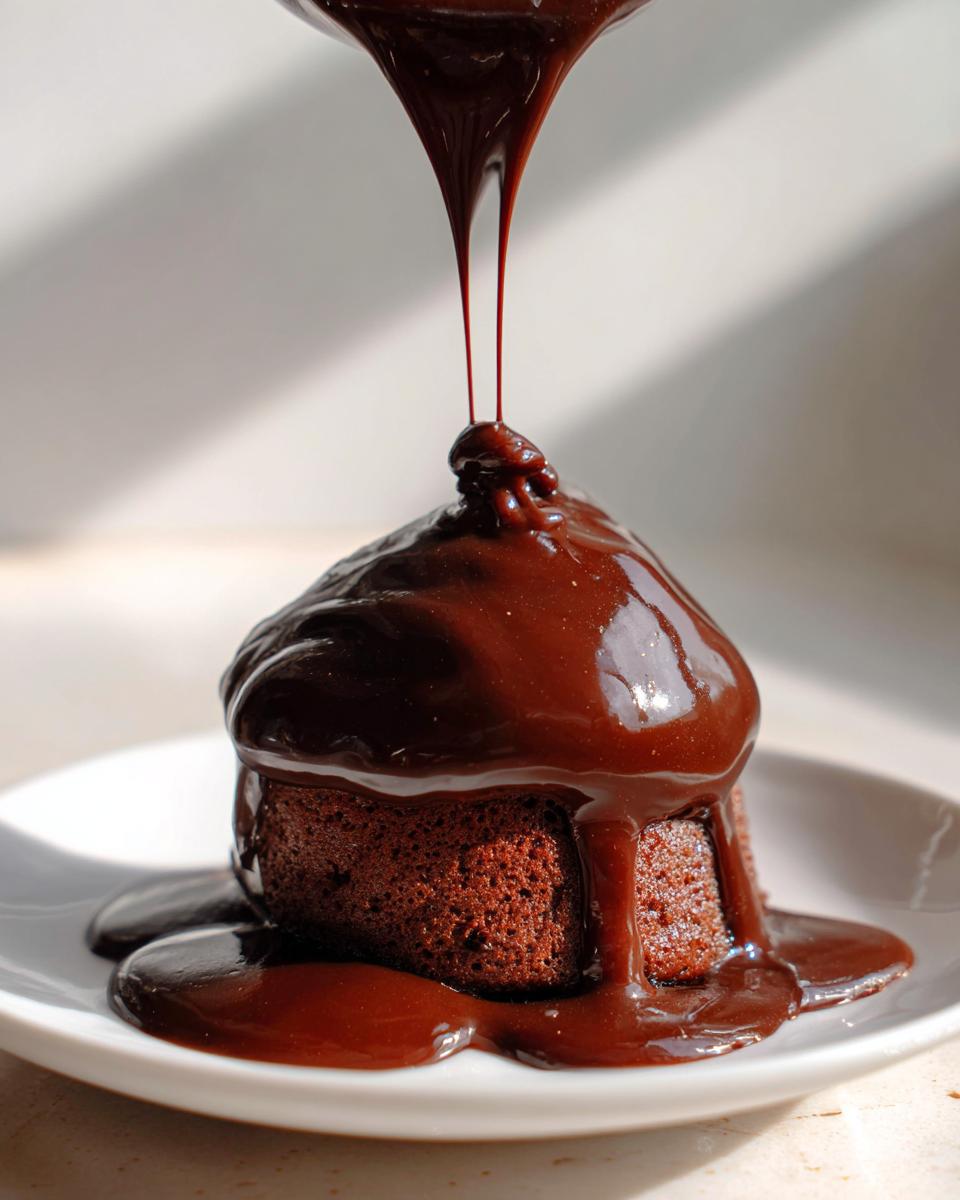
Think of this as your secret weapon for leveling up any simple dessert. For instance, instead of just drizzling it, try using it as the gooey center for a baked treat. It’s amazing layered between a few sheets of flaky pastry when you make something like my apple strudel recipe—just swap some of the applesauce for a thick layer of this chocolate!
It also doubles perfectly as a dipping sauce. Forget boring caramel; serve this warm alongside fresh strawberries or slices of banana. And for the adults looking for something fun for an evening treat, this syrup mixes beautifully into cocktails. A dash of this rich chocolate cuts through the tartness of citrus perfectly—it makes an amazing, impromptu flavor bomb in something like an easy lemon drop martini recipe if you’re feeling adventurous!
Keep experimenting! The beauty of making it yourself is knowing you can be far more generous with how much you use, because you know exactly what’s in it.
PrintQuick & Easy Homemade Chocolate Syrup Recipe (Better Than Store-Bought)

Make rich, velvety chocolate syrup from scratch in under 10 minutes using simple pantry ingredients like cocoa powder. This easy recipe creates a delicious topping for ice cream, pancakes, or mixing into your coffee or milk.
- Prep Time: 5 min
- Cook Time: 5 min
- Total Time: 10 min
- Yield: About 1.5 cups 1x
- Category: Dessert Topping
- Method: Stovetop Cooking
- Cuisine: American
- Diet: Vegetarian
Ingredients
- 1 cup granulated sugar
- 1 cup unsweetened cocoa powder
- 1 cup water
- 1 teaspoon vanilla extract
- Pinch of salt
Instructions
- Combine the sugar, cocoa powder, and salt in a medium saucepan.
- Whisk in the water until the mixture is smooth and no lumps remain.
- Place the saucepan over medium heat. Stir constantly until the mixture just begins to boil.
- Reduce the heat to low and let it simmer gently for 1 minute, stirring occasionally. Do not let it boil rapidly.
- Remove the saucepan from the heat. Stir in the vanilla extract.
- Allow the syrup to cool completely before using. It will thicken as it cools.
- Pour the cooled syrup into an airtight container for storage.
Notes
- This recipe yields a versatile chocolate topping perfect for mochas or chocolate milk.
- For a thicker ice cream topping, slightly reduce the amount of water used.
- Store this homemade chocolate sauce in the refrigerator for up to two weeks.
Nutrition
- Serving Size: 2 tablespoons
- Calories: 105
- Sugar: 18
- Sodium: 1
- Fat: 0.5
- Saturated Fat: 0.3
- Unsaturated Fat: 0.2
- Trans Fat: 0
- Carbohydrates: 26
- Fiber: 1
- Protein: 1
- Cholesterol: 0