
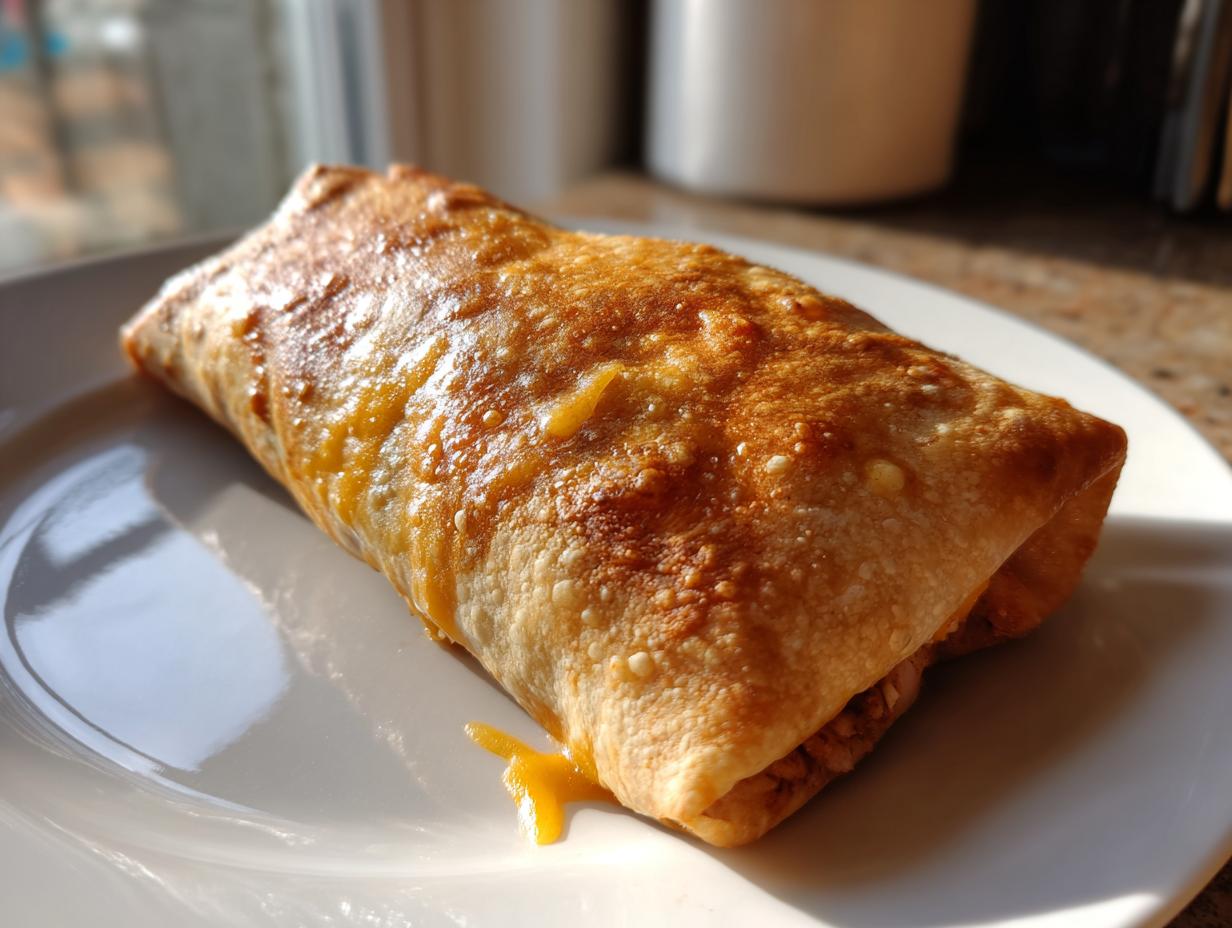
You know those nights? When you are absolutely craving big, bold Tex-Mex flavor—that crunch, that cheesy center—but the thought of deep-frying makes you immediately reach for the delivery app? Yeah, I’ve been there! That’s exactly why I needed this recipe. My personal mission here at the Little Kitchen Diary is making great food practical for busy life, and that means figuring out how to get that incredible crispy shell without dunking it in oil. Trust me, we nailed it with these Baked Chicken Chimichangas. They are quick, they are genuinely crunchy, and they let you enjoy that satisfying flavor without any of the guilt. If you’re looking for a simple, weeknight winner, you’ve found your new favorite quick weeknight dinner!
- Why This Recipe for Baked Chicken Chimichangas Delivers Maximum Crunch
- Ingredients for Your Easy Chicken Chimichangas
- The Secret to Doctored Up Shredded Chicken Filling for Baked Chicken Chimichangas
- How to Prepare Restaurant Style Baked Chicken Chimichangas
- Tips for Success with Baked Chimichangas Recipe
- Make Ahead Chicken Chimichangas for Simple Tex Mex Dinner
- Serving Suggestions for Your Baked Chicken Chimichangas
- Frequently Asked Questions About Baked Chicken Chimichangas
- Estimated Nutrition for Lightened Up Mexican Favorites
Why This Recipe for Baked Chicken Chimichangas Delivers Maximum Crunch
When you bake something traditionally fried, you always worry it’s going to end up floppy, right? I promise you, these Baked Chicken Chimichangas manage to stay super crispy! That’s the magic, and I want to show you exactly how we trick the oven into acting like a deep fryer without all the mess. It’s all about preparation and hitting that sweet spot of cook time. If you’re looking for crunch but want to skip the process of deep frying—or if you’re even planning to try an air fryer alternative sometime, like with my shrimp guide—these oven techniques are essential!
Achieving Guilt Free Chimichangas Texture
Forget the commitment of a deep fryer! Making this a Healthy Chimichanga Recipe means we skip the oil bath. Instead, we use just a light brushing of olive oil or melted butter right before they hit the oven. That tiny bit of fat is enough to conduct the heat and crisp up the tortilla shell beautifully, giving you that satisfying crunch while keeping things light. It’s the simplest way to keep this Tex-Mex favorite on your regular rotation.
Quick Chicken Dinner Ideas for Busy Schedules
I developed this recipe specifically for those evenings when I’m already tired from work and need something fast. We’re looking at total time under 45 minutes, folks! When you’re looking for Quick Chicken Dinner Ideas, speed matters, but flavor can’t be sacrificed. Since the filling is pre-cooked, most of your time here is just assembly and quick baking time. We keep it moving so you can eat sooner!
Ingredients for Your Easy Chicken Chimichangas
Okay, let’s talk specifics. This recipe keeps the ingredients list short because, honestly, the flavor comes from the perfect seasoning blend, not cluttering up the bowl. You absolutely need to make sure you have cooked, shredded chicken ready to go—I often whip up a big batch for slider night and save the rest for these! We’re aiming for simple, accessible items you probably have or can grab quickly. Everything needed for the filling and brushing is right here, ready for action. Don’t let complicated lists scare you off; these ingredients work together harmoniously!
The Secret to Doctored Up Shredded Chicken Filling for Baked Chicken Chimichangas
This is where the real flavor happens, friends. Since we aren’t frying, we have to pack a punch into our shredded chicken filling so that every bite of these Baked Chicken Chimichangas sings! It’s not just about throwing chicken in a tortilla; it’s about creating a robust, flavorful base. We use a classic blend of earthy spices—chili powder, cumin, garlic powder, onion powder, and a touch of oregano—that makes everything taste authentic and delicious. I usually make the chicken ahead of time, maybe using leftover meat from my crockpot chicken recipes, and then dress it up right before assembly. This is how we guarantee a satisfying dinner!
Building Flavor: Spices and Salsa Balance
The trick here, and this is crucial for baking, is getting the moisture just right. Too much salsa, and your tortilla gets soggy before it can crisp—and we want maximum crunch! I always start with the dry spices and mix them thoroughly so the chicken is coated evenly. Then, I add just enough salsa to make it nice and moist, but never wet. If you’re like me and like things spicy, this is your moment to shine! Feel free to double up on that chili powder or toss in a dash of cayenne. The cheese melts right in and holds all that beautiful spice mixture together perfectly.
How to Prepare Restaurant Style Baked Chicken Chimichangas
Now that we have that perfectly seasoned filling, let’s build these beauties! Getting the structure right is key to achieving that Restaurant Style Baked Chicken Chimichangas texture without any deep frying. Remember how we talked about keeping things quick? We start by getting that oven cranked up to 400 degrees Fahrenheit immediately. We want radiating heat! You lay out your tortilla, put the filling and cheese slightly off-center, and then we move straight into the rolling process, which is actually more like wrapping a present than making a standard burrito, trust me on this one.
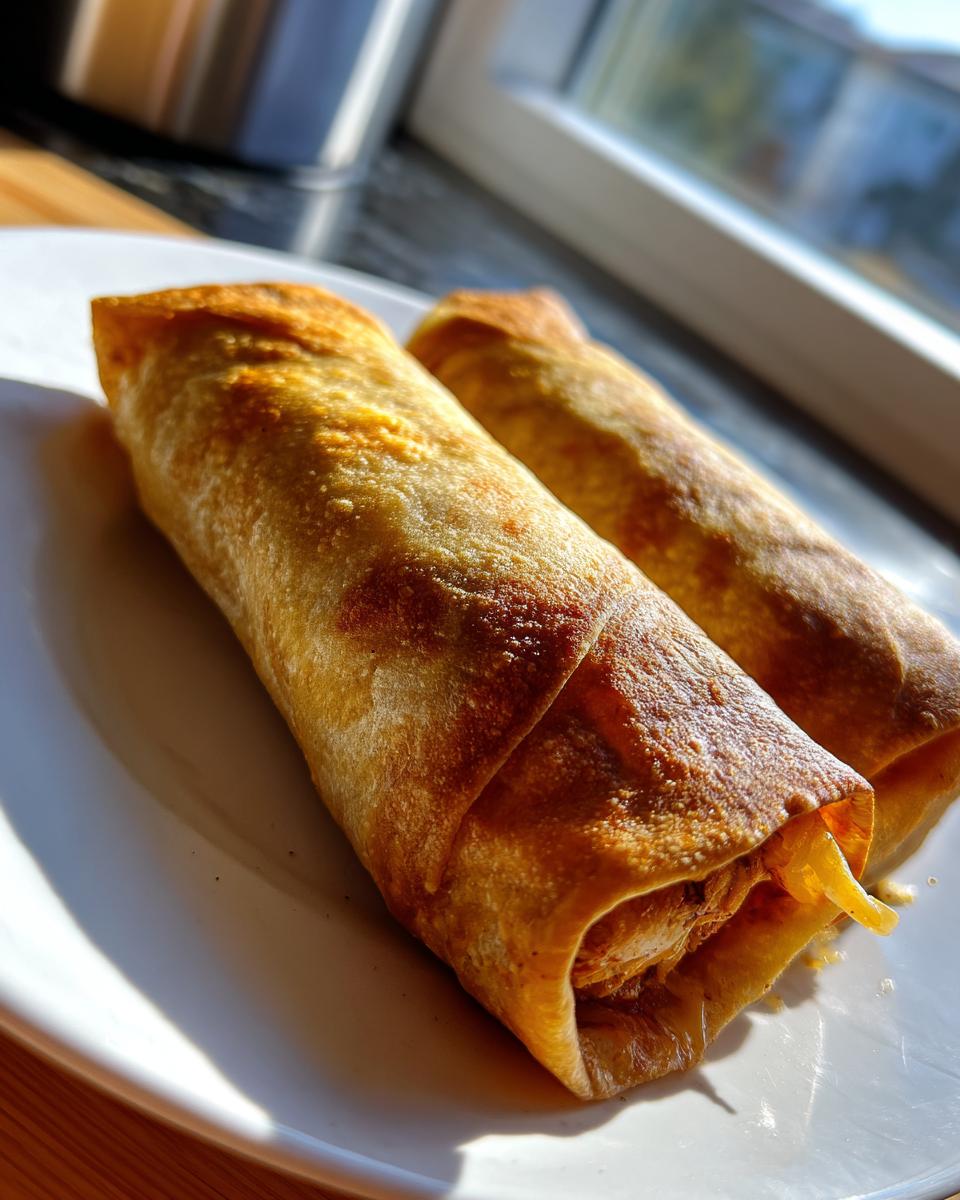
Rolling Technique for Crunchy Tortilla Bake
This sealed shape is non-negotiable for that Crispy Baked Mexican Food look! First, fold the small sides of the tortilla inward over the filling. This keeps any cheesy goodness from oozing out the ends while baking. Once those two bits are tucked in snug, you roll it up tightly from the bottom edge. Once rolled, lay that baby seam-side down right onto your greased tray. That seam-down placement helps seal everything up while the heat gets to work on the outside wall of the tortilla.
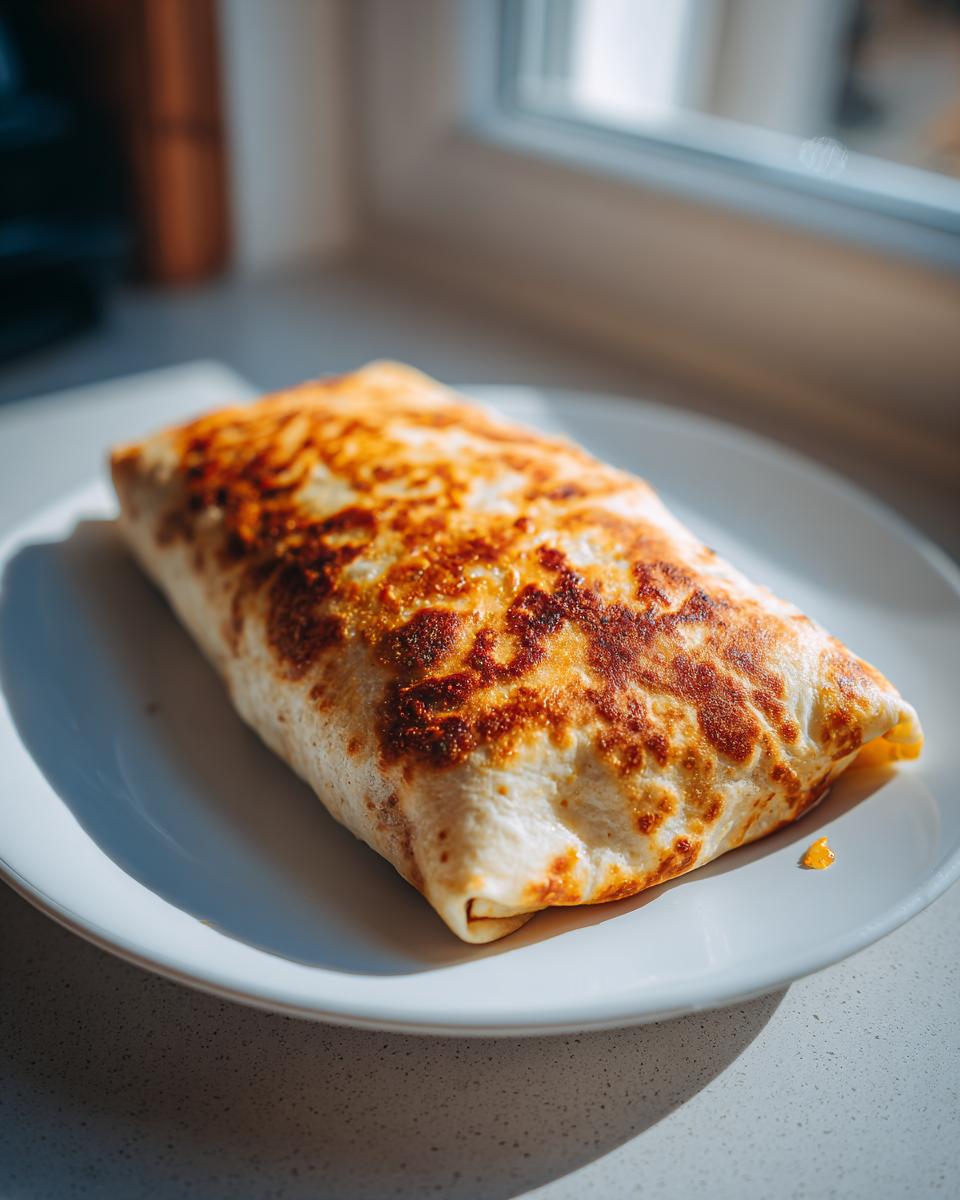
The Crucial Double-Bake for Golden Perfection
This is where the gold comes in! You need to brush the tops and sides generously with oil or butter. This coating is what makes the difference between a steamed tortilla and a crunchy one. We bake for about 12 to 15 minutes until it starts looking pale gold. Then, using tongs, you carefully flip them over. Brush the second side and pop them back in for another 10 to 12 minutes. That second bake ensures total crispiness! If you want more tips on ensuring everything cooks evenly, check out how I approach creamy pasta dishes—it’s all about controlled, even heat! If you want more inspiration on these perfect baked rolls, check out this great recipe from the web: Easy Baked Chicken Chimichangas Crispy Tasty.
Tips for Success with Baked Chimichangas Recipe
Even though this is an easy recipe, small tricks make the difference between a good chimichanga and truly great ones! As someone who tests recipes over and over (for science, of course!), I’ve learned exactly how to prevent drama when assembling these Baked Chimichangas Recipe wrappers. The very best Best Baked Chicken Recipe technique starts before the filling even hits the tortilla, honestly.
If your tortillas feel stiff, they *will* crack when you try to roll them tightly. My favorite trick for soft, pliable wrappers is to zap them for about 15 seconds in the microwave before you start filling them. They become so flexible! Also, make sure that oil or butter is brushed on generously before baking—that’s your ticket to golden perfection, not sogginess. If you need inspiration for great dips to go alongside these, I swear by my cheesy garlic bread dip recipe! For another great take on baking these crispy delights, check out this guide: Baked Chicken Chimichangas (Crispy Chi-Chi’s Style – No Frying).
Make Ahead Chicken Chimichangas for Simple Tex Mex Dinner
This recipe is a total lifesaver for those hectic mid-week evenings, because yes, these work beautifully for meal prep! If you’re planning ahead for a fantastic Saturday dinner or need grab-and-go lunches, you can assemble the Baked Chicken Chimichangas completely before you even think about turning on the oven. Just roll them, seal them up tight, and cover them well in the fridge.
They hold up wonderfully for about 24 hours. When you are ready to bake, just take them out, give them that final light brush of oil or butter, and stick them right into the 400-degree oven! It makes serving up a fresh, crispy, Simple Tex Mex Dinner feel like magic, even when you’ve done all the hard work the night before. Check out how helpful this method is for busy nights—it’s such a great trick! To see another great recipe developer who loves prepping ahead, take a peek here: Can You Make Chi-Chi’s Baked Chicken Chimichangas So Crispy?
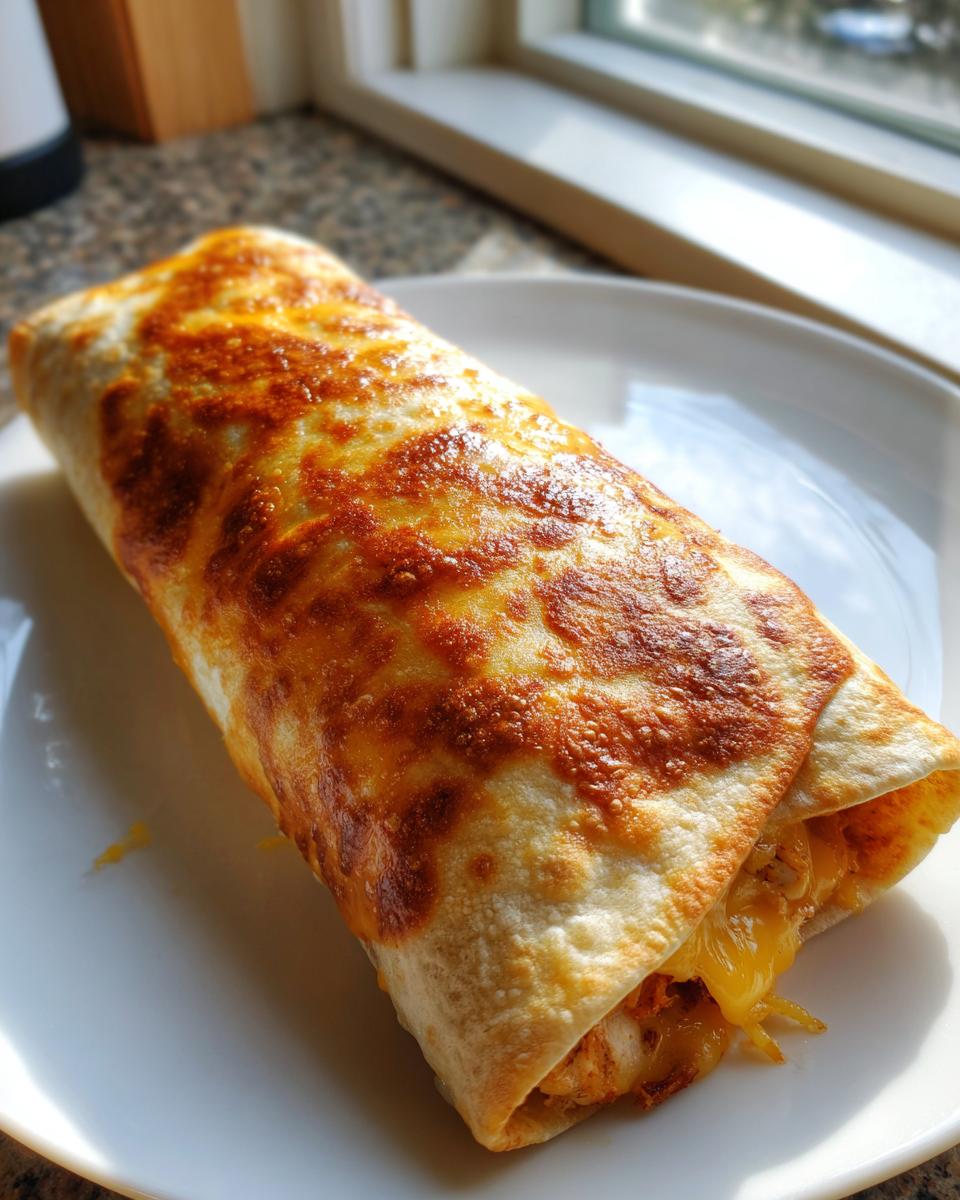
Serving Suggestions for Your Baked Chicken Chimichangas
So the main event—the golden, crispy wraps—are ready. Now what? You can’t just eat them plain! Making a great Tex-Mex meal means loading up on the cool, creamy, and fresh toppings to balance that savory, cheesy filling. My absolute favorite way to serve these is with a generous dollop of cool sour cream and some fresh, bright guacamole. I often prepare a simple pico de gallo if I have a spare few minutes.
If you’re serving a crowd, consider making my famous party cheese ball as an appetizer first! Having a variety of sides really takes this meal up a notch. For more ideas on great toppings and dips, check out what the folks at Cook Cue suggest over at Chicken Chimichangas Recipe.
Frequently Asked Questions About Baked Chicken Chimichangas
When I first started experimenting with these oven-baked gems, I had a ton of questions myself—mostly surrounding how to keep them crispy and how to store leftovers! Cooking is all about learning the little loopholes, and I’m happy to share what I’ve figured out regarding this excellent lemon drop recipe and these chimichangas. We want fewer soggy wraps and more perfectly crunchy shells, right?
Can I use store-bought rotisserie chicken for these Baked Chicken Chimichangas?
Absolutely, yes! Please do! Sometimes the best Chicken and Cheese Wraps Oven recipes rely on existing cooked poultry. Rotisserie chicken is already seasoned beautifully, but you still need to shred it and then mix it thoroughly with our specific cumin, chili powder, and salsa mixture. That’s how we ensure our filling is flavorful enough to carry the whole wrap, even if you’re busy making this a Simple Tex Mex Dinner.
What is the best way to reheat leftovers for maximum crunch?
This is the most important question for keeping that crunchy texture! Listen closely: never, ever reheat these in the microwave if you want them crispy. The microwave steams them and turns them soft instantly. For the best results when dealing with leftovers, use either a toaster oven or your main oven set to about 350 degrees Fahrenheit until they are hot through and the tortilla has firmed back up. If you own an air fryer, that’s even better for reviving the crunch! For more ideas on fantastic crunch, check out this site: Chi-Chi’s Baked Chicken Chimichangas.
Estimated Nutrition for Lightened Up Mexican Favorites
Okay, so when we talk about making Lightened Up Mexican Favorites like these baked chimichangas, we are talking about a much better nutritional footprint than the fried versions, which is great news! I want to stress that these numbers are just an estimate based on the standard ingredients I use, like moderate cheese and olive oil for brushing. It’s a ballpark figure, so don’t sweat the exact decimals too much, but it shows you that these are a satisfying dinner choice.
Here’s a rough breakdown per serving:
- Serving Size: 1 chimichanga
- Calories: 350
- Fat: 14g
- Protein: 22g
- Carbohydrates: 35g
See? Great protein and way lower fat than the alternative! If you’re looking for another great, easy recipe that skips the heavy lifting, you should really try my no-bake peanut butter bars!
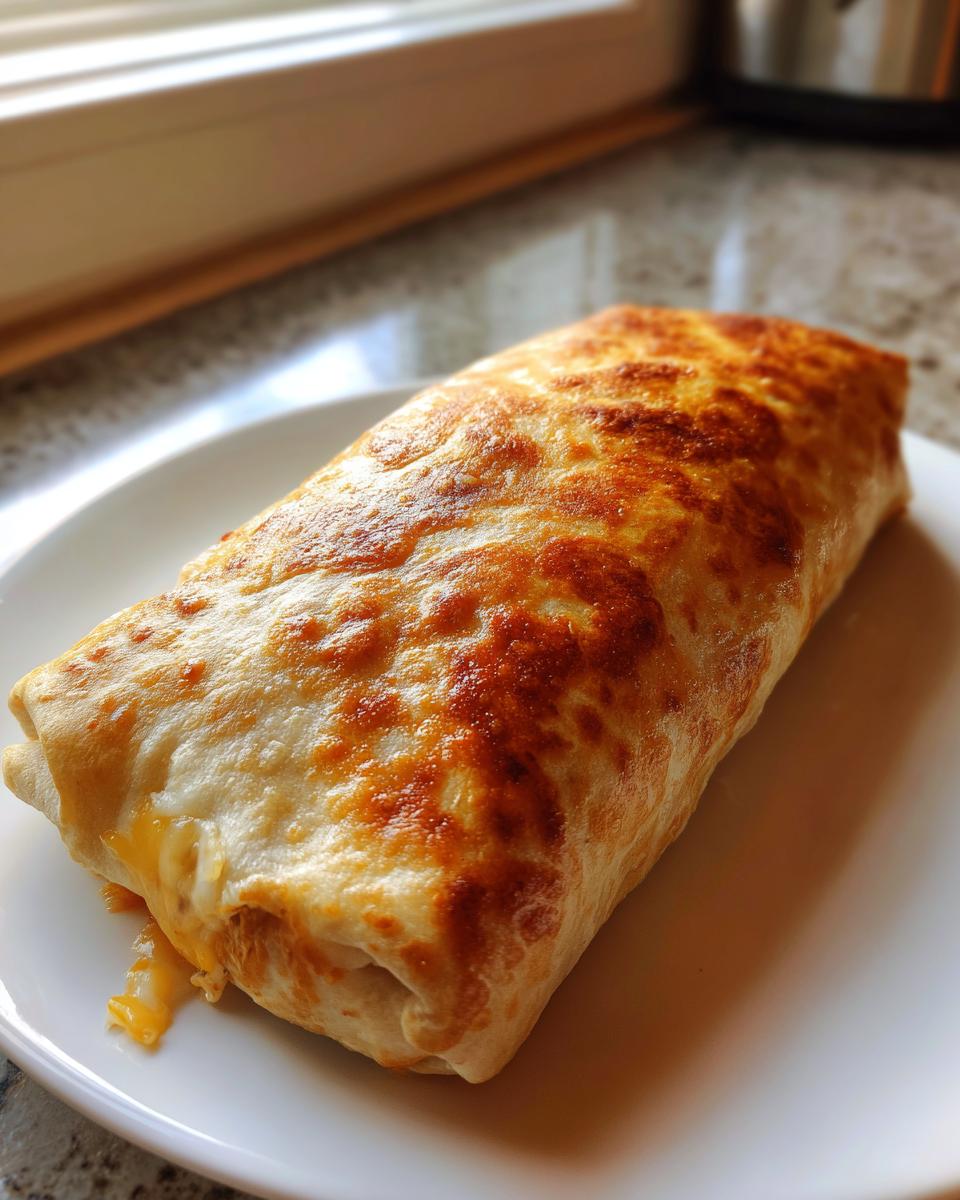
PrintCrispy Oven-Baked Chicken Chimichangas (Easy Weeknight Tex Mex)
You can make restaurant-style chicken chimichangas at home without deep frying. This easy recipe delivers a crispy, golden tortilla shell filled with perfectly seasoned shredded chicken and cheese, ideal for a quick, guilt-free weeknight dinner.
- Prep Time: 15 min
- Cook Time: 27 min
- Total Time: 42 min
- Yield: 8 servings 1x
- Category: Dinner
- Method: Baking
- Cuisine: Tex-Mex
- Diet: Vegetarian
Ingredients
- 2 cups cooked, shredded chicken
- 1 teaspoon chili powder
- 1 teaspoon cumin
- 1/2 teaspoon garlic powder
- 1/2 teaspoon onion powder
- 1/4 teaspoon dried oregano
- 1/4 teaspoon salt
- 1/4 teaspoon black pepper
- 1/2 cup salsa (mild or medium)
- 1 cup shredded Monterey Jack or Mexican blend cheese
- 8 large flour tortillas (burrito size)
- 2 tablespoons olive oil or melted butter, for brushing
Instructions
- Preheat your oven to 400 degrees Fahrenheit (200 degrees Celsius). Lightly grease a baking sheet or line it with parchment paper.
- In a medium bowl, combine the shredded chicken, chili powder, cumin, garlic powder, onion powder, oregano, salt, and pepper. Mix well until the chicken is evenly coated with the spices.
- Stir in the salsa until the chicken mixture is moist but not soggy.
- Divide the chicken mixture evenly among the 8 tortillas, placing the filling slightly off-center. Sprinkle about 2 tablespoons of cheese over the chicken in each tortilla.
- Fold the sides of the tortilla inward over the filling. Then, tightly roll the tortilla from the bottom up to create a sealed chimichanga shape. Place the chimichanga seam-side down on the prepared baking sheet.
- Brush the tops and sides of each rolled chimichanga lightly with olive oil or melted butter. This step helps achieve a golden, crispy texture.
- Bake for 12 to 15 minutes, then carefully flip each chimichanga over. Brush the second side lightly with any remaining oil.
- Return to the oven and bake for another 10 to 12 minutes, or until the tortillas are golden brown and crispy.
- Serve immediately with your favorite toppings like sour cream, guacamole, or extra salsa.
Notes
- For the crispiest result, warm your tortillas slightly in the microwave for 15 seconds before filling and rolling. This prevents cracking.
- You can prepare these baked chicken chimichangas ahead of time. Assemble them completely, cover, and refrigerate for up to 24 hours before brushing with oil and baking.
- If you want a stronger ‘Chi-Chi’s style’ flavor, add 1/4 cup of finely diced green chiles to the chicken mixture.
Nutrition
- Serving Size: 1 chimichanga
- Calories: 350
- Sugar: 2
- Sodium: 450
- Fat: 14
- Saturated Fat: 6
- Unsaturated Fat: 8
- Trans Fat: 0
- Carbohydrates: 35
- Fiber: 3
- Protein: 22
- Cholesterol: 65