
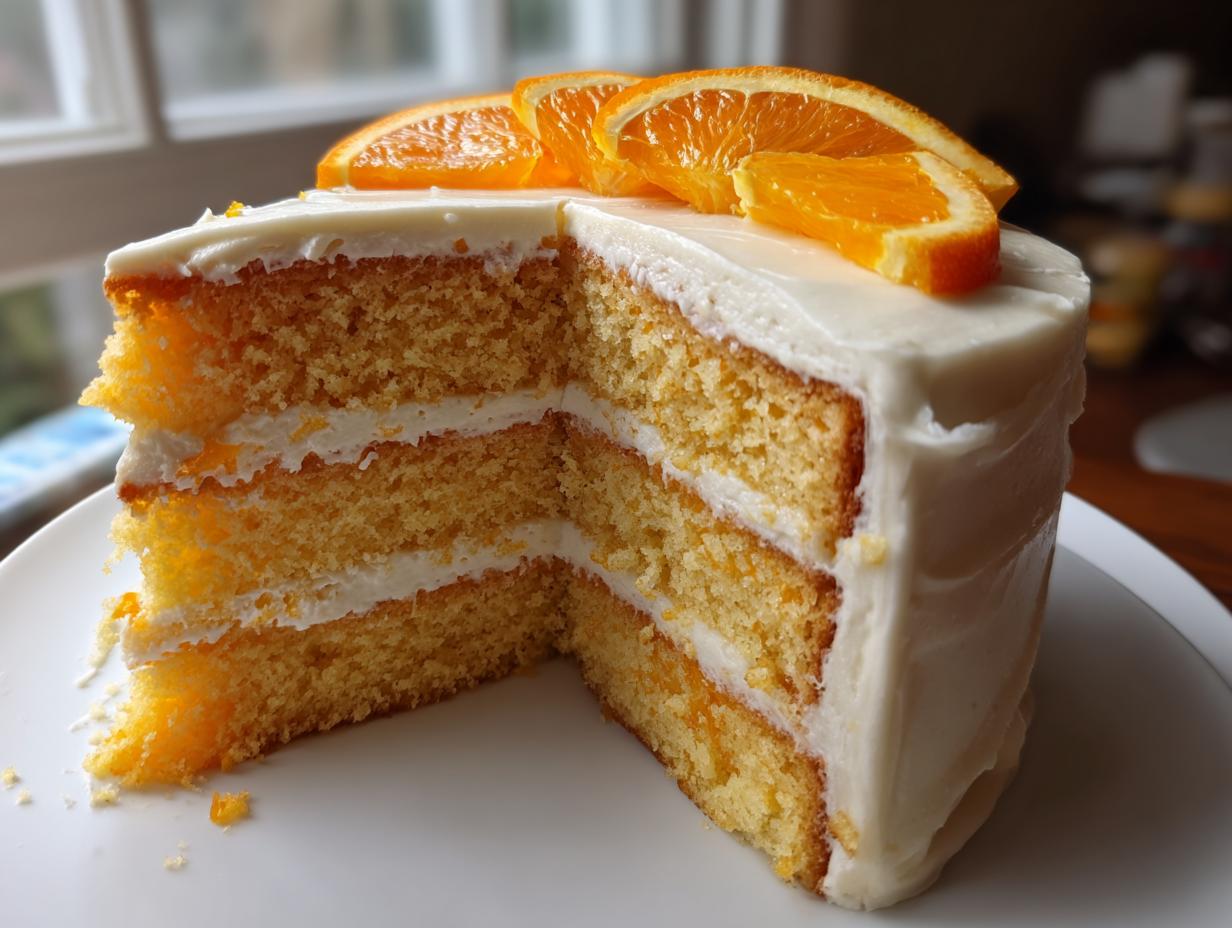
Remember those classic orange and vanilla popsicles you just couldn’t get enough of as a kid? That perfect blend of creamy sweetness and sharp citrus zest is exactly what we’re chasing today! As I chronicle my journey back to joyful, practical home cooking here at Little Kitchen Diary, I’ve perfected what I think is the ultimate version of that favorite flavor: a truly moist, layered Creamsicle Cake. Forget dry, crumbly disappointments; this recipe uses simple ingredients to deliver that nostalgic taste in a show-stopping layer cake format. Trust me, this is the easiest way I’ve found to bottle up a little piece of summer sunshine using just straightforward pantry staples.
- Why This Classic Creamsicle Cake Recipe Delivers Nostalgia
- Gather Your Ingredients for the Moist Orange Creamsicle Layer Cake
- Step-by-Step Instructions for Your Creamsicle Cake
- Tips for Success with Your Homemade Dreamsicle Cake
- Easy Summer Cakes Variation: The Orange Poke Cake Recipe
- Storing and Serving Your Retro Summer Treats Creamsicle Cake
- Frequently Asked Questions About This Orange Creamsicle Dessert
- Estimated Nutritional Data for a Serving of Creamsicle Cake
- Share Your Experience Making This Party Dessert Idea
Why This Classic Creamsicle Cake Recipe Delivers Nostalgia
When I was putting this diary together, I really wanted a dessert that felt both familiar and completely fresh. This Creamsicle Cake hits that mark perfectly. It takes me right back to those hot summer days without any fuss!
Here’s what makes this recipe my go-to when I need that retro summer treat feeling:
- It creates an unbelievably moist texture—no dry edges here!
- We capture that intense citrus flavor using both juice and zest.
- Every component uses ingredients you already keep stocked for regular baking.
- It’s the absolute star for summer BBQs and outdoor parties. If you love easy no-bake options, you might also enjoy my thoughts on my easy ice cream pie recipe for those super hot days!
Gather Your Ingredients for the Moist Orange Creamsicle Layer Cake
Okay, let’s get down to business! The secret to a fantastic Citrus and Vanilla Cake like this creamy dream is making sure every single ingredient is ready to go. I hate stopping mid-mix because I realized I forgot to let the butter soften. Remember from my fruit crisp diary that preparation is half the battle, right? When I make that pear crisp, having everything measured out saves so much stress!
For this particular Classic Creamsicle Cake Recipe, we’re using a mix of convenient items and fresh flavor boosters. Don’t skimp on the zest—that’s where the real sunshine flavor hides!
For the Citrus-Infused Cake Layers
We start with a standard cake base, but the buttermilk and fresh orange juice are non-negotiable additions! They keep these layers incredibly soft, which is key for any Moist Citrus Cake.
- 1 box (15.25 oz) white or yellow cake mix
- 1 cup all-purpose flour
- 1 teaspoon baking powder
- 1/2 teaspoon salt
- 1 cup granulated sugar
- 1/2 cup vegetable oil
- 4 large eggs
- 1 cup buttermilk (This keeps it so tender!)
- 1/4 cup fresh orange juice
- 1 tablespoon orange zest (Really grate that bright orange peel!)
- 1 teaspoon vanilla extract
- 1 package (3 oz) orange gelatin mix (Our secret weapon for color and tang!)
- 1/2 cup boiling water
- 1/2 cup cold water
For the Fluffy Orange Frosting
This frosting is what truly makes it taste like that frozen treat from childhood. The butter needs to be completely softened—if it’s too cold, you’ll end up with lumpy frosting, and we want that smooth, luscious finish!
- 1 cup unsalted butter, softened
- 4 cups powdered sugar, sifted (Make sure you sift it, trust me!)
- 1/4 cup fresh orange juice
- 1 teaspoon vanilla extract
- 1/4 cup whole milk or heavy cream (Use cream if you want it extra decadent)
- Orange slices, for garnish
Step-by-Step Instructions for Your Creamsicle Cake
Putting together this layer cake is actually really straightforward, even though it looks fancy! I broke it down into manageable steps so you don’t feel overwhelmed. We are building flavor layers here, starting with the baking and finishing with that crucial gelatin soak that gives this Creamsicle Cake its signature moistness.
Baking the Moist Citrus Cake Layers
First things first, crank that oven up to 350°F (175°C) and get those two 8-inch round pans greased and floured. In a big bowl, just whisk together that cake mix, flour, powder, salt, and sugar. Next, we add the wet stuff: oil, eggs, buttermilk, that fresh orange juice, zest, and vanilla. Mix it on medium speed until it just looks combined—honestly, just about two minutes max. Don’t beat it up! Divide the batter evenly and bake those beauties for about 28 to 32 minutes. You know they’re done when a toothpick wiggles out clean.
Applying the Orange Gelatin Soak
This is where the magic happens! While the cakes are cooling in the pans for about ten minutes, get your orange gelatin ready. Dissolve the powder in boiling water, then stir in the cold water. Be gentle! Once the cakes are still warm—not scorching hot, but definitely warm—poke holes all over the tops. I use a fork; about an inch apart works great. Slowly brush or drizzle that liquid right over the top of each cake. Let them cool completely in those pans before you try to move them!

Making the Creamy Vanilla Frosting
Now for the topping! This frosting is light and fluffy, just like the creamy part of the popsicle. Start by beating your softened butter until it looks nice and smooth. Now, start adding that sifted powdered sugar slowly, alternating with your orange juice and vanilla. Keep beating until it’s smooth. If it seems too stiff to spread, just add a splash or two of milk or cream until it reaches that perfect, silky texture. If you ever worry about running out of frosting, I have a great recipe for no-bake mini cheesecakes that uses a similar creamy topping!
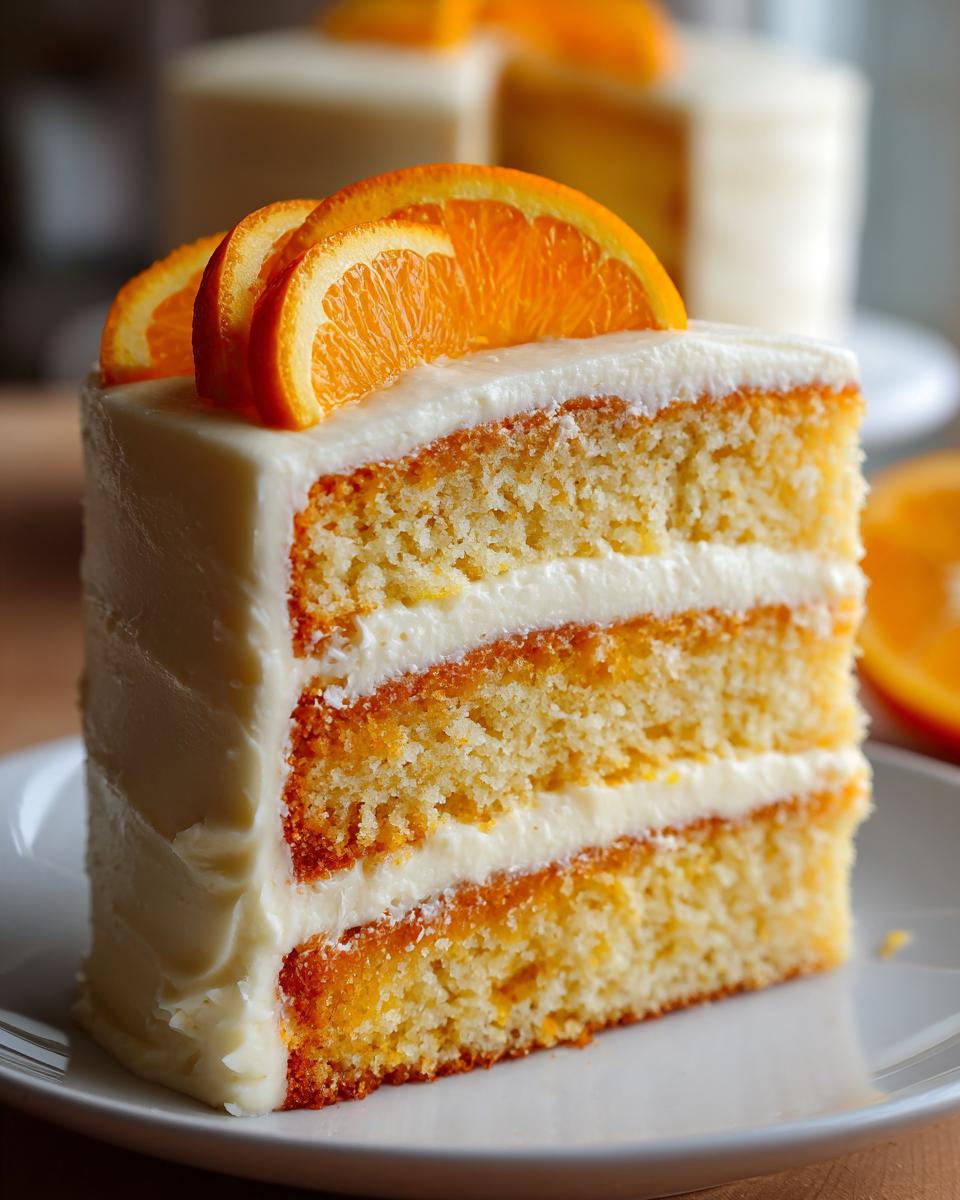
Assembling and Chilling the Creamsicle Cake
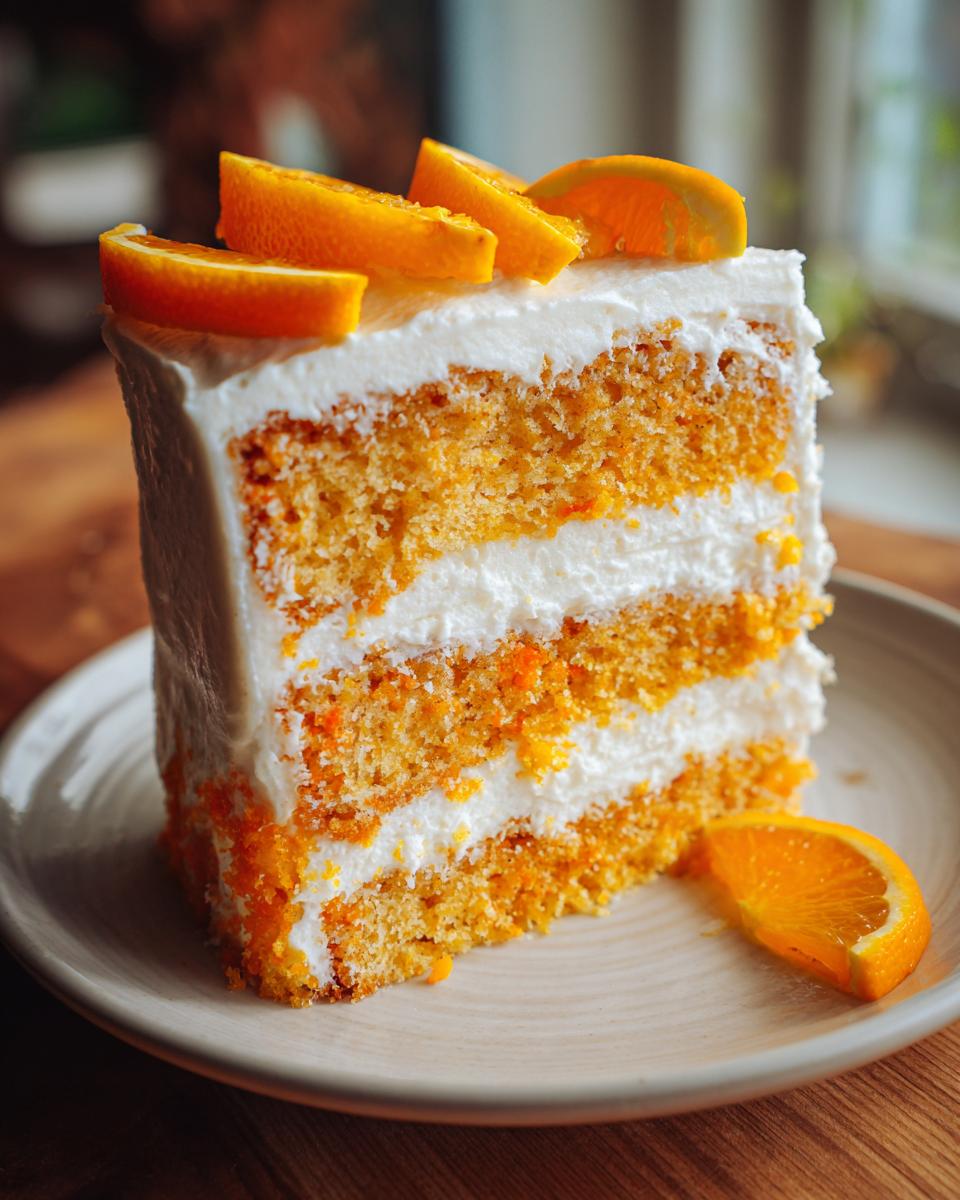
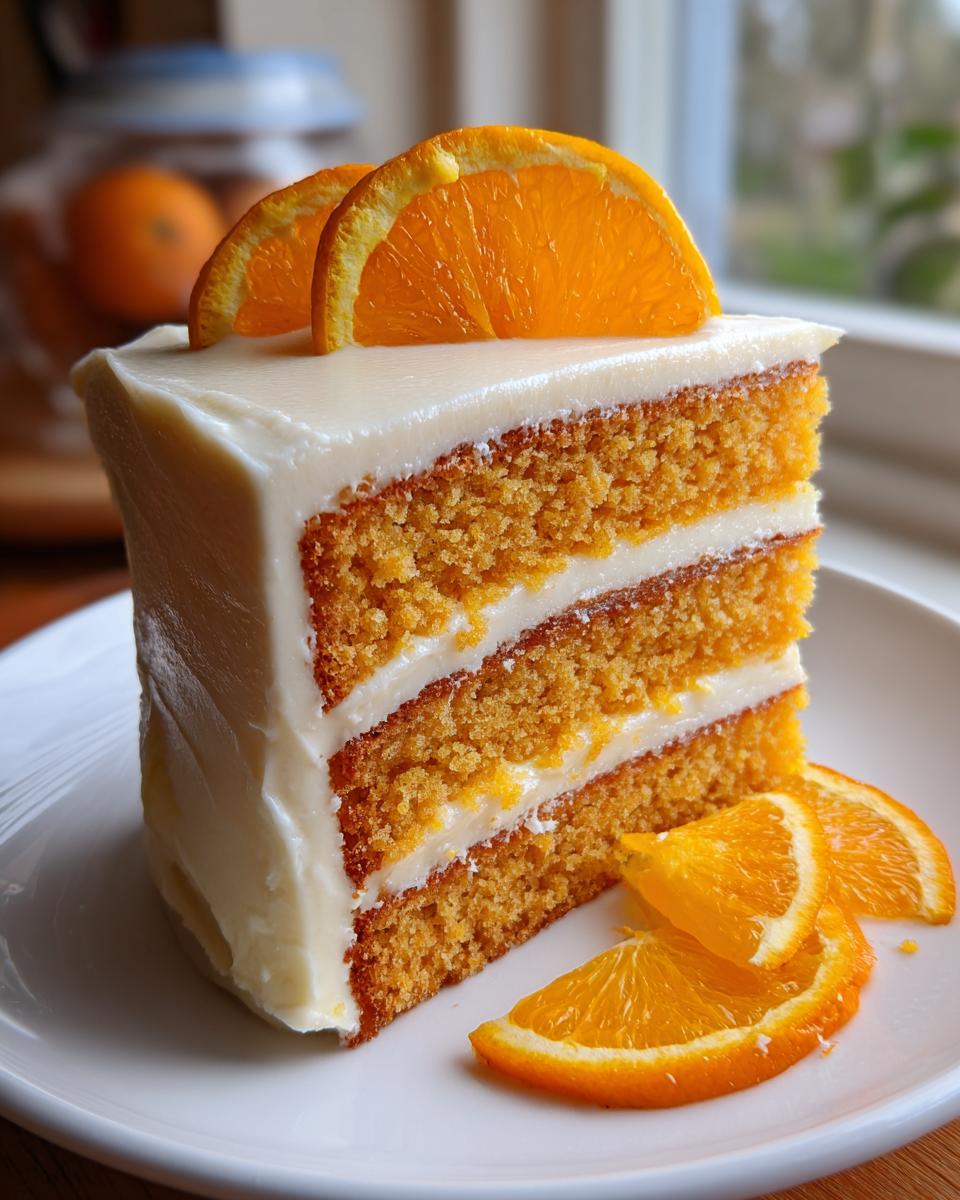
Once those citrus layers are totally cool—and I mean totally—gently pop them out of the pans. Place one layer on your stand, spread about a third of the creamy frosting over it, and top with the second layer. Use the rest of that glorious frosting to cover the top and sides. You can garnish it with fresh orange slices right away, but here’s my final tip: pop the whole thing into the fridge for at least 30 minutes. This helps the cake layers set up nicely after that gelatin soak, giving you clean slices!
Tips for Success with Your Homemade Dreamsicle Cake
Even though this Homemade Dreamsicle Cake starts with a mix, there are a few little tricks I’ve picked up that make it taste completely gourmet. Remember, consistency is everything in my kitchen diary—I want you to get that perfect result every time!
First off, for the most intense citrus punch, use that fresh orange zest I mentioned earlier instead of relying only on extract. The zest holds the oils that give you that genuine bright flavor. Also, I know sometimes softened butter is tricky; if yours ends up a little too soft, you can substitute half of the butter in the frosting with softened cream cheese for a slight tanginess, just like sometimes happens when I make homemade marshmallows.
When you mix the batter, especially since we’re using a cake mix base, be cautious not to overmix once you add the wet ingredients. Mix only until those streaks of flour disappear. Overmixing develops gluten and you end up with a chewy cake, not the light, airy texture this Orange Creamsicle Dessert needs!
Easy Summer Cakes Variation: The Orange Poke Cake Recipe
Okay, I know some of you are looking for something that requires zero stacking—you want that perfect, easy-to-serve dessert for a big crowd or a summer BBQ. We can absolutely pivot this into a fantastic Orange Poke Cake Recipe! It’s one of my favorite ways to use that orange gelatin soak because it permeates the entire cake, making it super flavorful.
Here’s the quick switch-up: Skip the two-layer assembly. Instead, bake the whole batter from the recipe above in a 9×13 inch pan. This gives you so much more surface area! While it’s still warm, poke holes all over it generously. Pour that same brilliant orange gelatin mixture right over the top. Instead of putting creamy vanilla frosting between layers, just chill the whole thing until the gelatin is set, and then spread that amazing frosting all over the top. It’s just as delicious as the layer cake, maybe even easier for a potluck! For more inspiration on this style, take a peek at how I handle my coconut poke cake.
If you want to see how others have turned this nostalgic flavor into a summer staple, check out the great poke cake ideas over at Potluck Eats!
Storing and Serving Your Retro Summer Treats Creamsicle Cake
Because this amazing Creamsicle Cake is topped with that beautiful, homemade creamy frosting, storage is key to keeping those vibrant citrus notes happy! You absolutely must keep leftovers covered tightly in the refrigerator. It’s not really a cake you want to reheat, since it’s meant to be served cool and refreshing—it’s the perfect Retro Summer Treat!
When you’re ready to serve a slice, let it sit on the counter for about ten minutes just to take the chill off the frosting. It pairs wonderfully with a strong cup of coffee in the afternoon, or honestly, just eat it plain outside on the porch! For more chilled dessert ideas that store well, you should definitely check out my guide on making no-bake classic tiramisu, which shares a similar need for cold storage.
Frequently Asked Questions About This Orange Creamsicle Dessert
I always get questions after posting a recipe that brings back this much nostalgia! It means you’re as excited about this Orange Creamsicle Dessert as I am. Here are a few things I hear all the time about making the best Creamsicle Cake version at home.
Can I use a Bundt pan for this Creamsicle Cake?
Yes, you absolutely can! If you prefer baking in a Bundt pan—which gives you a really pretty presentation for a Party Dessert Idea—you’ll need to adjust the time. A deeper pan means the heat takes longer to reach the center, so check it around 45 to 50 minutes instead of 30. Since thick frosting is tricky on a Bundt, I recommend skipping the thick layer of frosting and instead using a simple drizzle glaze made with just powdered sugar, milk, and a splash of orange juice. It looks elegant and still tastes amazing!
Can I use fresh orange juice instead of bottled?
Please, yes! I already told you I love using fresh zest, and using freshly squeezed orange juice instead of bottled juice makes a huge difference in the vibrancy of the cake layers and the flavor of the frosting. It cuts through the sugar beautifully, making this the ultimate Light and Refreshing Cake.
What is the best way to get a clean slice of this layer cake?
This is important for a beautiful presentation! After you finish frosting, you must chill the entire Classic Creamsicle Cake Recipe for at least 30 minutes, like I mentioned above. Before slicing, run a long, thin knife under hot water and wipe it dry. The heat helps slice cleanly through the butter in the frosting. Wipe off the knife after every single slice, and you’ll have perfect wedges every time.
Can I make this cake gluten-free?
That’s a great question for modern kitchens! While I haven’t specifically tested this recipe using a commercial gluten-free blend, the base starts with a box mix, so substituting it with a high-quality 1:1 GF cake mix should work beautifully for an Orange Creamsicle Dessert. Since you’re already adding other wet ingredients, just make sure the mix you choose is designed for direct substitution.
If you try out any of my mix-ins or want to compare notes on other citrusy sweets, feel free to check out my recipe for a zesty lemon drop martini! It’s a different kind of citrus kick, but just as bright.
Estimated Nutritional Data for a Serving of Creamsicle Cake
I’m not a nutritionist, and I’m certainly not claiming this is a health food—it’s a celebration cake, after all! But because I believe in being thorough in this diary, I wanted to give you a general idea of what’s in one slice of our Creamsicle Cake. Knowing what’s in your food is just part of being a thoughtful cook, even when we’re indulging in Retro Summer Treats!
These numbers are just estimates, based on the ingredients listed above and assuming a 12-serving yield. If you use heavy cream instead of milk in the frosting, for example, those fat and calorie counts might shift a bit. Bake on!
- Serving Size: 1 slice
- Calories: 450
- Fat: 22g
- Saturated Fat: 12g
- Carbohydrates: 62g
- Sugar: 55g
- Protein: 4g
- Sodium: 280mg
Keep in mind that any substitutions—like using a different type of oil or a lighter frosting base—will change these values. But honestly, the joy of eating this amazing Orange Creamsicle Dessert far outweighs counting every little gram!
Share Your Experience Making This Party Dessert Idea
I’ve shared all my secrets—from the importance of the orange zest to chilling the final layer cake. Now, it’s your turn! I absolutely love hearing when one of these recipes from the diary makes it onto *your* tables. This Creamsicle Cake is one of those Party Dessert Ideas that just screams happy summer gathering, so I really hope you give it a try.
When you finish baking and assembling this flavor blast of citrus and vanilla, please come back and let me know how it went! Did the gelatin soak soak in nicely? Did your family stop asking for store-bought ice cream treats now that you have this recipe? Leave me a comment down below and tell me your results—star ratings are so helpful for other home cooks deciding to try the recipe next!
And if you snap a picture of your beautiful, bright orange and white creation before you slice into it, tag me on social media! Seeing the Little Kitchen Diary community create these simple, joyful meals together is exactly why I started this whole project in the first place. It grounds me, especially on busy days. Speaking of busy days, if you need a super quick lunch idea after all that baking, I’ve got a few simple ones waiting for you over at my easy lunch ideas post!
Happy baking, and enjoy that taste of childhood!
PrintMoist Orange Creamsicle Layer Cake with Creamy Vanilla Frosting

Make this moist Orange Creamsicle Layer Cake that captures the nostalgic flavor of the classic frozen treat. It features citrus-infused cake layers topped with a light, creamy vanilla frosting, perfect for summer parties or any gathering.
- Prep Time: 25 min
- Cook Time: 32 min
- Total Time: 1 hour 57 min
- Yield: 12 servings 1x
- Category: Dessert
- Method: Baking
- Cuisine: American
- Diet: Vegetarian
Ingredients
- 1 box (15.25 oz) white or yellow cake mix
- 1 cup all-purpose flour
- 1 teaspoon baking powder
- 1/2 teaspoon salt
- 1 cup granulated sugar
- 1/2 cup vegetable oil
- 4 large eggs
- 1 cup buttermilk
- 1/4 cup fresh orange juice
- 1 tablespoon orange zest
- 1 teaspoon vanilla extract
- 1 package (3 oz) orange gelatin mix
- 1/2 cup boiling water
- 1/2 cup cold water
- 1 cup unsalted butter, softened
- 4 cups powdered sugar, sifted
- 1/4 cup fresh orange juice
- 1 teaspoon vanilla extract
- 1/4 cup whole milk or heavy cream
- Orange slices, for garnish
Instructions
- Preheat your oven to 350°F (175°C). Grease and flour two 8-inch round cake pans.
- In a large bowl, whisk together the cake mix, flour, baking powder, salt, and granulated sugar.
- Add the vegetable oil, eggs, buttermilk, 1/4 cup fresh orange juice, orange zest, and vanilla extract to the dry ingredients. Mix on medium speed until just combined, about 2 minutes. Do not overmix.
- Divide the batter evenly between the prepared cake pans. Bake for 28 to 32 minutes, or until a toothpick inserted into the center comes out clean.
- While the cakes cool slightly, prepare the orange soak: In a small bowl, dissolve the orange gelatin in the boiling water. Stir in the cold water.
- Once the cakes are slightly warm (about 10 minutes out of the oven), poke holes all over the tops using a fork or skewer, about 1 inch apart. Slowly brush or drizzle the orange gelatin mixture evenly over both cakes. Let the cakes cool completely in the pans on a wire rack.
- Prepare the creamy vanilla frosting: In a large bowl, beat the softened butter until creamy. Gradually add the sifted powdered sugar, alternating with the 1/4 cup orange juice and vanilla extract. Beat until smooth. Add milk or cream as needed to reach a spreadable consistency.
- Once the cakes are fully cooled, carefully remove them from the pans. Place one layer on a serving plate. Spread about one-third of the frosting on top. Place the second layer on top. Frost the top and sides of the entire cake with the remaining frosting.
- Garnish the top with fresh orange slices before serving. Chill the cake for at least 30 minutes before slicing for the best texture.
Notes
- For an easy Orange Creamsicle Poke Cake variation, use a box of vanilla cake mix baked in a 9×13 pan. Poke holes while warm and pour the prepared orange gelatin mixture over the top. Chill until set. Frost with the vanilla pudding frosting described above.
- Use fresh orange zest for the most intense citrus flavor in your cake layers.
- If you prefer a lighter frosting, substitute half of the butter in the frosting recipe with an equal amount of softened cream cheese.
Nutrition
- Serving Size: 1 slice
- Calories: 450
- Sugar: 55g
- Sodium: 280mg
- Fat: 22g
- Saturated Fat: 12g
- Unsaturated Fat: 10g
- Trans Fat: 0g
- Carbohydrates: 62g
- Fiber: 1g
- Protein: 4g
- Cholesterol: 75mg