
Oh, the party planning stress! We’ve all been there, staring at a huge guest list for game day or the holidays and realizing we have zero impressive food ready to go. When I started Little Kitchen Diary, it was because I needed to reclaim the simple joy of cooking amid my crazy schedule. I realized the best food doesn’t have to be complicated; it just has to be made with care. That’s why this classic cheese ball recipe immediately became my secret weapon for any gathering. It’s the ultimate fuss-free solution for incredible party appetizers. Trust me, whether it’s for a big family event or just a casual Sunday afternoon watching sports, this savory, cheesy ball is the crowd-pleaser that lets you step away from the kitchen and actually enjoy yourself. If you love this kind of simple, show-stopping snack, you also have to check out my guide on marinated cheese for an easy appetizer!
- Why This Classic Cheese Ball Recipe Works for Every Gathering
- Ingredients for the Best Cheese Ball Recipe
- How to Prepare Your Cheese Ball Recipe Step-by-Step
- Expert Tips for the Best Cheese Ball Variations
- Serving Suggestions for Your Cheese Ball Recipe
- Storage and Reheating Instructions for this Make Ahead Appetizer
- Frequently Asked Questions About the Cheese Ball Recipe
- Estimated Nutritional Data for this Cheese Ball Recipe
- Share Your Cheese Ball Recipe Success
Why This Classic Cheese Ball Recipe Works for Every Gathering
I’m telling you, the reason this cheese ball recipe lands on my table for every single event—be it a nervous first impression get-together or a comfortable family night—is its pure, unadulterated simplicity. It’s the definition of a crowd pleaser snack without requiring specialized skills. Forget complicated layering or fancy molds; this is pure flavor delivered efficiently. It gives you all the glory of serving up something stunning for your simple entertaining ideas without any of the stress. I’ve found that when the food is this good and this easy, the whole atmosphere of the party just relaxes!
Quick Prep Time for Your Easy Cheese Ball Recipe
Seriously, you can whip this up in about 15 minutes flat. When you see that 15-minute prep time listed, believe it! You throw the ingredients together, mix, shape, and bam—you’re done with the hands-on work. That time saved means you aren’t stuck in the kitchen while everyone else is chatting; you get to be a guest at your own party. It’s the definition of an easy cheese ball recipe.
Make Ahead Appetizer Convenience: The Ultimate Cheese Ball Recipe Tip
Here is the real game changer for anyone planning holiday appetizers: you *have* to chill it. The recipe calls for a minimum of two hours, and that chilling time is crucial. It firms everything up so beautifully, which makes rolling it in those crunchy pecans so neat. I usually make mine the night before. Knowing that the centerpiece snack is completely ready to go while I’m running around getting the house ready is a lifesaver. You can never have too many make ahead appetizer options, and this one is king!
If you’re looking for other ways to make party dips effortless, you should definitely check out my formula for caramelized onion dip. And for more ideas on fast entertaining, my thoughts on quick party food are always a great resource!
Ingredients for the Best Cheese Ball Recipe
A great cheese ball recipe starts, naturally, with great ingredients. You don’t need a pantry full of specialty items here; it’s the quality of the basics that really makes this shine. For me, using sharp cheddar instead of mild makes all the difference. That little bit of bite cuts through the richness of the cream cheese so perfectly. Remember, you’re making a savory centerpiece here, so don’t skimp on that sharp flavor profile! If you’re looking for another simple but flavorful cheese option, I have a great recipe for marinated cheese that might be right up your alley.
Here is exactly what you’ll need to gather before you start mixing:
- 8 ounces cream cheese, softened—this is critical, so leave it out until it’s really spreadable!
- 8 ounces sharp cheddar cheese, shredded—give it a good, aggressive shred.
- 1 teaspoon Worcestershire sauce—don’t leave this out; it adds that deep savory note.
- 1/2 teaspoon onion powder
- 1/4 teaspoon garlic powder
- 1/4 teaspoon salt
- 1/4 teaspoon black pepper
- 1 cup chopped pecans (or whatever nut/coating you choose for rolling)
- Assorted crackers, pretzels, or vegetables for serving
See? Super simple! The only thing you need to plan for ahead of time is making sure that cream cheese is properly softened. That’s the secret to avoiding clumps when you mix!
How to Prepare Your Cheese Ball Recipe Step-by-Step
Making this amazing cheese ball recipe is so straightforward it almost feels like cheating. I promise you, even if you think you can’t handle an appetizer that looks this impressive, you absolutely can. The trick here, just like with baking, is layering your steps correctly, especially when it comes to chilling. Don’t rush it, and you’ll have the best finger foods for parties!
Mixing the Base: Creating the Perfect Cream Cheese Dip
You start by grabbing a good medium bowl. Toss in that softened cream cheese, that lovely shredded cheddar, the Worcestershire sauce, and all your little powders—garlic, onion, salt, and pepper. Now, here’s the honest advice: mix it until it is totally, completely uniform. I mean it! You shouldn’t see any white streaks of cream cheese or chunks of cheddar peeking through when you scrape the sides. We want a perfectly smooth texture for this appetizer dips creamy base before we move on.
Shaping and Chilling the Cheese Ball Recipe
Once it’s smooth, this is where the magic happens for our make ahead appetizer plan. Spoon the mixture onto a big sheet of plastic wrap or parchment paper. Now, work quickly to gather the edges of the wrap up and around the mixture. You need to mold it tightly into a beautiful, firm ball shape right there in the plastic. This has to chill for at least two hours. Seriously, set a timer! If you try to coat it early, it just spreads out into a sad, flat puddle. Patience pays off here.
Applying the Pecan Coated Cheese Ball Finish
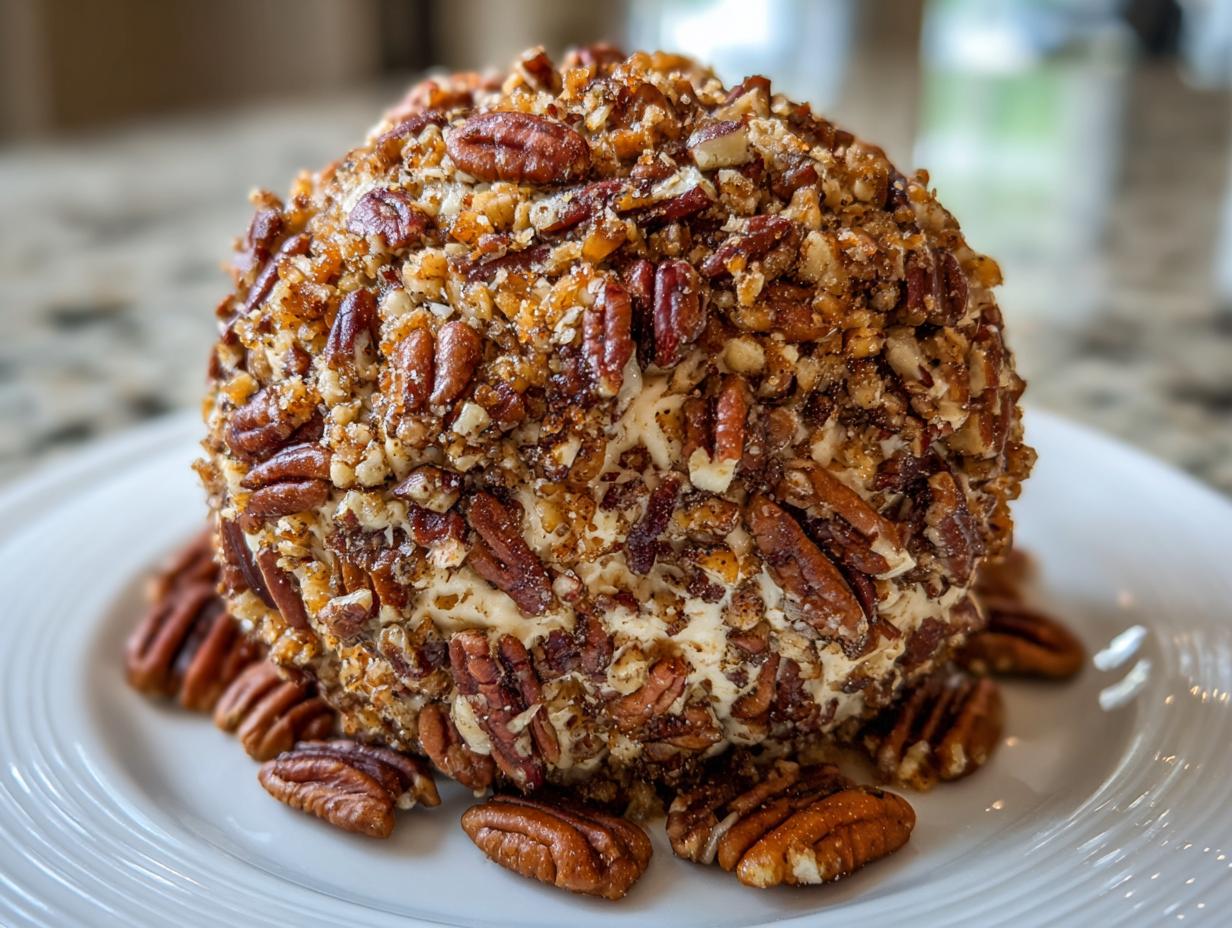
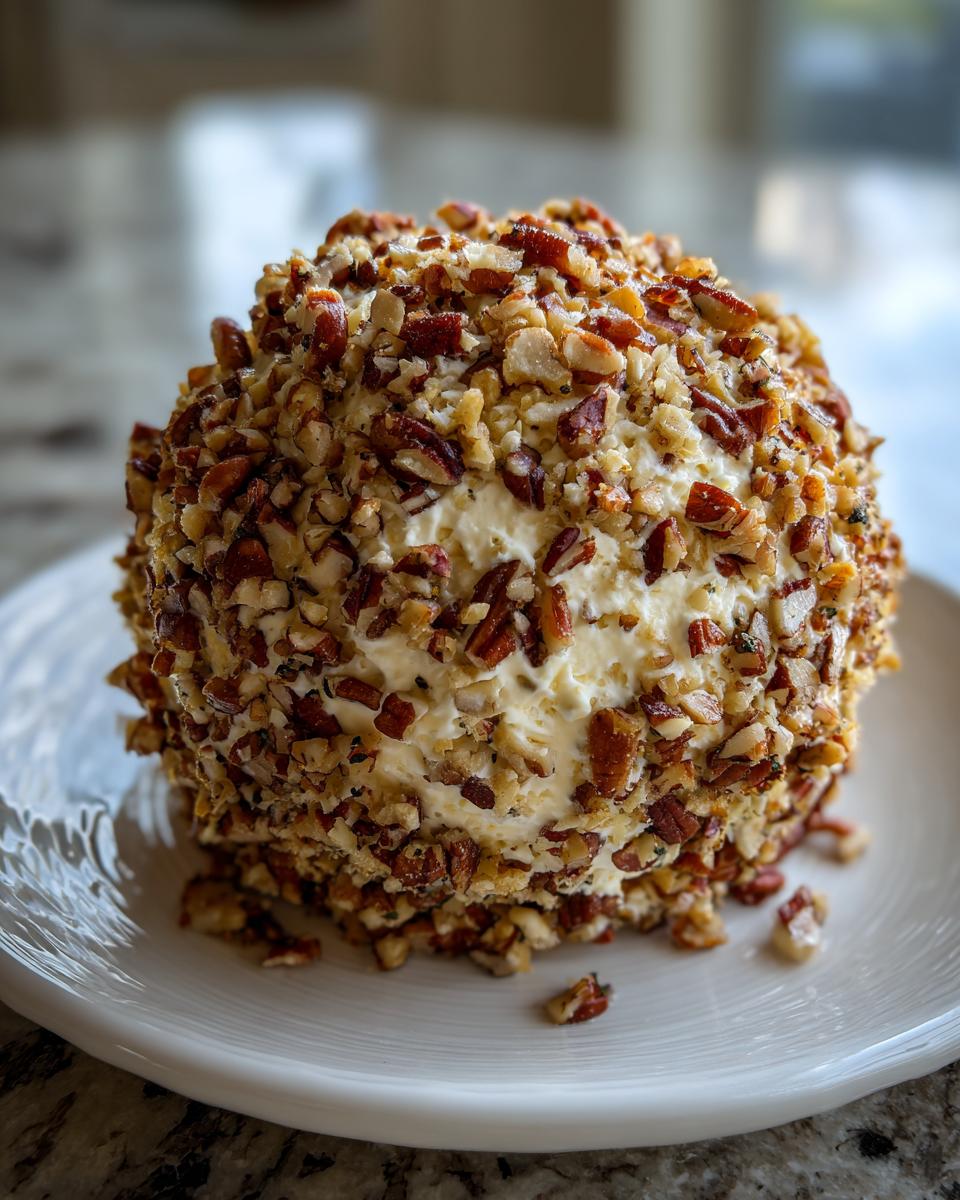
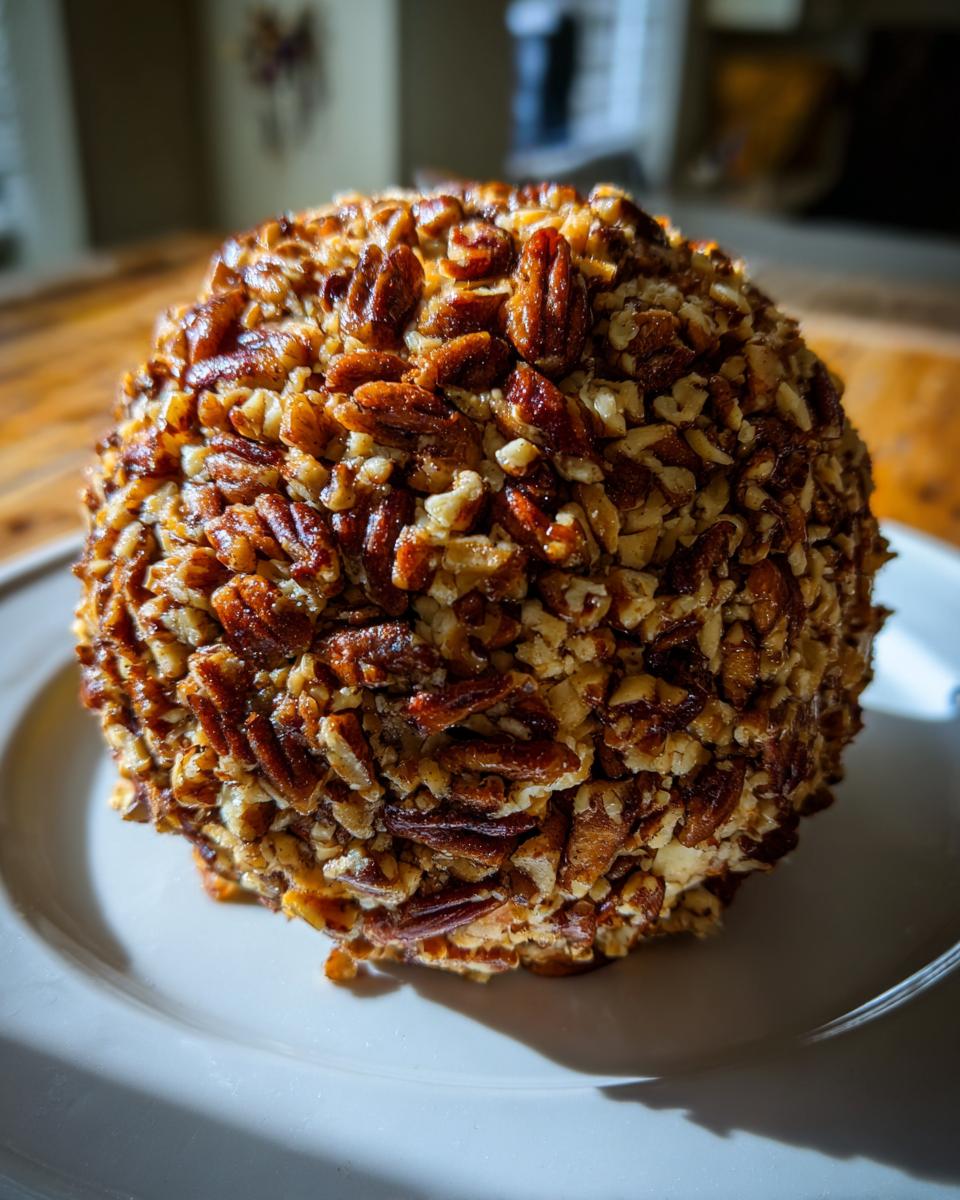
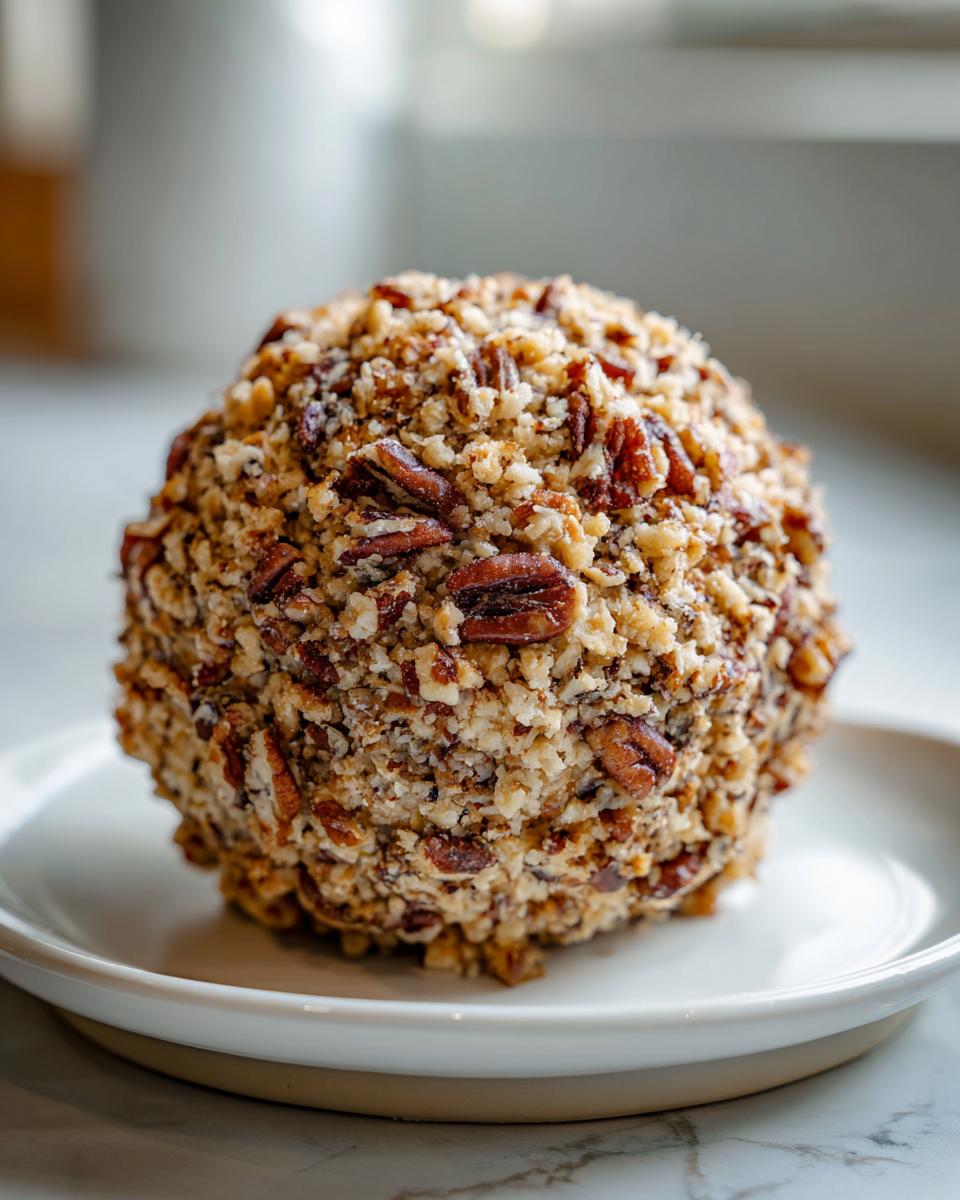
When your ball is nice and firm from the fridge, pour those chopped pecans onto a shallow plate—this is what makes it a true pecan coated cheese ball! Unwrap your chilled creation and gently roll it all over in those nuts until it’s totally covered. Once it looks gorgeous, put it back in the fridge for just 30 more minutes. That short second chill helps the coating stick fast so it doesn’t flake off the second someone tries to scoop some up. That’s the final touch for your homemade cheese ball!
If you want to see how I use powerful seasonings in other no-bake items, take a look at my technique for making the flavor base for caramelized onions—same principle of building flavor complexity!
Expert Tips for the Best Cheese Ball Variations
Part of loving a classic cheese ball recipe is knowing when and how you can play with it! I always say that recipes are just helpful starting points, and for something as versatile as this, you have room to make it perfectly yours. When I look through my diary notes on variations, it’s all about swapping cheeses or changing up the crunch factor on the outside. These small twists can completely change the vibe, making it perfect for a sophisticated gathering one week and a super casual game day snack the next.
If you’re looking for inspiration beyond the basic sharp cheddar, I always recommend mixing things up. For example, substituting half of that cheddar with some Monterey Jack or even smoked Gouda brings an incredible depth of flavor. Smoked Gouda gives it this fantastic, almost earthy background note that pairs so well with the pecans. If you want to see other inspired appetizers, I found this great roundup of over 15 best cheese ball recipes that show off some truly creative ideas!
But perhaps the easiest change you can make is swapping out the appetizer toppings. Pecans are my go-to, but if you have someone allergic or just want a different texture, try these! Finely chopped fresh parsley is wonderful if you want a greener, brighter look that screams fresh ingredients rather than holiday indulgence. Or, if you’re making this for a big crowd that loves savory meats, toss those balls in crumbled, crispy bacon bits. You might want to check out my recipe for whipped ricotta dip if you are experimenting with lighter, herbier bases, too!

And don’t forget the make-ahead power! You can prepare this entire thing—mixed, shaped, but *before* coating—up to two days ahead of time. Just wrap it tightly in plastic wrap and keep it cool. When your guests arrive, pull it out, coat it quickly, and you look like a hosting genius. That’s simple entertaining made easy, every single time.
Serving Suggestions for Your Cheese Ball Recipe
Okay, your beautiful cheese ball recipe is coated, chilled, and ready to headline the appetizer spread! But what do you put *around* it? A magnificent creation like this deserves the perfect vehicles for scooping. I always make sure to offer a varied platter so everyone finds something they love. When you’re planning your finger foods for parties, simplicity and crunch are your best friends here.
You absolutely need a few categories of accompaniments to make sure this snack is a hit. First, you need sturdy crackers. I love the crunchy rye crackers or those simple water crackers—anything that won’t snap under the weight of this rich cheese spread. Second, you can’t overlook pretzels! The salty crunch of small pretzel twists or pretzel sticks is just heaven against the creamy, nutty cheese ball.
But for all my friends trying to balance out the richness (and offer something for the veggie lovers), fresh vegetables are a must. Think bright colors! Sliced bell peppers, sturdy carrot sticks (homemade goodness!), celery, or crisp cucumber rounds are perfect dippers. Lay everything out artfully on a nice platter around the cheese ball. It instantly elevates the whole presentation from a simple dip to a stunning, savory cheese platter alternative. For inspiration on other crowd-pleasing munchies, check out my recipe for a classic Chex party mix—another simple snack that disappears fast!
Storage and Reheating Instructions for this Make Ahead Appetizer
This is the part of the cheese ball recipe I absolutely live for: the easy storage! Because this is a glorious, no-bake masterpiece, you don’t have to worry about reheating it at all, which is great news for game day where everything is served cold anyway. The magic of this being a make ahead appetizer means you can totally front-load the work.
If you’ve made the ball and coated it, just wrap it up really tightly in plastic wrap—or put it in an airtight container if you’re worried about the coating getting squished. You can keep this beauty chilling happily in the fridge for up to two full days. Trust me, sometimes the flavor of these classic cheese ball ideas actually gets better overnight as the seasonings really marry into that cream cheese base.
Now, the one thing I always tell people is that you don’t want to microwave this, obviously! It’s meant to be served cold or slightly cool. If you take it out of the fridge right before your guests arrive, give it maybe ten minutes sitting on the counter, but that’s it. Keeping it cold ensures it stays firm for scooping, which is important for presentation.
If you’re looking for other great no-fuss items that you can make days ahead, you have to look at my recipe for easy no-bake peanut butter bars—it’s another one you can stash away and forget about until you need a dessert!
Frequently Asked Questions About the Cheese Ball Recipe
I totally get it—when you’re planning for a big crowd or need quick party food, you have questions! While this cheese ball recipe is super reliable, sometimes you need to tweak it for what you have on hand or dietary needs. I’ve pulled together some of the most common things folks ask me about making their perfect homemade cheese ball. Don’t forget, if you want to see another amazing creamy base, my recipe for caramelized onion dip is right here, too!
Can I skip the chilling time for this Easy Cheese Ball Recipe?
Oh, believe me, I know the temptation when you’re staring down a last-minute party. But for this easy cheese ball recipe, chilling is absolutely non-negotiable. If you don’t chill it for at least two hours, you’ll end up with a lovely, soft cheese puddle instead of a beautiful ball. You need that time for the cream cheese and cheddar to firm up so they can practically hug the pecans when you roll them. For an appetizer that looks this nice, a little patience in the fridge makes all the difference!
What are the best Appetizer Toppings besides pecans?
This is where you can really make this cheese ball recipe your own signature game day snack! Pecans are classic, but we certainly don’t have to stop there. If you want something green and fresh looking, finely chopped fresh parsley or chives mixed with a little dried dill works magic. For those who love savory meats, crumbled, crispy bacon bits are an incredible coating for a really rich bite. You could even crush up some butter crackers or seasoned croutons if you’re looking for a different kind of crunch.
If you’re looking for more ideas on creating impressive spreads, sometimes I use this mixing technique when making my marinated cheese. That guide shows you how to layer those simple flavors!
Estimated Nutritional Data for this Cheese Ball Recipe
Now, I always get asked about the numbers behind the fun! I want to be super clear that while this recipe is fantastic for parties, we are dealing with cream cheese and sharp cheddar, so it’s going to be in the treat category. I worked up these estimates based on weighing out the standard ingredients and dividing it by 12 servings, like the recipe suggests. This keeps us honest about what we’re enjoying!
Keep in mind these are just ballpark figures, right? Every brand of cream cheese or cheddar has tiny variations, and if you load up on dipping crackers, the nutrition facts for your platter will change fast! But here is what you can generally expect from a single serving of the cheese ball itself:
- Serving Size: 1/12 of cheese ball
- Calories: 150
- Fat: 14g
- Saturated Fat: 7g
- Trans Fat: 0g
- Cholesterol: 35mg
- Sodium: 250mg
- Carbohydrates: 2g
- Fiber: 0g
- Protein: 6g
- Sugar: 1g
See? Mostly fat and protein, which is what you expect from a heavy cheese dip! It’s rich, satisfying, and definitely designed to disappear quickly alongside your favorite pretzels and veggie sticks. That’s why serving it with fresh veggies helps balance out the goodness!
Share Your Cheese Ball Recipe Success
Now that you’ve made this spectacular cheese ball recipe—the one that’s going to disappear first at your next party, I guarantee it—I need to hear all about it! This is the part where we connect, because sharing what works (and your fun flavor twists!) is what Little Kitchen Diary is all about. I want to see your creations. Did you stick to the classic pecans, or did you switch to bacon bits?
Please do me a huge favor: if you loved how easy and delicious this turned out, leave a rating right here on the page! Clicking those five stars tells me this recipe is one worth keeping front and center in the diary for years to come. And if you have a minute, drop a comment below telling me what you served this amazing make ahead appetizer with—crackers, pretzels, or maybe some incredible celery sticks?
And seriously, snap a picture! Tag me on social media so I can see your gorgeous classic cheese ball ideas on display. It truly makes my day to see my simple recipes bringing joy to your entertaining. If you ever need to reach out directly with a question or a success story, you can always use my contact page!
PrintThe Best Classic Cheese Ball Recipe for Parties

Make this easy, classic cheese ball recipe using cream cheese and cheddar. It is a perfect make-ahead party appetizer for game days or holidays.
- Prep Time: 15 min
- Cook Time: 0 min
- Total Time: 2 hr 15 min
- Yield: 12 servings 1x
- Category: Appetizer
- Method: No Bake
- Cuisine: American
- Diet: Vegetarian
Ingredients
- 8 ounces cream cheese, softened
- 8 ounces sharp cheddar cheese, shredded
- 1 teaspoon Worcestershire sauce
- 1/2 teaspoon onion powder
- 1/4 teaspoon garlic powder
- 1/4 teaspoon salt
- 1/4 teaspoon black pepper
- 1 cup chopped pecans (for coating)
- Assorted crackers, pretzels, or vegetables for serving
Instructions
- Combine the softened cream cheese, shredded cheddar, Worcestershire sauce, onion powder, garlic powder, salt, and pepper in a medium bowl.
- Mix the ingredients thoroughly until they are completely blended and smooth.
- Place the mixture onto a sheet of plastic wrap or parchment paper. Shape the mixture into a ball.
- Wrap the cheese ball tightly and refrigerate for at least 2 hours, or until firm. This step is important for make-ahead convenience.
- Spread the chopped pecans onto a shallow plate.
- Remove the chilled cheese ball from the plastic wrap. Roll the cheese ball in the chopped pecans until it is fully coated.
- Return the coated cheese ball to the refrigerator for about 30 minutes to allow the coating to set.
- Serve your homemade cheese ball cold with your choice of crackers, pretzels, or fresh vegetables.
Notes
- For a different flavor, substitute half the cheddar cheese with Monterey Jack or smoked Gouda.
- You can prepare this appetizer up to 2 days ahead of time; keep it tightly wrapped in the refrigerator.
- If you prefer a different coating, use finely chopped fresh parsley, bacon bits, or crushed pretzels instead of pecans.
Nutrition
- Serving Size: 1/12 of cheese ball
- Calories: 150
- Sugar: 1
- Sodium: 250
- Fat: 14
- Saturated Fat: 7
- Unsaturated Fat: 7
- Trans Fat: 0
- Carbohydrates: 2
- Fiber: 0
- Protein: 6
- Cholesterol: 35