
Is there anything better than walking into your house and smelling warm, sweet, yeasty goodness? Honestly, that aroma alone is worth the effort! If you’ve been searching for the absolute secret to achieving light, fluffy, pull-apart homemade cinnamon rolls that taste better than anything you can grab in a box, then stop searching. You’ve found it. This recipe is my tried-and-true method for the best cinnamon roll you’ll ever bake, guaranteed to make your whole morning feel celebratory.
When I first started Little Kitchen Diary, I was trying to drag my busy life back toward simple joys, and that meant mastering the perfect indulgent breakfast. Too many recipes out there complicate the dough, but here, we focus on clear steps and great ingredients. This is honestly the most reliable and delicious yeast roll recipe I’ve ever put in my diary, and it quickly became a trusted favorite for every brunch we host.
You can read a little more about my whole journey back to the kitchen over on my About page, but for now, let’s get these delicious rolls into your oven!
- Why This Is the Best Cinnamon Roll Recipe You Will Ever Make
- Gathering Ingredients for Your Cinnamon Roll Masterpiece
- Step-by-Step Instructions for Soft Cinnamon Roll Dough
- Assembling and Proofing the Perfect Cinnamon Roll Swirl
- Baking and Creating the Sweet Breakfast Recipe Icing
- Tips for Success with Your Homemade Pastry
- Serving Suggestions for Your Cinnamon Roll
- Storage and Reheating Instructions
- Frequently Asked Questions About Easy Cinnamon Rolls
- Nutritional Information Estimate for This Cinnamon Roll
- Share Your Baking Success
Why This Is the Best Cinnamon Roll Recipe You Will Ever Make
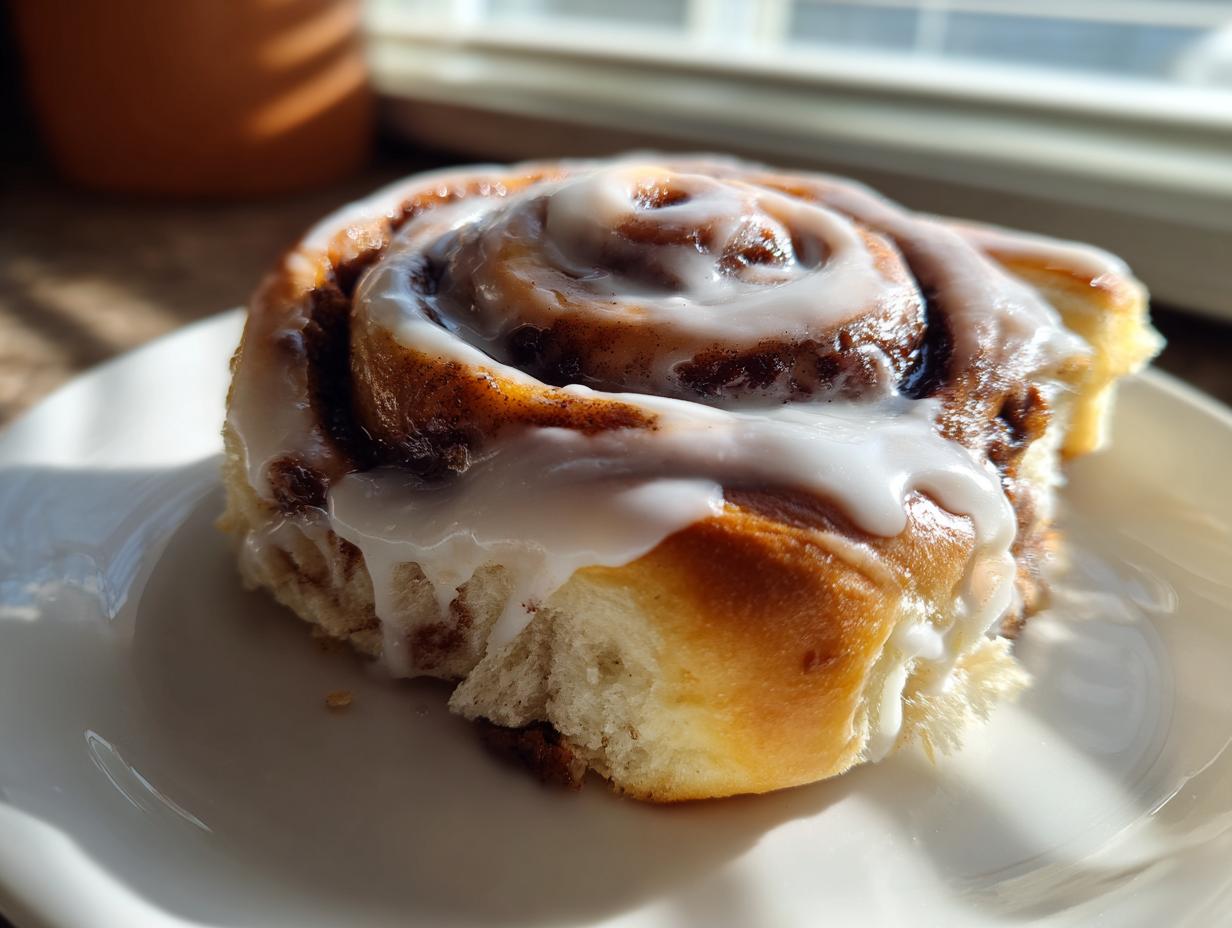
Look, I’ve made my share of flat, sad cinnamon rolls over the years. We’ve all been there, right? But this recipe is different. It’s the winner. When people ask me for the best cinnamon roll secret, I tell them it’s the texture—deeply soft, incredibly gooey in the middle, and swimming in that tangy cream cheese icing. This isn’t just a recipe; it’s the foundation for the perfect homemade pastry experience right in your own home.
I still remember the first time these truly nailed it. I had been struggling with an old recipe, and the dough just wouldn’t cooperate. I tweaked the butter amount slightly, added an extra egg yolk thinking it might help, and suddenly—magic. The rolls puffed up beautifully during the second rise and came out golden. My neighbor, Mrs. Henderson, actually stopped mid-bite and asked if I bought them from the famous bakery downtown! That was the day I knew I had to lock this version down forever.
Achieving Bakery-Quality Soft Rolls Every Time
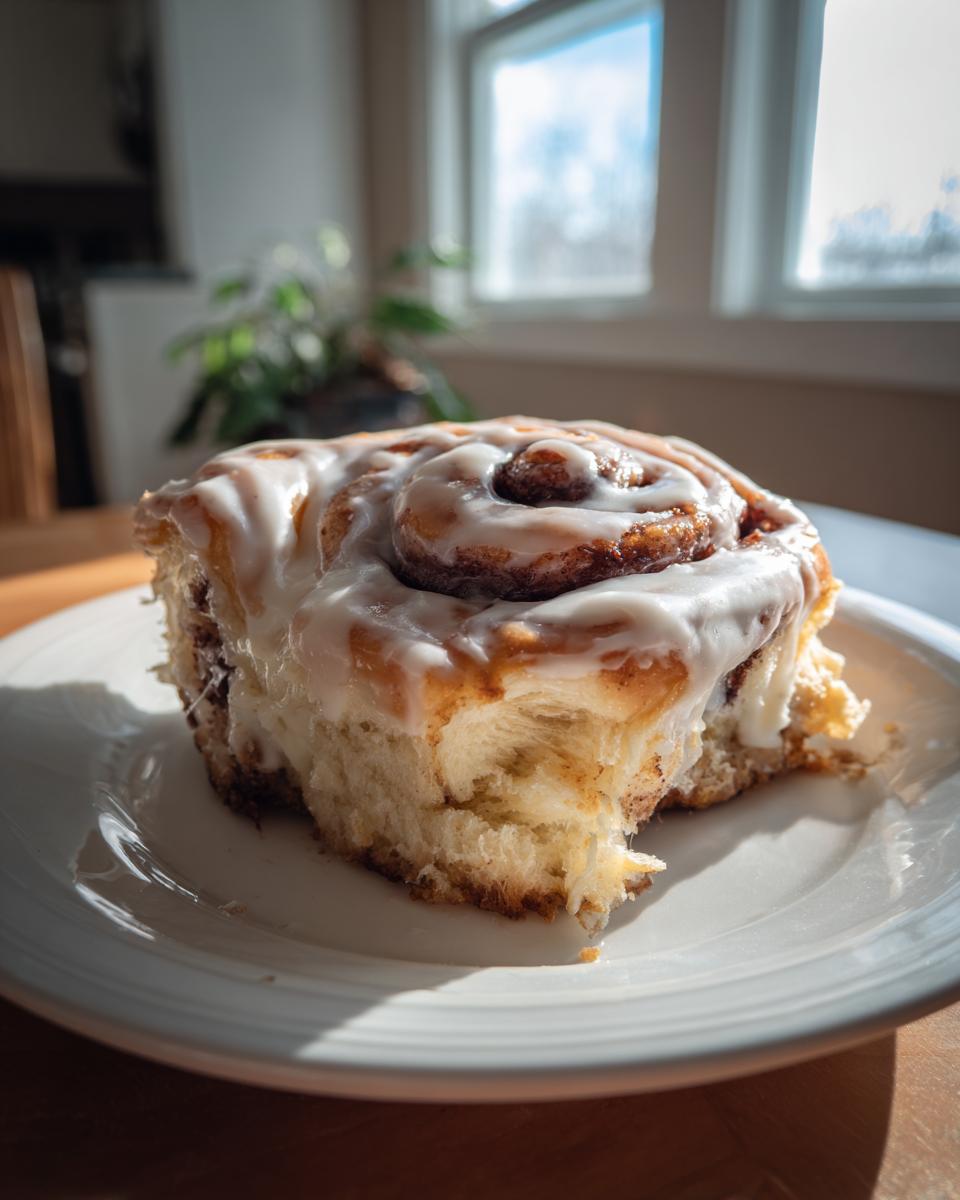
The secret to those tall, fluffy towers really comes down to two things: richness and patience. We use plenty of softened butter and room-temperature eggs in this dough, which feeds the yeast beautifully and keeps the texture tender. Don’t rush those rise times, though! Both rises are crucial. That initial hour lets the yeast develop deep flavor, and the second, shorter rise is what gives you those big, puffy rolls ready to kiss each other in the pan.
Gathering Ingredients for Your Cinnamon Roll Masterpiece
One of the best things about making this sweet breakfast recipe at home is that you probably have most of what you need already sitting in your pantry! I promised you accessibility, and I meant it. We aren’t hunting down specialty flours or weird extracts here. This list is straightforward. We are relying on good quality butter and rich milk to create that amazing texture while the cinnamon does all the heavy lifting for flavor.
Grab your bowls! Let’s organize these ingredients into three manageable groups so nothing gets missed when it’s time to mix.
The Dough Components
- 1 cup whole milk, warm (about 110°F)
- 2 1/4 teaspoons active dry yeast
- 1/2 cup granulated sugar, plus 2 tablespoons for the filling
- 1/2 cup unsalted butter, softened, plus 1/2 cup for the filling
- 2 large eggs, room temperature
- 4 cups all-purpose flour, plus more for dusting
- 1 teaspoon salt
The Sweet Cinnamon Filling
- 1/4 cup light brown sugar, packed, for the filling
- 2 tablespoons ground cinnamon
Cream Cheese Icing Ingredients
- 8 ounces cream cheese, softened
- 1/2 cup powdered sugar, plus more for drizzling
- 1 teaspoon vanilla extract
Step-by-Step Instructions for Soft Cinnamon Roll Dough
Okay, time to get our hands dirty! This is where the magic of a good yeast roll recipe starts. If you nail the dough right here, the rest is just assembly and waiting. The biggest rookie mistake I see relates to the yeast, so pay close attention to that milk temperature. We need happy yeast bunnies, not sad, boiled ones!
When you’re mixing, remember that this dough should be soft and slightly tacky, but not sticking aggressively to your hands or the bowl. A little stickiness means more butter and softness later on, so don’t go crazy adding flour right away!
Activating the Yeast and Mixing the Dough
First things first, grab your warm milk. I mean perfectly warm—like bathwater, not hot tub hot. If the milk is too hot (over 120°F), you’ll kill the yeast before it ever gets going. We are aiming for that 110°F sweet spot. Pour your yeast right in there, sprinkle a tiny pinch of that granulated sugar on top, and just let it sit for about five minutes. Come back, and you should see a nice little layer of foam. That’s foam means your yeast is alive and ready to work!
Next, toss everything else—the remaining sugar, softened butter, eggs, most of the flour, and the salt—right into that foamy mixture. Mix it until it just comes together into a shaggy dough. Then, you turn it out onto your counter and knead for about five to seven minutes until it’s smooth. If it’s ripping or sticking hard, add a small dusting of the remaining flour until it feels happy and elastic.
The First Rise for Your Cinnamon Roll
This next step is all about giving that yeast time to breathe and create all those beautiful air pockets we talked about. Lightly grease a large bowl—I just use a little vegetable oil on my fingers—and pop your dough ball in there, turning it over once so the top isn’t dry. Cover that bowl tightly with plastic wrap. This traps the moisture and heat required for a big lift. You want to set this in a warm, draft-free spot. Seriously, if your kitchen is chilly, find the spot over the preheating oven or sometimes even tuck it into a microwave (turned OFF, of course!).
Patience is key here! You’re looking for the dough to look doubled in size. Depending on how warm your kitchen is, this could take anywhere from an hour to an hour and a half. Don’t poke it early; just wait until it looks wonderfully puffy and pillowy!
Assembling and Proofing the Perfect Cinnamon Roll Swirl
This is my absolute favorite part of making cinnamon rolls because you finally get to see the beautiful swirl emerging! After all that rising time, you’ll gently punch the dough down—no aggressive slamming allowed! We need to keep those gases happy. Now, get your surface dusted lightly with flour, because we need space to roll this beauty out.
We are aiming for a big rectangle here, about 12 inches by 18 inches. Don’t stress if it’s not perfect; just try to keep the thickness even across the whole sheet. Technique matters most when we spread that filling on, so pay attention here to ensure every single roll has that gooey center!
Rolling and Filling the Dough Evenly
Once you have your rectangle, grab that remaining softened butter—it should almost be spreadable like thick frosting. Spread that butter completely across the dough. I mean edge-to-edge coverage, almost! But here’s the crucial part you can’t skip: leave about a one-inch strip bare along one of the long edges. This is like your sealing strip, and leaving it bare ensures the log doesn’t just slide apart when you roll it up.
Mix up your cinnamon and sugars (which should be ready if you followed the previous steps!), and sprinkle that glorious mixture evenly over the buttered dough. Now, start at that messy, fully-covered long edge and roll it up as tightly as you possibly can without tearing the dough. Roll it right up until you reach that clean 1-inch border you left behind. Press that final seam down firmly to seal the log closed.
Cutting and Second Rise for Puffy Cinnamon Rolls
Cutting the roll is tricky because a dull knife squishes all that hard work! Trust me on this: use unflavored dental floss slipped underneath the log for the cleanest cuts, or use a very sharp, un-serrated knife. We need 12 equal pieces. If you eye them up and cut them evenly, they’ll bake evenly, too.
Next, gently place those 12 gorgeous spirals, cut-side up, into your greased 9×13 pan. They’ll be cozy, and that’s exactly what we want! Cover that pan loosely—you don’t want to flatten them—and let them have their second nap. This second proofing takes about 30 to 45 minutes. They need to look puffy and relaxed before they hit the heat. When they look almost doubled again and are touching each other, they are ready for the oven!
Baking and Creating the Sweet Breakfast Recipe Icing
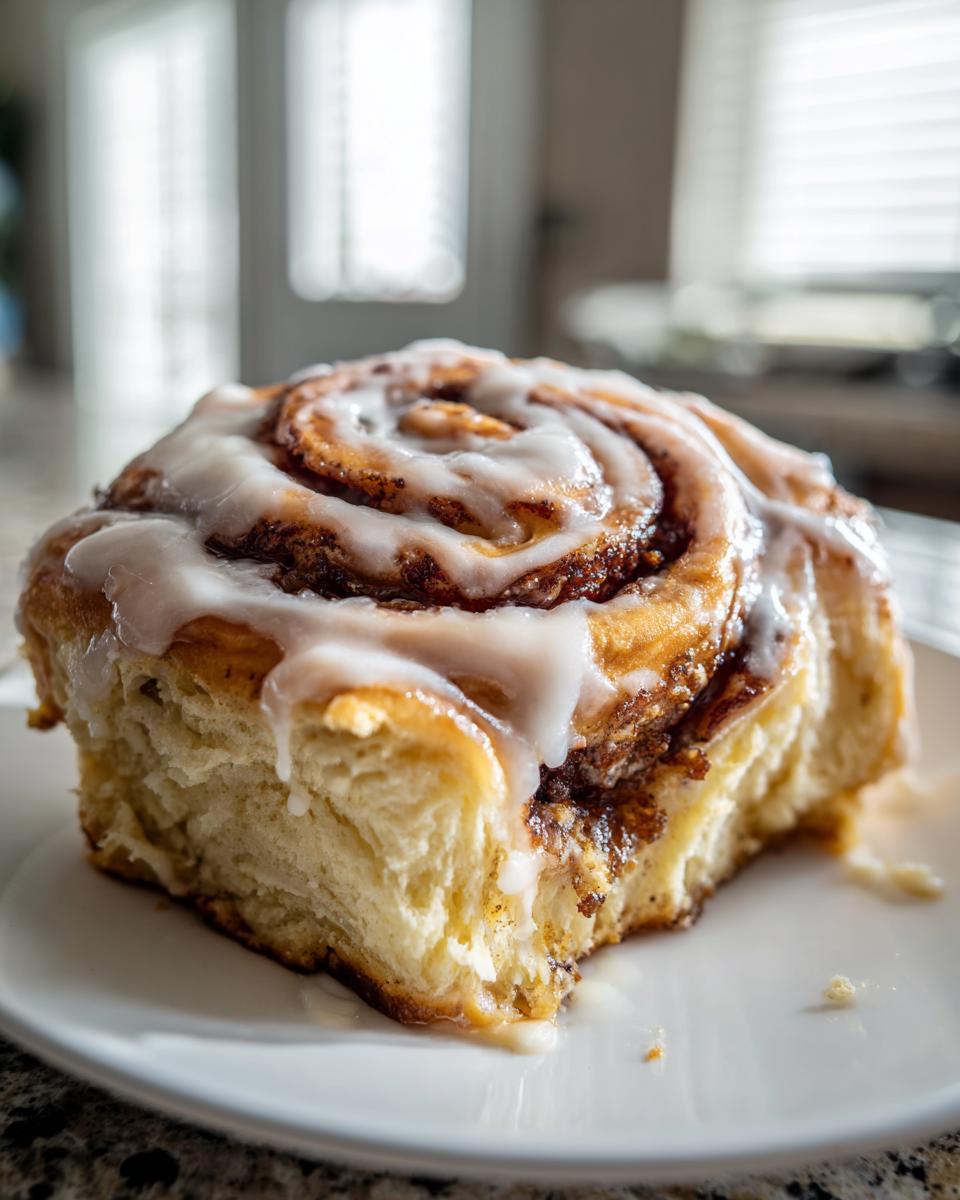
The oven is preheated and your kitchen smells like pure heaven, I know! This is the final push for the ultimate sweet breakfast recipe. While the rolls are baking to golden perfection, we’re going to whisk together the thick, tangy cream cheese icing. Speed is critical here. I can’t stress this enough: you must ice these rolls the second they come out of the oven!
When the rolls are piping hot, the icing melts just slightly and soaks into every nook and cranny, creating that signature gooey layer right where the glaze meets the swirl. If you wait even five minutes, the glaze just sits on top, and that’s a tragedy in my book. So, get your mixer ready alongside your hot rolls!
Baking Tips for Golden Brown Cinnamon Rolls
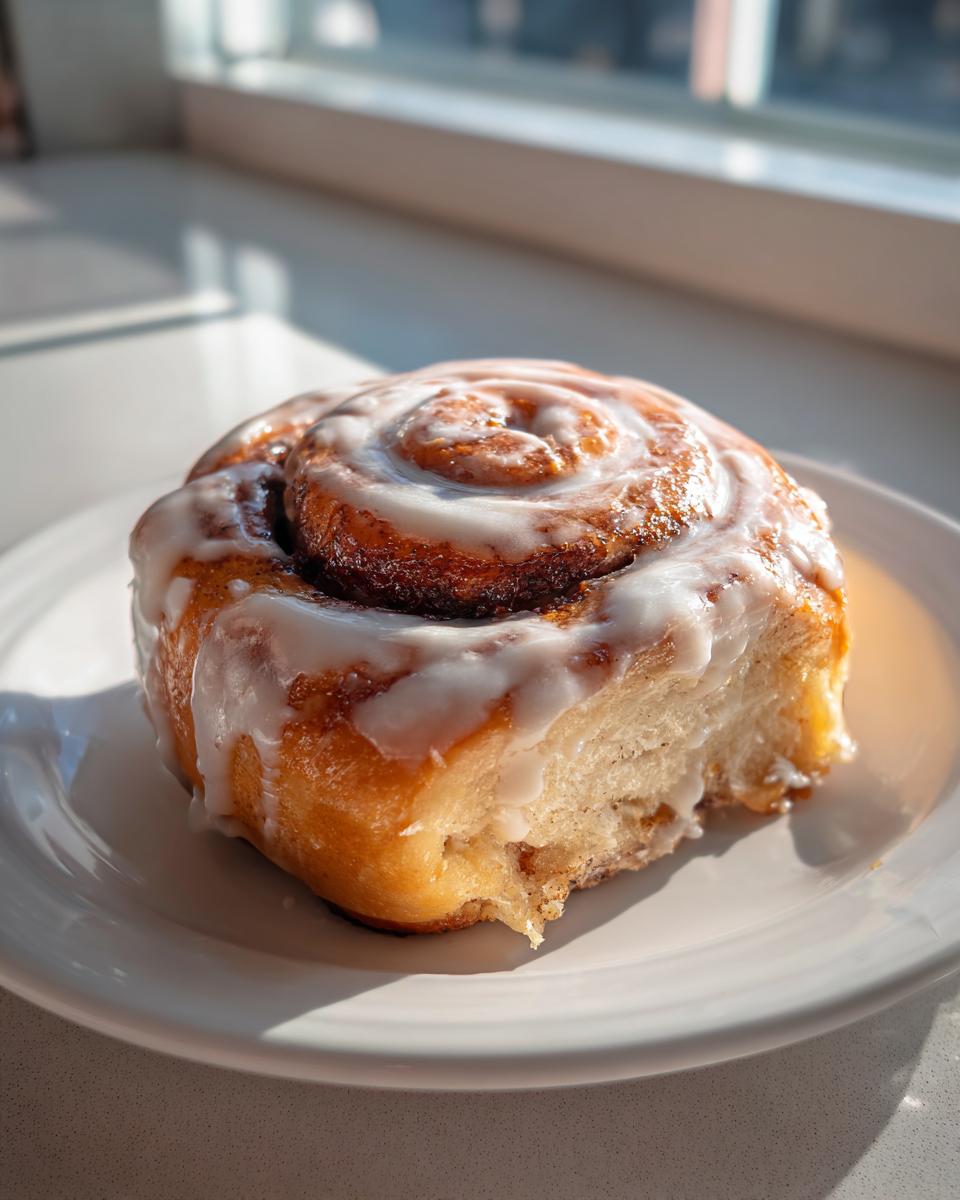
Go ahead and set your oven to 375°F. If you remember to take the rolls out for their second rise while the oven preheats, you’re already ahead of the game. You’re looking for the tops to be a nice, deep golden brown, usually hitting that mark between 20 and 25 minutes.
How do you test them? A thin knife inserted near the center shouldn’t come out completely wet, but honestly, I usually just watch the edges. If the little rolls are pulling slightly away from the pan sides and the tops look deeply colored, pull ’em out! They might look slightly underbaked in the very center, but remember, resting in the hot pan keeps the cooking process going, and the icing will seal in the moisture.
Making the Cream Cheese Glaze Consistency
While those rolls are baking, beat your softened cream cheese until it’s perfectly smooth—you don’t want any little lumps fighting the powdered sugar later! Then, slowly mix in the powdered sugar and vanilla extract. When you first start mixing, it’ll look super thick, almost like frosting you could pipe with a star tip.
If you want that perfect, drippy, melt-in-your-mouth consistency that runs down the sides, you might need to thin it out just a touch. Don’t just dump in milk, though! Add a teaspoon of milk or even a tiny splash of heavy cream at a time, beating well after each addition. You are aiming for a consistency thick enough to coat your spoon but thin enough that it flows easily back into the bowl when you drizzle it. Once the rolls are out, spread that luscious icing over them right away!
Tips for Success with Your Homemade Pastry
I want to make sure your experience creating this fantastic homemade pastry is flawless. Even with a straightforward recipe, little hiccups can happen in the kitchen. Since I learned by making mistakes in my own diary, I figured I should pass along the shortcuts and solutions I’ve collected over the years to guarantee success on your first try!
Ingredient Notes and Substitutions
Let’s circle back to the ingredients for just a second, primarily because that yeast activation step is key. If your milk isn’t warm enough—I mean that perfect 110°F—your yeast won’t wake up, and your dough won’t rise. It’s a simple fix, but one that stops the whole process dead in its tracks. So, check that temperature!
Now, if Sunday morning rolls around and you realize you forgot to mix the dough the night before, don’t panic! I’ve had to use this trick plenty of times. If you need to save time, you can absolutely prepare the dough the night before. Just let it finish that first rise until it doubles, then punch it down gently, cover it tightly, and pop it right into the fridge. Pull it out about an hour before you plan to roll it so it can warm up slightly. It might take a little longer for the second rise, but it works wonders for busy mornings!
Troubleshooting Common Issues
So, what if your dough seems stubbornly flat after an hour? First, don’t give up! It usually just means your room is cold. Try covering the bowl with a towel and placing it somewhere warmer, like near a pilot light if you have one, or just turning on the oven light does wonders for creating a little microclimate. Give it another 15 to 20 minutes.
If you notice your filling seems to have oozed out near the edges while baking, that usually means one of two things: either you didn’t leave that crucial one-inch border bare when rolling, or you didn’t pinch the seam tight enough before cutting. Next time, be extra generous with pinching that final seam shut! If it happens this time, don’t sweat it. That leakage turns into delicious, caramelized cinnamon bits stuck to the bottom of your pan. Scoop those up and declare them the baker’s treat!
Serving Suggestions for Your Cinnamon Roll
Once those beautiful, gooey cinnamon rolls are frosted and cooling slightly, the big question is: what do we pair them with? A treat this decadent deserves the perfect supporting cast! Honestly, unless you’re eating three in one sitting right out of the pan (which I won’t judge!), these make a stunning centerpiece for any special morning.
My absolute favorite way to serve them is straight out of the oven, piping hot, with a big, dark cup of coffee. The slight bitterness of the coffee cuts through the rich butter and the sugary glaze perfectly. You just can’t beat that combination!
If you are planning a bigger brunch spread, remember that these rolls are very heavy and sweet, so you’ll want something fresh on the side to balance things out. Think bright and light!
- The Perfect Beverage Pairing: Strong black coffee is number one, but homemade iced tea or even a simple, good quality orange juice works well to cleanse the palate between bites.
- Brunch Balance: Serve these alongside something savory and light. A simple platter of sliced melon, maybe some crisp bacon, or even a light frittata with fresh herbs will make the whole spread feel balanced and less overwhelmingly sweet.
- For Holidays: If you’re making these for a crowd, serve them on a tiered stand so people can easily grab one. They look amazing, and everyone knows they are in for a treat when they see those swirls!
Don’t feel like you need much else, though. These rolls really steal the show! A little side of fresh fruit is usually all you need to complete the celebration.
Storage and Reheating Instructions
Even if these smell so incredible that you are tempted to eat all twelve in one sitting, sometimes self-control wins out! If you happen to have any leftover cinnamon rolls—and I hope you do, because they are still amazing the next day—storage is really straightforward. We want to treat them gently so that sweet, fluffy texture doesn’t turn into cardboard overnight.
The most important thing is keeping the air out. These rolls hate dry air! Make sure they cool down completely first, though. If you try to seal them up while they are still warm, you trap steam, and that steam turns into condensation, which makes the icing runny and can lead to soggy bottoms. Wait until they are just room temperature before sealing them away.
Storing Your Cinnamon Rolls Correctly
For short-term storage (say, the next day or two), an airtight container is your best friend. You can layer them gently, but I find it easiest to just use a large container and put a sheet of parchment paper between the layers if you have to stack them. Seriously, just avoid plastic wrap directly on the frosting if you can; it always seems to stick in odd places. They stay incredibly soft on the counter for up to two days this way. Don’t put them in the fridge unless you live somewhere super humid, because cold air pulls moisture right out of baked goods!
Bringing Them Back to Gooey Perfection
When you are ready for round two—and trust me, it’ll be worth it—reheating is where you bring them back to that just-out-of-the-oven glory. You have two main options here, depending on how much time you have.
For the absolute best texture, use the oven. Wrap one or two rolls loosely in aluminum foil—this keeps them from drying out on the edges while the inside gets warm. Pop that foil packet into a 325°F oven for about 8 to 10 minutes. They come out hot, soft, and the icing starts to get that perfect melty sheen again. Wow! If you have minimal time, the microwave works in a pinch. Just wrap a single roll in a slightly damp paper towel (that extra moisture is key!) and microwave it in 15-second bursts. Check it after the first burst; you want it hot but not rubbery. Never microwave all of them at once, or they end up unevenly heated!
Frequently Asked Questions About Easy Cinnamon Rolls
I always get the best questions after people try this recipe for the first time! It’s wonderful to hear how much everyone loves these, and usually, the questions center around making the process even simpler or troubleshooting those little hiccups we all face. Since I want these easy cinnamon rolls to be a standard in your rotation, let’s clear up a few things right here.
Can I make the dough ahead of time?
Absolutely, yes! That’s one of the huge time-savers I rely on, especially when I want cinnamon rolls for a slower weekend morning. After the dough finishes its first rise and you punch it down, just cover that bowl securely and place it in the refrigerator overnight. When you pull it out the next morning, give it about an hour to warm up slightly before you attempt to roll and shape the rolls. It works like a charm for easier mornings!
Why are my cinnamon rolls flat?
If your rolls look more like flat discs than puffy towers, we’ve got a yeast or proofing issue. Most often, it means your yeast wasn’t active to begin with—did you check for that foam in the warm milk? If the yeast was good, then the rolls needed more time during that second rise. They should look visibly puffy and soft before they enter the oven. Give them that extra 15 minutes!
What if I don’t have cream cheese for the icing?
If you’re in a bind and don’t have cream cheese, you can definitely whip up a simple glaze so you don’t miss out on the final step. Just mix about 2 cups of powdered sugar with about 3 to 4 tablespoons of milk or even water, plus a splash of vanilla. Whisk it until it’s smooth enough to drizzle. However, I have to be honest—that tang from the cream cheese really balances out the sweetness of this particular homemade pastry perfectly, so the original icing is always the way to go if you can manage it. If you have questions about any of these steps, feel free to reach out on my contact page!
Nutritional Information Estimate for This Cinnamon Roll
Now, I know as home cooks, we usually aren’t whipping these up for calorie counting—they are a celebration, right? But because I promised clarity and honesty in my diary, I wanted to provide you with what the numbers generally look like for one of these gorgeous, glazed rolls. Remember, this recipe is rich because it uses real butter, plenty of cream cheese, and those sugary swirls, so these aren’t exactly light snacks!
These estimates are based on breaking the full recipe yield (12 rolls) evenly, using the standard ingredients listed above. Please take these figures as a guideline, not a rule set in stone. The exact brand of butter you use, how much icing you happen to drizzle on your personal roll, or if you sneak a taste during assembly can change these numbers subtly. We are striving for real-life cooking here, not lab precision!
- Serving Size: 1 roll
- Calories: 450
- Sugar: 35g
- Fat: 24g
- Carbohydrates: 55g
- Protein: 7g
If you’re trying to lighten things up a little, I have a couple of easy swaps that can knock down those numbers without ruining the experience. You could always swap half the butter in the filling for unsweetened apple sauce, for instance, though it will change that supreme gooey texture just a bit. Or, for the icing, use a powdered sugar substitute if that’s your primary concern. But honestly? On a Saturday morning, sometimes you just need the real deal. Enjoy!
Share Your Baking Success
Wow, if you made it this far, you either just pulled a pan of the most amazing smelling cinnamon rolls out of your oven, or you’re setting yourself up for success tomorrow morning! Either way, I’m so happy you gave this recipe a shot. Creating something this comforting and delicious from scratch is a huge accomplishment, and I really want to see what you created!
Seriously, every time someone follows one of my diary entries and sends me a picture of their perfect swirl, it makes logging back into the kitchen feel so worthwhile. I genuinely want to hear your feedback—did the icing drip exactly right? Did your family snatch them up before you could get a photo? Did you try the overnight dough trick?
Don’t be shy! Head down to the comments below and let me know how this cinnamon roll recipe worked out for you. Give it a star rating if you loved it—five stars means you approve of this recipe officially joining the permanent Little Kitchen Diary collection!
Sharing your experience helps other busy home cooks just like you feel confident enough to try baking something special. I read every single comment, and I love hearing your stories. Happy baking, and enjoy every single gooey, sweet bite!
PrintSoft Homemade Cinnamon Rolls with Cream Cheese Icing

Follow this straightforward recipe for soft, fluffy homemade cinnamon rolls swirled with cinnamon-sugar and topped with a sweet cream cheese glaze. This recipe yields bakery-quality rolls perfect for a special breakfast.
- Prep Time: 30 min
- Cook Time: 25 min
- Total Time: 185 min
- Yield: 12 servings 1x
- Category: Breakfast
- Method: Baking
- Cuisine: American
- Diet: Vegetarian
Ingredients
- 1 cup whole milk, warm (about 110°F)
- 2 1/4 teaspoons active dry yeast
- 1/2 cup granulated sugar, plus 2 tablespoons for the filling
- 1/2 cup unsalted butter, softened, plus 1/2 cup for the filling
- 2 large eggs, room temperature
- 4 cups all-purpose flour, plus more for dusting
- 1 teaspoon salt
- 1/4 cup light brown sugar, packed, for the filling
- 2 tablespoons ground cinnamon
- 8 ounces cream cheese, softened
- 1/2 cup powdered sugar, plus more for drizzling
- 1 teaspoon vanilla extract
Instructions
- Combine the warm milk and yeast in a large bowl. Let stand for 5 minutes until foamy.
- Stir in 1/2 cup sugar, 1/2 cup softened butter, eggs, 3 1/2 cups flour, and salt into the yeast mixture. Mix until a soft dough forms.
- Knead the dough on a lightly floured surface for 5 to 7 minutes until smooth. Add remaining flour as needed to prevent sticking.
- Place the dough in a lightly oiled bowl, turning to coat. Cover the bowl with plastic wrap and let it rise in a warm place for 1 to 1 1/2 hours, or until doubled in size.
- While the dough rises, prepare the filling: In a small bowl, mix together the remaining 2 tablespoons sugar, brown sugar, and cinnamon. Set aside.
- Punch down the risen dough. On a lightly floured surface, roll the dough into a large rectangle, about 12 by 18 inches.
- Spread the remaining 1/2 cup softened butter evenly over the dough surface, leaving a 1-inch border on one long edge. Sprinkle the cinnamon-sugar mixture evenly over the butter.
- Starting with the long edge opposite the border, tightly roll the dough into a log. Pinch the seam closed.
- Cut the log into 12 equal rolls. Place the rolls, cut-side up, in a greased 9×13 inch baking pan.
- Cover the pan loosely and let the rolls rise again for 30 to 45 minutes, or until puffy.
- Preheat your oven to 375°F. Bake for 20 to 25 minutes, or until golden brown.
- While the rolls bake, prepare the icing: Beat the softened cream cheese, 1/2 cup powdered sugar, and vanilla extract until smooth.
- Remove the rolls from the oven. Immediately spread the cream cheese icing over the warm rolls. Serve warm.
Notes
- For the softest rolls, make sure your milk is warm, not hot, to activate the yeast correctly.
- If you want a thicker icing, add more powdered sugar one tablespoon at a time.
- You can prepare the dough the night before, let it rise once, punch it down, cover it, and refrigerate it overnight. Bring it to room temperature before the second rise.
Nutrition
- Serving Size: 1 roll
- Calories: 450
- Sugar: 35g
- Sodium: 320mg
- Fat: 24g
- Saturated Fat: 14g
- Unsaturated Fat: 10g
- Trans Fat: 0.5g
- Carbohydrates: 55g
- Fiber: 2g
- Protein: 7g
- Cholesterol: 75mg