
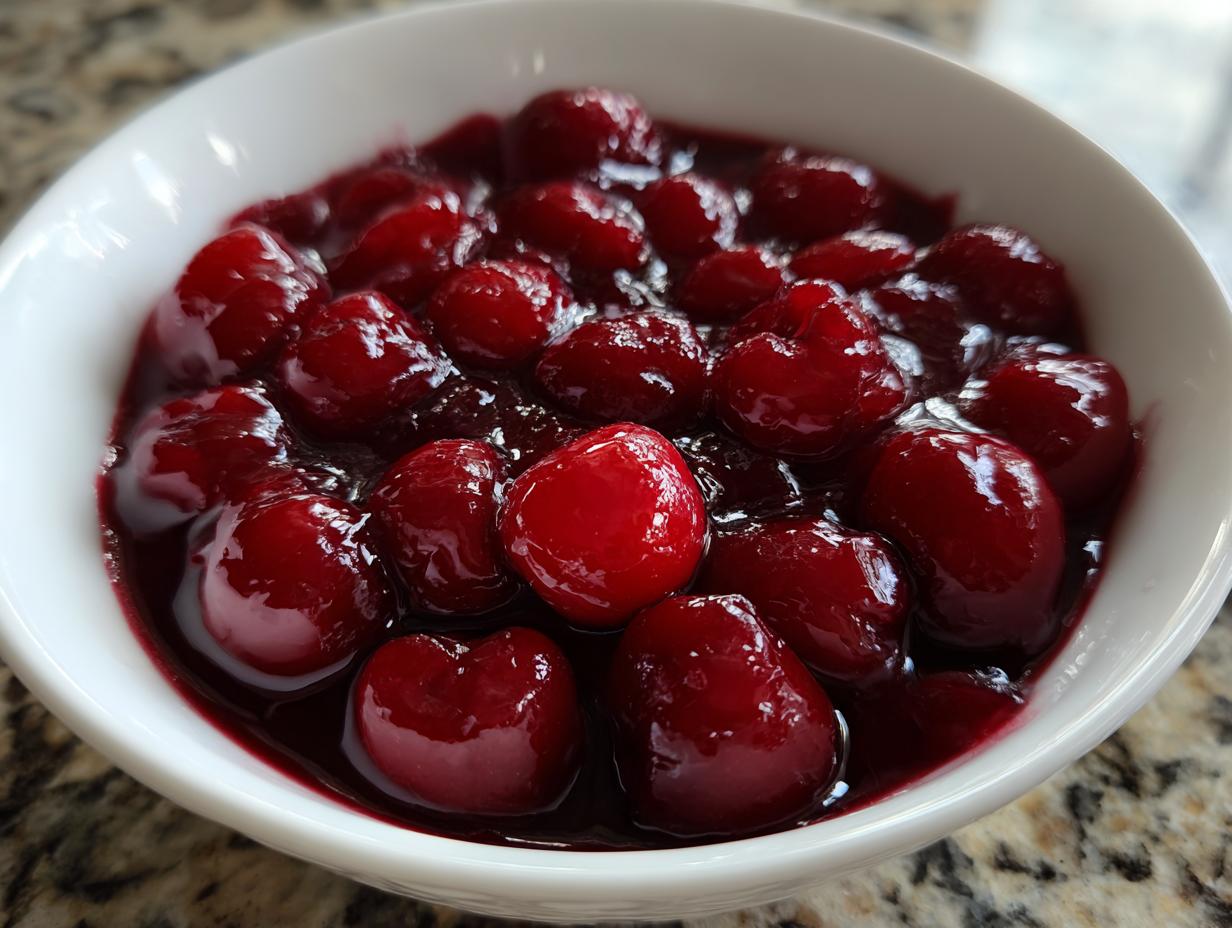
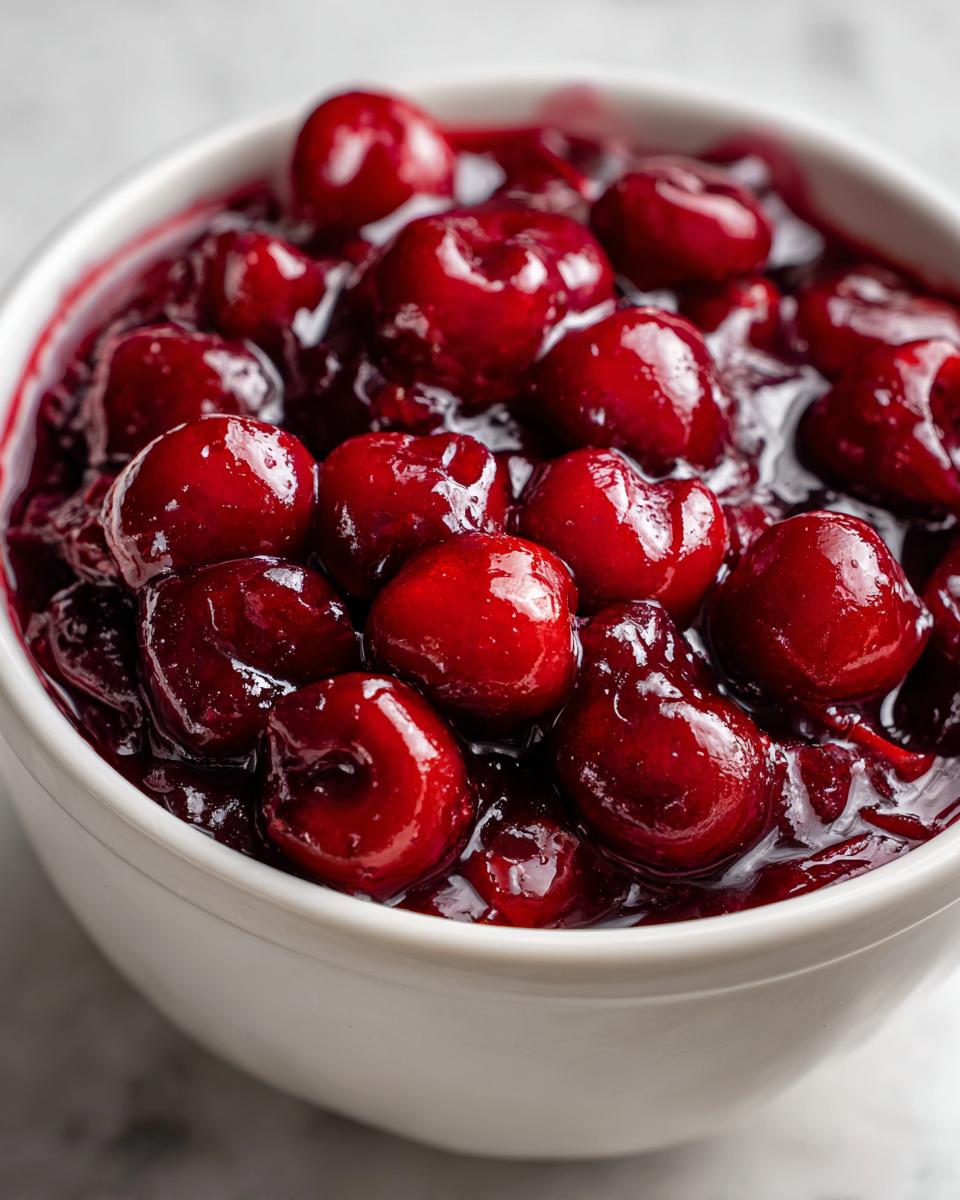
Honestly, I almost gave up on homemade pie filling for years. Every time I tried to make that bright red, thick stuff, it ended up looking like watered-down cherry soup! You know the kind—the jarred stuff where all the juice just runs out the bottom of your crust? Dreadful! Well, friends, I finally cracked the code, and trust me, you need to throw out that can opener right now. This **cherry pie filling** is the absolute best—it’s thick, beautifully glossy, and I whip it up faster than it takes to find a clean pie dish.
This isn’t just meant for a deep-dish pie, either. While it’s perfect for a double-crust delight, this quick recipe turns into the most amazing, versatile topping once it cools down. Seriously, 20 minutes is all it takes to make this incredible **cherry pie filling** from scratch. Say goodbye to runny disasters forever!
- Why This Homemade Cherry Pie Filling Recipe Beats Store-Bought
- Gathering Ingredients for Your Quick Cherry Pie Filling Recipe
- Step-by-Step: How to Make Cherry Pie Filling on the Stovetop
- Tips for the Best Cherry Pie Filling Success
- Versatile Cherry Topping: Beyond the Pie Dish
- Storage and Make-Ahead for Your Cherry Pie Filling
- Frequently Asked Questions About This Cherry Pie Filling Recipe
- Estimated Nutritional Data for Homemade Cherry Pie Filling
- Share Your Best Cherry Filling Creations
Why This Homemade Cherry Pie Filling Recipe Beats Store-Bought
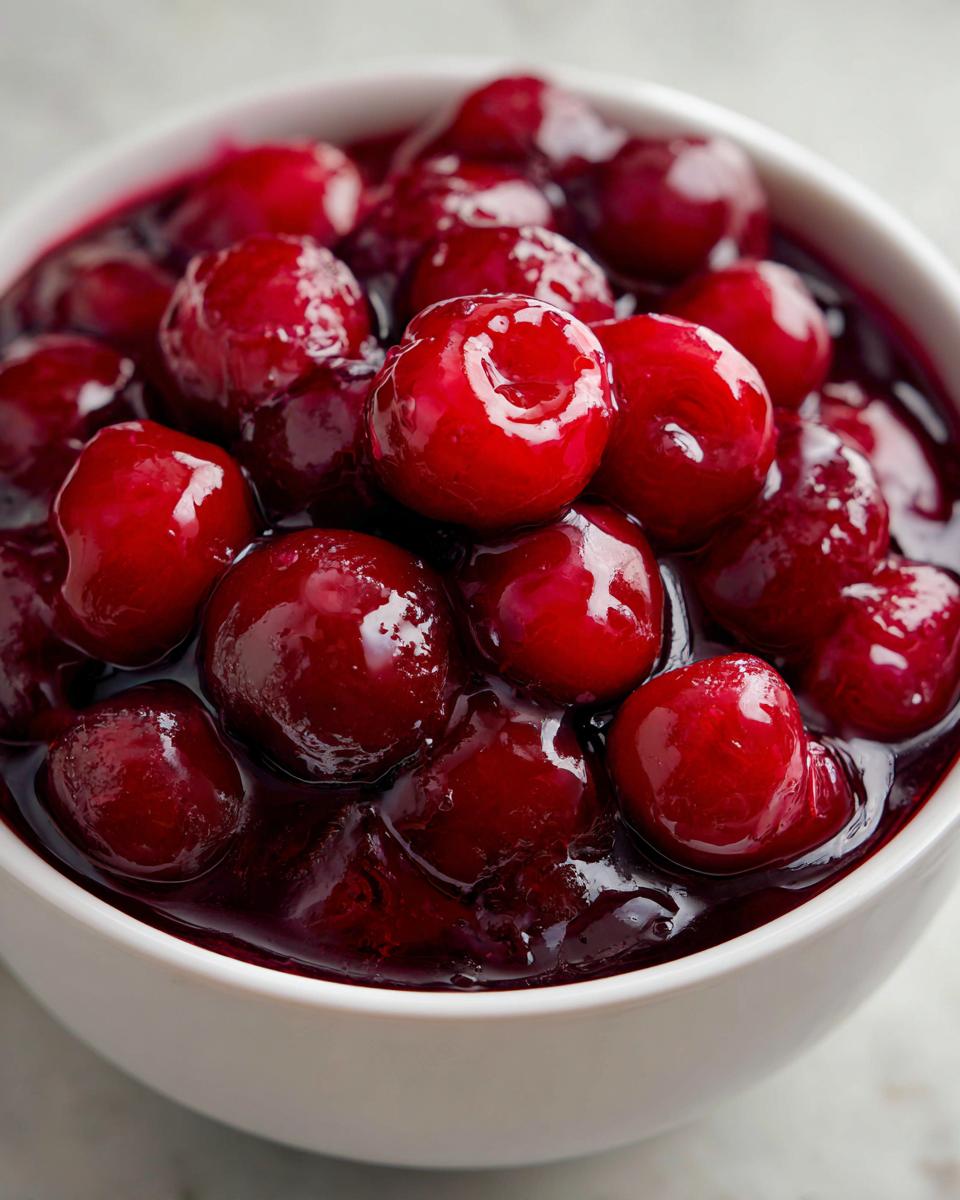
Look, that jarred stuff is convenient, I get it, but it tastes like sad, sugary syrup. When you make your own **cherry pie filling** from scratch, you control everything! The flavor is so much brighter because we’re using real fruit—whether they are fresh or straight from the freezer bag. You get this gorgeous, bright, **juicy cherry filling** that just sings.
The biggest win, honestly, is the texture. We ditch the gummy, overly-set weirdness of cans. With this method, you get exactly what you want: a **thick cherry pie filling** that holds its shape beautifully when you slice into that pie. Plus, it’s so fast! We’re talking about 20 minutes total, and you get to customize the sweetness too. If you hated the canned stuff because it made your crust soggy, wait until you try this recipe. You can even check out my tips for a flaky pie crust to go with it!
Achieving That Perfect Thick Cherry Pie Filling Texture
The secret sauce here, literally, is the cornstarch slurry. That’s what keeps our cherry creation from being a watery mess. You mix it with cold water first—never hot!—to make sure it dissolves properly. When you slowly pour that slurry into the simmering cherries, the cornstarch wakes up and starts doing its magic. You have to keep stirring until it coats the back of a spoon; that heat activation is key to preventing any runniness down the road!
Gathering Ingredients for Your Quick Cherry Pie Filling Recipe
See? I told you this was speedy! Seriously, this is such an **easy cherry pie filling** recipe, and it uses ingredients you probably already have hanging out in your pantry and freezer. Don’t fret about fresh or frozen cherries; this recipe handles both like a dream, which is why I love keeping a bag of frozen ones on hand for when the craving hits in November!
The Essential Ingredients for Homemade Cherry Filling
Go grab these things—you’ll need exactly:
- 4 cups pitted cherries (fresh or frozen—no need to thaw the frozen ones!)
- 1 cup granulated sugar
- 1/2 cup water
- 1/4 cup cornstarch
- 1 teaspoon lemon juice
- 1/2 teaspoon almond extract (optional, but please try it!)
Step-by-Step: How to Make Cherry Pie Filling on the Stovetop
Okay, getting this **cherry pie filling** made is ridiculously straightforward. Since we are talking about **how to make cherry pie filling** quickly, we need to be methodical about the first few steps so the thickening works perfectly later. If you’re using frozen cherries, I must stress this: do not thaw them! Just toss them in the pan from the freezer bag. We want that slow melt to release their juices naturally. Before we get to that cooking, I used a super quick technique on some noodles the other day, and it reminded me how important it is to prep your slurry first!
Preparing the Slurry and Drawing Out Juices
The first thing you need to do is put your cherries and sugar into a medium saucepan. Just let them hang out there for about 10 minutes. This resting time is crucial because it encourages the fruit to release all those beautiful, dark juices we need for a truly flavorful base. While they’re chilling out, whisk your cornstarch and water together in a separate little bowl until it’s totally smooth. You don’t want any lumps in that slurry, otherwise, you get little clumps in your glorious filling!
Thickening Your Juicy Cherry Filling
Once the cherries have marinated for ten minutes, get that saucepan over medium heat. Bring everything up to a gentle simmer, stirring around so the sugar dissolves. Now, slowly pour in that smooth slurry we made—and this is where you need to commit to stirring! Keep stirring constantly. You’ll notice it thicken up surprisingly fast, usually within two to four minutes after adding the cornstarch. Keep cooking until it’s thick enough to completely coat the back of a spoon. Once it does that, kill the heat immediately!
Tips for the Best Cherry Pie Filling Success
We’ve made our **cherry pie filling**, and it looks amazing right now, but here are two non-negotiable steps to guarantee success. Don’t rush these parts, or you’ll end up back at square one with runny fruit sauce! If you ever struggle with cookie recipes, like my no-chill chocolate chip cookies, I find slowing down helps there too—it’s the same principle!
Sweet Cherry Filling vs. Tart Cherry Filling Adjustments
This easy recipe uses 1 cup of sugar, which gives you a lovely, balanced sweet flavor. If you’re using naturally tart cherries, usually the sour ones, you might want to dial it back a bit. Just reduce that sugar down to 3/4 cup. It really helps the cherry flavor shine through without being overwhelmingly sweet. It’s that simple to customize!
The Critical Cooling Stage for Cherry Pie Filling
This is where so many people fail with a **cherry pie filling** recipe! You have to let it cool completely before you put it under a crust or spoon it over cheesecake. When it’s hot off the stove, it looks slightly thinner than it should be. But as that cornstarch cools down, it sets up into that beautiful, thick texture we worked so hard for. If you skip the cooling, I promise you it will turn runny in the oven.
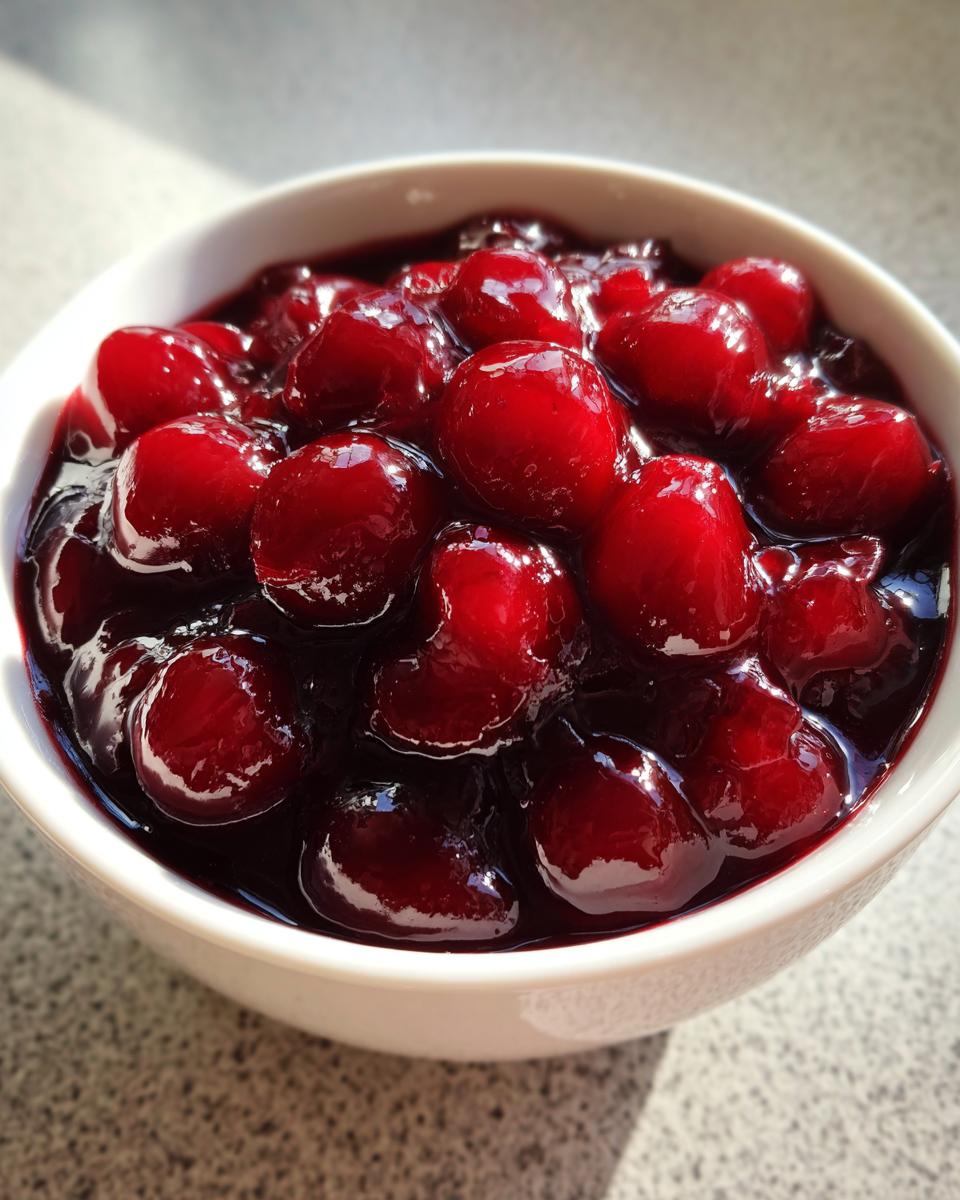
Versatile Cherry Topping: Beyond the Pie Dish
I am so excited about this part! Once you have this perfect, thick **cherry pie filling** cooled down, you realize you’ve made way more than just pie material. This is the ultimate dessert booster, and I rely on this recipe constantly for quick treats. It’s so much better than anything sticky-sweet you can buy, and it makes even a boring snack feel fancy.
Think about it: we created a rich, glossy sauce that perfectly balances sweet and tart. That makes it the ideal **versatile cherry topping** for just about anything dessert-related. I always make a double batch just to keep in the fridge for emergencies. Seriously, once you see how easy this whole process is, you’ll never go back to the jar!
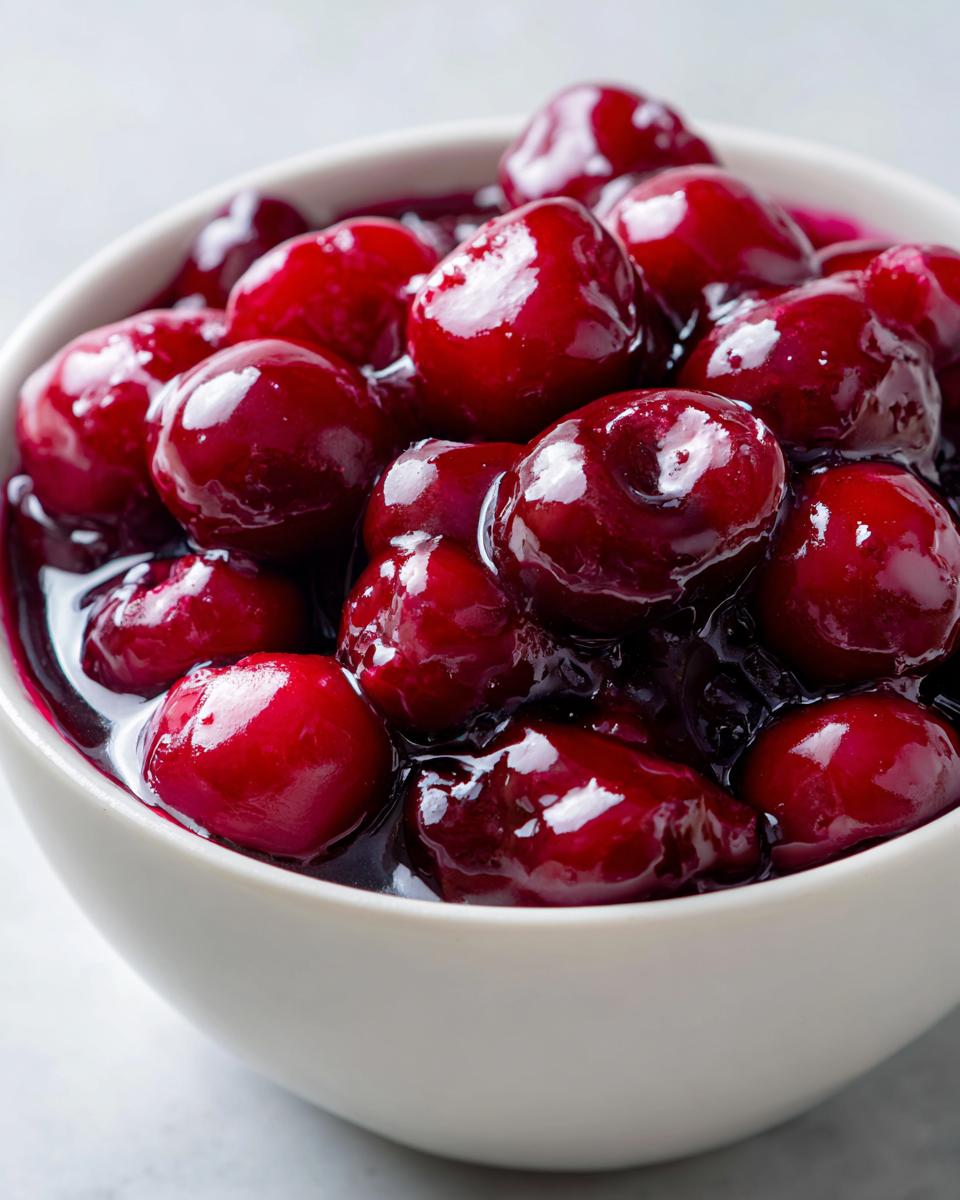
For breakfast, it’s divine spooned warm over my favorite fluffy pancakes or waffles—the warmth melts the butter just right. When things get really exciting, I pour it over cheesecake for an instant upgrade; I even made apple cheesecake bars last week and used this as the vibrant red swirl!
Don’t forget about simple things like pouring it over vanilla bean ice cream for a quick sundae, topping soft sugar cookies, or even as a filling for turnovers when you don’t want to mess with making a full **cherry pie filling** from scratch. It’s magic in a jar!
Storage and Make-Ahead for Your Cherry Pie Filling
Guess what? You don’t even have to use this glorious **cherry pie filling** right away! One of the best things about making **from scratch cherry filling** is that it stores like a dream. I often double the batch because it’s so quick, and then I have ready-made dessert components for weeks. It holds up incredibly well, which gives me major peace of mind.
In the fridge, this filling will keep perfectly in an airtight container for about a week to ten days. Make sure it’s totally chilled! If you think you won’t get to it that fast, you can absolutely freeze it. Just use a freezer-safe container (leave about an inch of space at the top for expansion) and this thick **cherry pie filling** freezes beautifully for up to three months. Thaw it overnight in the fridge, and it’s ready to go. You can see how I use make-ahead components in my no-bake granola bars too!
Frequently Asked Questions About This Cherry Pie Filling Recipe
I know you probably have a few questions swirling around, especially if you’re used to grabbing that jar off the shelf. I’ve been there! Making a **copycat canned cherry filling** is actually easier than you think when you see how simple the **from scratch cherry filling** process is. Here are the things everyone asks me about this recipe.
Can I use canned cherries instead of fresh or frozen for this cherry pie filling recipe?
You sure can try! If you must use canned cherries, drain off about half of that syrupy liquid first before adding them to the pan with your sugar. Know that since canned fruit is already heavily sweetened, you’ll probably want to reduce the added sugar significantly to keep it from getting cloyingly sweet. Otherwise, the cornstarch works the same!
How can I make this a tart cherry filling?
This is my favorite modification! If you are starting with standard sweet cherries but want that wonderful punchy flavor, just lower the granulated sugar to 3/4 of a cup. If you are starting with already sour cherries, you can drop it even lower, maybe to 2/3 of a cup. Taste as you go during that simmering stage.
Another common thing people ask about is using **frozen cherry pie filling** in recipes meant for thaw. Nope! Remember, for this particular recipe, you toss those frozen cherries right in still frosty. They melt perfectly in time during that first simmering step. If you follow these little tips, you’ll have the very **best cherry pie filling** that never lets you down.
For those of you who want to frost your pie when it’s cooled, don’t forget to check out my fluffy vanilla buttercream—it makes a surprisingly tasty contrast to the tart cherry!
Estimated Nutritional Data for Homemade Cherry Pie Filling
Now, I know some people count every single calorie, and that’s totally fine! But when baking from scratch, especially with real fruit, you usually end up with something way better than the heavily processed alternatives. I’ve popped the estimated nutritional breakdown for our amazing **cherry pie filling** right here so you know what you’re working with.
Take these numbers with a little grain of salt, will you? Since we are making things **from scratch cherry filling**, your exact sugar and cherry amounts might shift slightly based on how sweet your cherries are or exactly how much cornstarch you used. It’s just a guide, but it shows you how wholesome this recipe really is compared to the canned stuff!
- Serving Size: 1/2 cup
- Calories: 185
- Sugar: 28g
- Sodium: 2mg
- Fat: 0.2g
- Saturated Fat: 0.0g
- Unsaturated Fat: 0.1g
- Trans Fat: 0.0g
- Carbohydrates: 47g
- Fiber: 2g
- Protein: 0.8g
- Cholesterol: 0mg
There you have it! Almost zero fat and zero cholesterol, proving that this rich, **juicy cherry filling** can absolutely fit into a balanced diet. Enjoy it guilt-free on your next cheesecake or waffle!
Share Your Best Cherry Filling Creations
Honestly, now that you have the blueprint for the best **cherry pie filling** in your arsenal, I can’t wait to hear what you do with it! Don’t let this amazing, versatile topping just sit in the back of the fridge waiting for Christmas pie season. Did you pour it over those pancakes we talked about? Or maybe you made a stunning, vibrant topping for a fancy cheesecake?
Please, please, please come back and leave me a comment below! Tell me what you thought of the texture—was it perfectly thick? Did you use fresh or frozen cherries successfully? If you feel this recipe deserves it, give it a solid five stars! Hearing from you guys really helps other bakers decide to try making their own **cherry pie filling** instead of reaching for the can.
If you snapped any pictures of your beautiful creation—maybe a slice of pie showing off that gorgeous filling, or a close-up of your ice cream sundae—you can tag me on social media! I absolutely love seeing your kitchen victories. If you had any questions or just want to chat more about adapting this recipe, you can always drop me a line through the contact page. Happy baking, and I hope this **cherry pie filling** brings as much joy to your table as it does to mine!
PrintThick and Juicy Homemade Cherry Pie Filling
Make a thick, glossy cherry pie filling from scratch using fresh or frozen cherries. This recipe is quick and works well as a topping for desserts.
- Prep Time: 10 min
- Cook Time: 10 min
- Total Time: 20 min
- Yield: About 5 cups 1x
- Category: Dessert Component
- Method: Stovetop Cooking
- Cuisine: American
- Diet: Vegetarian
Ingredients
- 4 cups pitted cherries (fresh or frozen)
- 1 cup granulated sugar
- 1/2 cup water
- 1/4 cup cornstarch
- 1 teaspoon lemon juice
- 1/2 teaspoon almond extract (optional)
Instructions
- Combine the cherries and sugar in a medium saucepan. Let them sit for 10 minutes to draw out juices.
- In a small bowl, whisk the cornstarch and water together until smooth. This is your slurry.
- Place the saucepan over medium heat. Bring the cherry mixture to a simmer, stirring occasionally.
- Once simmering, slowly pour the cornstarch slurry into the cherry mixture while stirring constantly.
- Continue to cook, stirring, until the mixture thickens significantly, about 2 to 4 minutes. It should coat the back of a spoon.
- Remove the pan from the heat. Stir in the lemon juice and almond extract, if using.
- Let the filling cool completely before using it in a pie or as a topping. Cooling will allow it to set to the proper thickness.
Notes
- If using frozen cherries, do not thaw them before starting the recipe.
- For a tart cherry filling, reduce the sugar to 3/4 cup.
- This filling is excellent served warm over ice cream or cold over cheesecake.
Nutrition
- Serving Size: 1/2 cup
- Calories: 185
- Sugar: 28
- Sodium: 2
- Fat: 0.2
- Saturated Fat: 0.0
- Unsaturated Fat: 0.1
- Trans Fat: 0.0
- Carbohydrates: 47
- Fiber: 2
- Protein: 0.8
- Cholesterol: 0