

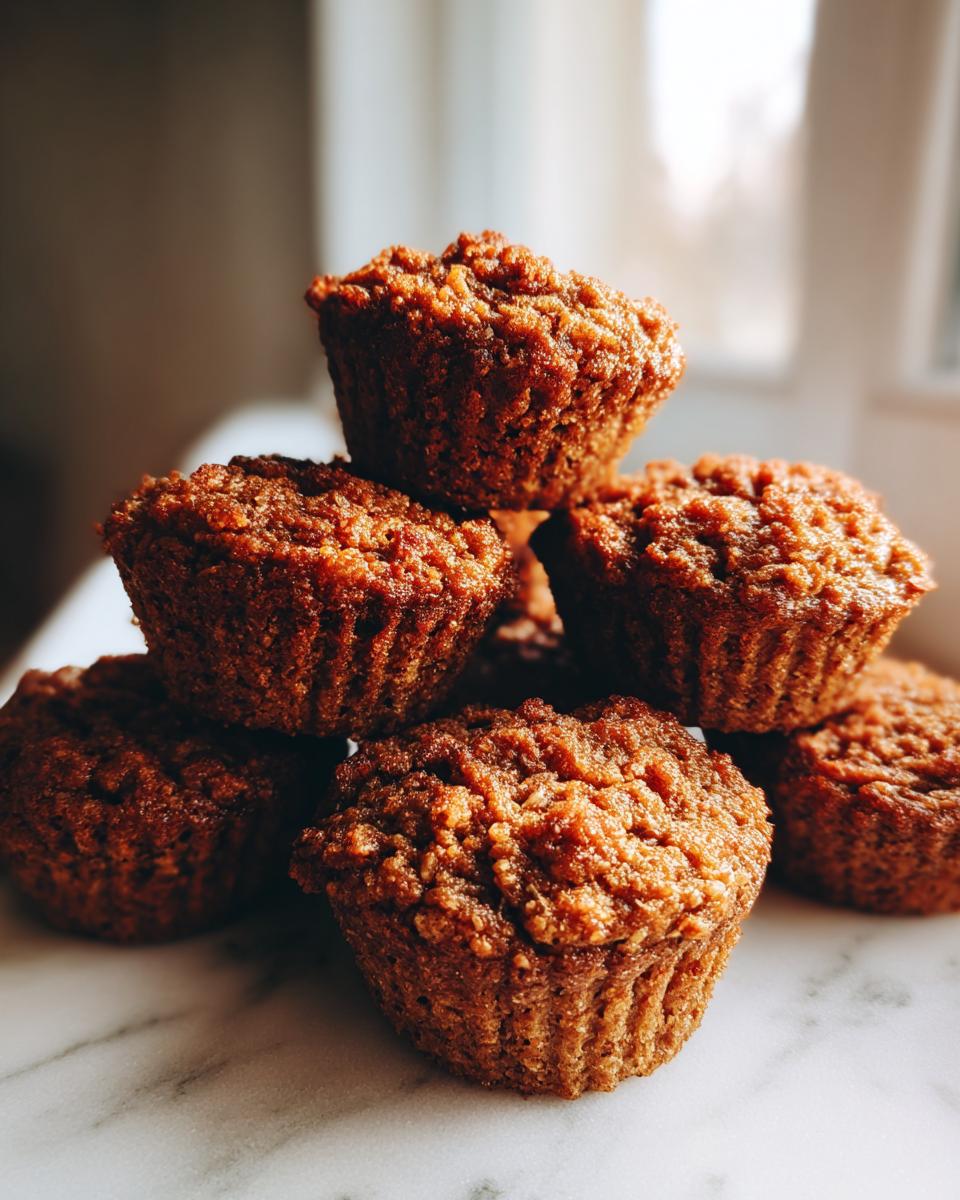
If you’ve been staring down a hectic schedule lately, I totally get it. Reclaiming time for real, honest food felt impossible for me until I started writing things down in my little kitchen diary. That journey brought me back to the simple, wholesome creations that actually fuel your day! I’m thrilled to share what has become my absolute favorite make-ahead staple: the best Moist Bran Muffins you’ll ever try. These are packed with fiber, they freeze beautifully, and they are the perfect solution for any grab-and-go breakfast emergency. They prove that healthy baking doesn’t have to be complicated or time-consuming!
Go check out a little more about how we approach real-life cooking over at the About Page if you’re curious about my philosophy!
- Why These Bran Muffins Are Your New Favorite Healthy Breakfast Muffins
- Gathering Ingredients for Your Homemade Bran Muffins
- Step-by-Step Instructions for Simple Muffin Baking
- Baking and Cooling Your Classic Bakery Muffins
- Making These Bran Muffins Freezer Friendly for Grab And Go Breakfast
- Ingredient Notes and Variations for Wheat Bran Recipes
- Serving Suggestions for Wholesome Baked Goods
- Frequently Asked Questions About Making Bran Muffins
- Nutritional Estimate for Your Bran Muffins
Why These Bran Muffins Are Your New Favorite Healthy Breakfast Muffins
I’m not going to lie to you—these aren’t just *good* muffins, they are absolutely fantastic when you need something healthy in a pinch. I keep a batch in the freezer at all times, and they never disappoint!
- They deliver the soft, melt-in-your-mouth experience you crave, not that dry, crumbly texture you sometimes get with whole-grain baking.
- They are truly hearty. You get a boost of energy that lasts way past your morning coffee.
- Prep is shockingly fast. You mix the wet and dry stuff separately, pour them together, and boom—you’re done prepping in about 15 minutes.
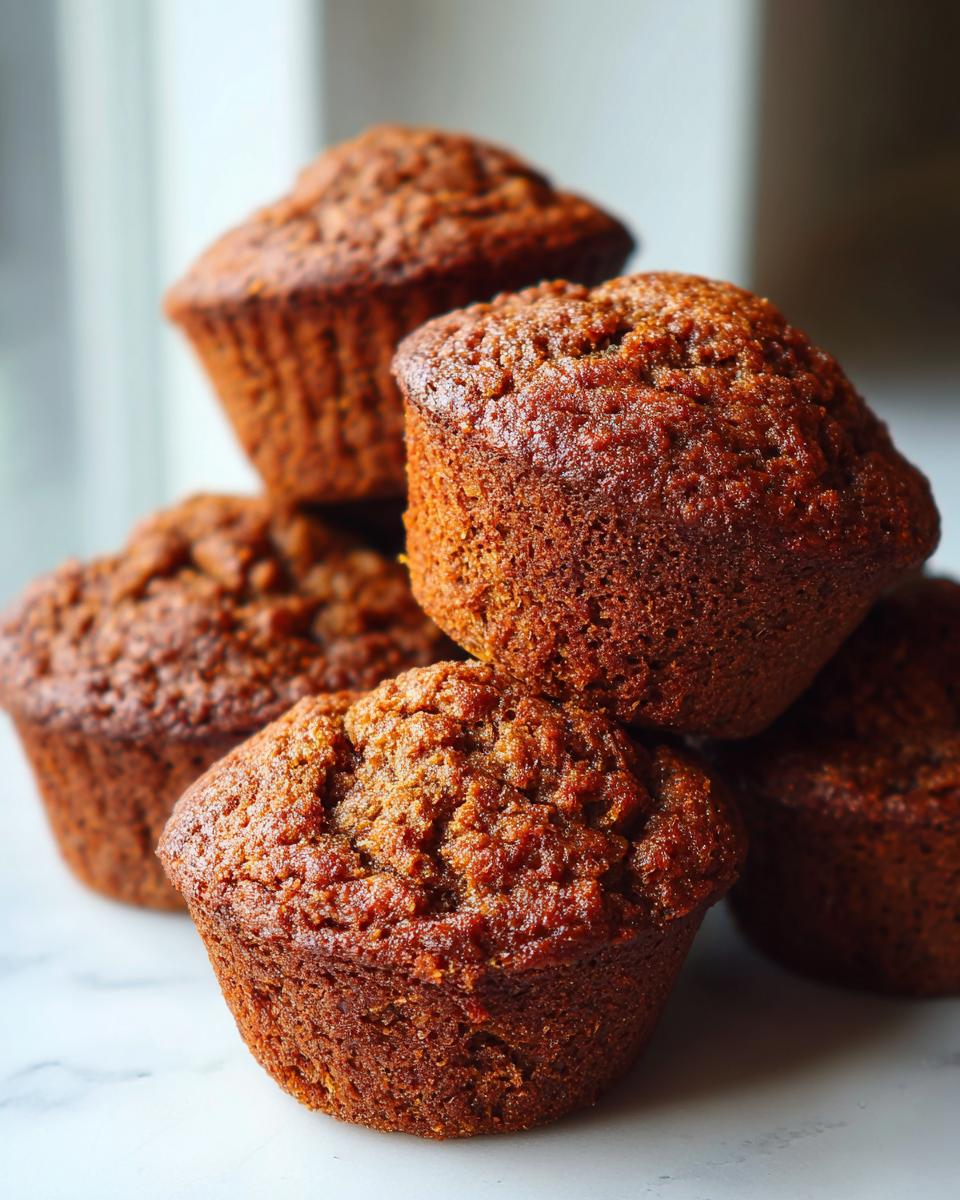
Achieving That Perfect Moist Texture
The reason these turn out so tender is all about hydration upfront. When you mix that wheat bran with boiling water and let it soak for that vital 10 minutes, you’re essentially pre-softening the grain. Then, we bring in the buttermilk and applesauce—both are liquids that truly penetrate the flour, ensuring every single bite stays soft, even days later.
The Secret to High Fiber Muffins for Gut Health
If you’re looking to boost your daily intake, these are winners. We’ve packed these with whole wheat bran, which gives you a fantastic 5 grams of fiber per serving. These High Fiber Muffins are wholesome baked goods that you can feel really good about eating on a busy weekday morning. It’s real nutrition without sacrificing flavor!
Gathering Ingredients for Your Homemade Bran Muffins
Okay, this is where we start building that amazing texture we were just talking about! The Little Kitchen Diary philosophy means we keep things simple, so you won’t need any fancy trips to specialty stores for this bake. Everything on this list is totally standard, which makes whipping up a batch of these wonderful homemade bran muffins so easy.
Ingredient Clarity for Perfect Bran Muffins
Have these items ready to go before you even turn the oven on. The soaking step happens fast, so you want everything measured out! Trust me, having your mise en place ready is half the battle won.
- 1 cup wheat bran
- 1 cup boiling water
- 1 cup buttermilk
- 1/2 cup packed brown sugar
- 1/4 cup unsweetened applesauce
- 1 large egg
- 1/4 cup vegetable oil
- 1 teaspoon vanilla extract
- 1 3/4 cups all-purpose flour
- 1 teaspoon baking soda
- 1/2 teaspoon salt
- 1/2 teaspoon ground cinnamon
Step-by-Step Instructions for Simple Muffin Baking
You might think baking from scratch takes forever, but these are designed for the real world! We’ve got your Simple Muffin Baking down to about 33 minutes total, hands-on time included. The key here is the order of operations—we need that bran nice and soft before we even look at the flour.
Preparing the Wet Base for Your Bran Muffins
First things first—get your oven up to 400 degrees F! Line that 12-cup tin now, or grease it well. Now for the magic: combine your 1 cup of wheat bran with 1 cup of boiling water right in a decent-sized bowl. Set a timer! This needs 10 minutes. Honestly, don’t skip this. This soak is what prevents chewy muffins and creates that beautiful, fluffy interior.
Mixing Wet and Dry Components for Moist Bran Muffins
While the bran is sitting pretty, go ahead and measure out your dry ingredients in a separate bowl. Once the 10 minutes are up, pour the buttermilk, applesauce, egg, oil, and vanilla right into that soupy bran mix and stir it gently. Now, pour all those wet loving ingredients into the dry. Mix it just until the last streak of flour vanishes. Resist the temptation to beat it smooth! Seriously, overmixing is the enemy when you want Moist Bran Muffins. Just stir until combined for the best texture.
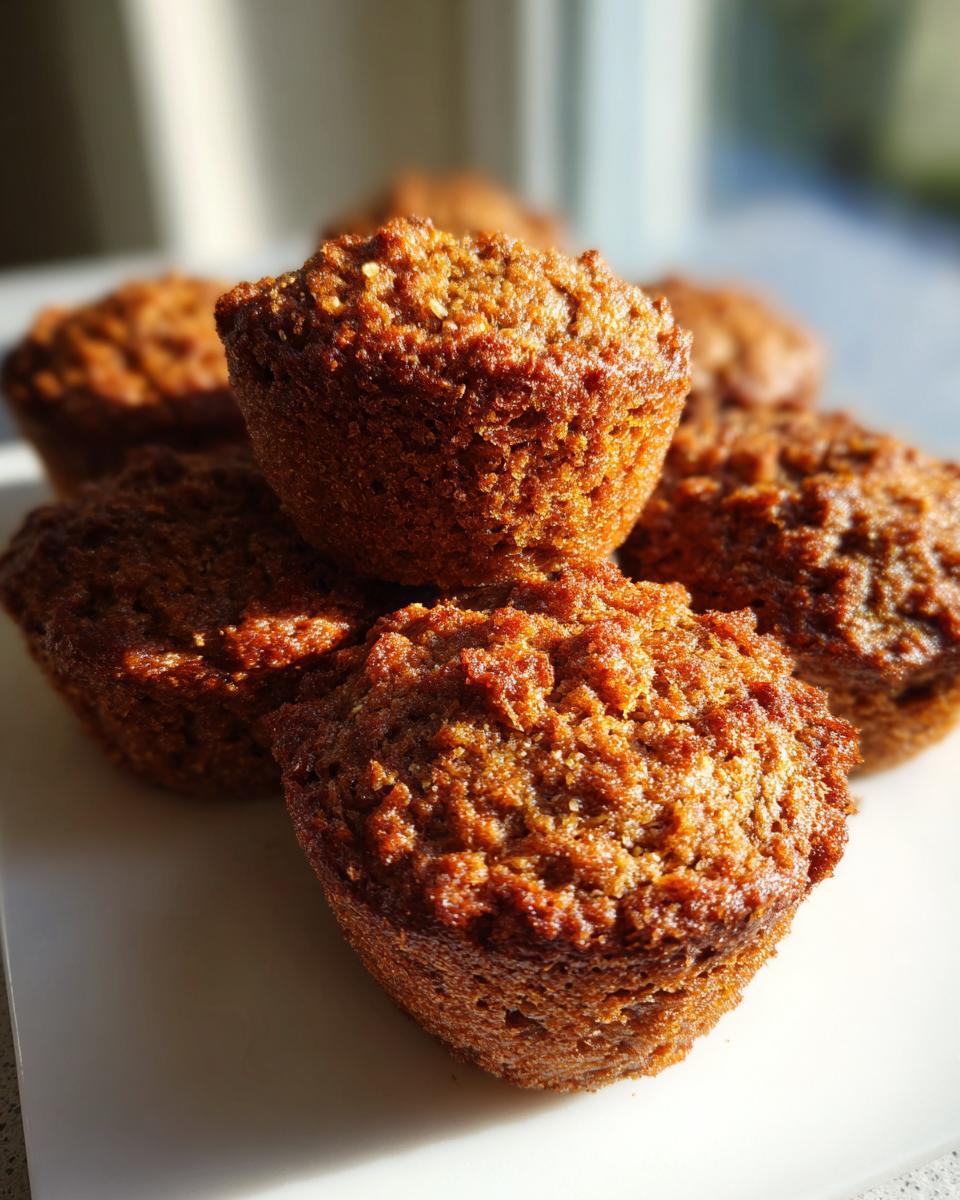
Baking and Cooling Your Classic Bakery Muffins
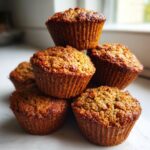
Alright, we are moments away from filling the house with that incredible, wholesome smell! Remember we set the oven to 400 degrees F? That higher heat is actually one of my favorite tricks for making sure the tops dome up nicely, giving you that perfect rise you see in those gorgeous Classic Bakery Muffins.
Take that slightly lumpy batter—don’t panic, remember, lumps are good here!—and divide it evenly into your 12 prepared cups. They should look pretty full—that’s how you get a good muffin top!
Pop them in the oven and set your timer for 15 minutes. You only bake them for 15 to 18 minutes total, which is super fast for a batch this healthy. When you test them with a toothpick, you want it to come out clean. If it has wet batter, give it maybe two more minutes. If it’s slightly sticky with moist crumbs, you’ve hit gold!
Once they are done, pull that tin out but leave the muffins in it for just five minutes. This helps them set up without sticking. Then, transfer them gently onto a wire rack to cool completely. If you plan on freezing them, they absolutely *must* be fully cooled before wrapping. We don’t want any condensation getting trapped inside!
If you want to see a super tasty variation that also includes freezing instructions—especially if you like seeds in your bake—you should definitely take a peek at this recipe for High-Fiber Seeded Bran Muffins here. Sometimes adding seeds is just what you need for texture!
Making These Bran Muffins Freezer Friendly for Grab And Go Breakfast
This is seriously one of my favorite parts about making these bran muffins—they are built for busy weeks! We shouldn’t have to skip a healthy breakfast just because we didn’t have time to bake that morning. They qualify as genuine Freezer Friendly Muffins, meaning you can bake a double batch this weekend!
Here’s the trick: Once they are completely cool—and I mean stone cold, friends—wrap each one tightly in plastic wrap. Think individual presents! Then tuck them into a heavy-duty freezer bag. They last up to three months this way. When you need one, just pull it out the night before, or you can even microwave it briefly straight from frozen. It’s the easiest way to guarantee a wholesome meal! For more tips on making reliable freezer batches, check out this excellent recipe guide here.
Ingredient Notes and Variations for Wheat Bran Recipes
Honestly, once you’ve mastered the core recipe, you’ll want to start playing around with mix-ins. That’s the fun of home baking, right? Luckily, this recipe is really forgiving, which is great for exploring different textures and flavors within your Wheat Bran Recipes. I always keep a few ideas scribbled in my diary for when I’m feeling adventurous.
The original card only called for wheat bran, but I’ve played around with a few substitutions that I think you’ll love, especially if you’re into oat-based breakfasts. It’s all about tweaking things slightly so they still work perfectly with our wet mixture.
Ideas for Oat Bran Muffins Idea Additions
If you grab oat bran instead of wheat bran, you might notice the final texture is a touch softer—oat bran absorbs liquid differently, so they bake up a bit lighter. It’s a perfectly acceptable swap, though!
My favorite way to customize these for the kids is by adding a little extra sweetness and chewiness right into the batter when I combine the wet and dry stuff. The notes on the original card mentioned adding raisins or chopped apple, and let me tell you, that is excellent advice. If you add raisins, make sure you soak them briefly in warm water or juice first! This stops them from pulling moisture out of your perfectly prepared batter.
If you’re using fresh apple, make sure it’s finely diced so it softens up nicely during that 18-minute bake time. These easy substitutions turn a simple breakfast staple into something new every time!
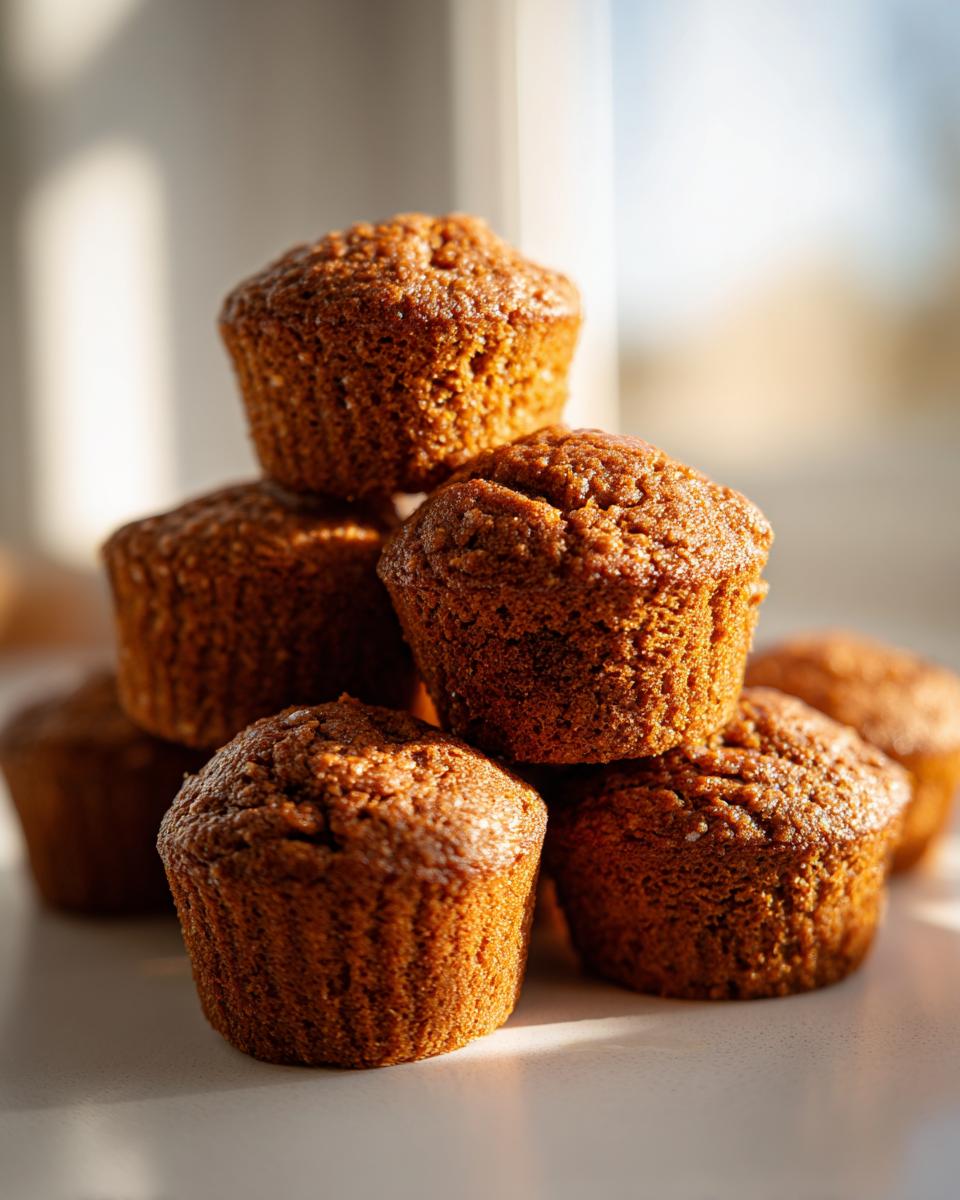
Serving Suggestions for Wholesome Baked Goods
You’ve just pulled amazing, high-fiber bran muffins out of the oven, and now what? Well, you could eat one immediately standing over the sink—I’ve definitely done that when I’m rushing out the door! But these Wholesome Baked Goods deserve a proper moment. They are so versatile, which is why I love adding them to my weekly rotation.
Since these muffins are naturally hearty, heavy toppings aren’t really necessary, but a little something extra can elevate them from “quick breakfast” to “gourmet snack.” When I have a little extra time on the weekend, I like to serve them slightly warm with a thin smear of really good almond butter. It adds healthy fats and a creamy texture that contrasts nicely with the muffin’s crumb.
Alternatively, if you’re enjoying these as a slightly lighter treat or snack during the day, pairing them with some plain Greek yogurt and a scattering of fresh berries is brilliant. The tang of the yogurt cuts through the subtle sweetness from the applesauce and brown sugar perfectly. It turns my easy muffin into a balanced little bowl!
If you’re looking for other healthy snack ideas that use simple ingredients that pack a nutritional punch, you might want to scroll through the recipes linked here. It’s always fun to explore what other people are doing with simple, good-for-you ingredients!
Frequently Asked Questions About Making Bran Muffins
I always get questions about this recipe because people want to make sure they nail the texture, or they need to swap ingredients based on what they have. That’s exactly what my little kitchen diary is for—answering the real-life baking problems! Here are a few things I always hear.
Can I make these Naturally Sweetened Muffins without brown sugar?
You absolutely can swap out the brown sugar if you’re trying to keep things refined sugar-free. I would suggest replacing it 1:1 with pure maple syrup or honey. Just be warned: since both of those are liquid, you’ll need to reduce your buttermilk by about two tablespoons to keep that batter balanced. It will change the depth of flavor a little, but they still bake up beautifully!
Why are my homemade bran muffins dense?
If yours are turning out dense, I can almost guarantee you’re falling into one of two common traps. First, did you skip or rush the 10-minute bran soak? That step is non-negotiable for softness! Second, and this is the biggest culprit: you mixed too much! Remember, you just need to mix until the flour disappears. Overworking the batter develops gluten, and gluten equals tough, dense muffins instead of light, healthy breakfast muffins.
If you have any other burning questions about ingredient swaps or storage—especially regarding making them freezer friendly muffins—don’t hesitate to reach out to me through the Contact Page!
Nutritional Estimate for Your Bran Muffins
I think it’s important to know what you’re fueling your body with, especially when you’re intentionally reaching for something high in fiber like these muffins. Knowing the numbers helps you plan out your week, right? Remember, because we use simple, whole ingredients, these are pretty great little packages of energy!
I want to emphasize this right up front: the numbers below are just an estimate based on the ingredients list I provided. If you swap the applesauce for honey, or use a different type of oil, the values will shift a bit. Think of this as a great baseline for planning your grab and go breakfast!
- Serving Size: 1 muffin
- Calories: 190
- Sugar: 10g
- Sodium: 210mg
- Fat: 7g
- Saturated Fat: 1g
- Unsaturated Fat: 6g
- Trans Fat: 0g
- Carbohydrates: 31g
- Fiber: 5g
- Protein: 5g
- Cholesterol: 25mg
Seeing that 5g of fiber is what always makes me smile. It’s a satisfying number for something that takes less than 20 minutes to bake! Enjoy knowing you’re making a smart choice for your busy day!
PrintMoist, High-Fiber Bran Muffins for a Grab-and-Go Breakfast
Bake a batch of these moist bran muffins. This recipe uses simple ingredients to create a high-fiber breakfast or snack that freezes well for busy mornings.
- Prep Time: 15 min
- Cook Time: 18 min
- Total Time: 33 min
- Yield: 12 servings 1x
- Category: Breakfast
- Method: Baking
- Cuisine: American
- Diet: Vegetarian
Ingredients
- 1 cup wheat bran
- 1 cup boiling water
- 1 cup buttermilk
- 1/2 cup packed brown sugar
- 1/4 cup unsweetened applesauce
- 1 large egg
- 1/4 cup vegetable oil
- 1 teaspoon vanilla extract
- 1 3/4 cups all-purpose flour
- 1 teaspoon baking soda
- 1/2 teaspoon salt
- 1/2 teaspoon ground cinnamon
Instructions
- Preheat your oven to 400 degrees F (200 degrees C). Line a 12-cup muffin tin with paper liners or grease the cups well.
- In a medium bowl, combine the wheat bran and boiling water. Let this mixture stand for 10 minutes to soften the bran.
- Add the buttermilk, brown sugar, applesauce, egg, oil, and vanilla extract to the softened bran mixture. Stir until just combined.
- In a separate large bowl, whisk together the flour, baking soda, salt, and cinnamon.
- Add the wet ingredients to the dry ingredients. Mix only until the flour disappears. Do not overmix; a few lumps are fine. Overmixing develops gluten and results in tough muffins.
- Divide the batter evenly among the 12 prepared muffin cups.
- Bake for 15 to 18 minutes, or until a toothpick inserted into the center of a muffin comes out clean.
- Let the muffins cool in the pan for 5 minutes before transferring them to a wire rack to cool completely.
Notes
- For freezer-friendly storage, cool the muffins completely, then wrap each one tightly in plastic wrap before placing them in a freezer-safe bag. They keep well for up to three months.
- You can substitute oat bran for wheat bran if you prefer, but the texture may change slightly.
- For a sweeter muffin, add 1/2 cup of raisins or chopped apple to the batter when combining wet and dry ingredients.
Nutrition
- Serving Size: 1 muffin
- Calories: 190
- Sugar: 10g
- Sodium: 210mg
- Fat: 7g
- Saturated Fat: 1g
- Unsaturated Fat: 6g
- Trans Fat: 0g
- Carbohydrates: 31g
- Fiber: 5g
- Protein: 5g
- Cholesterol: 25mg