
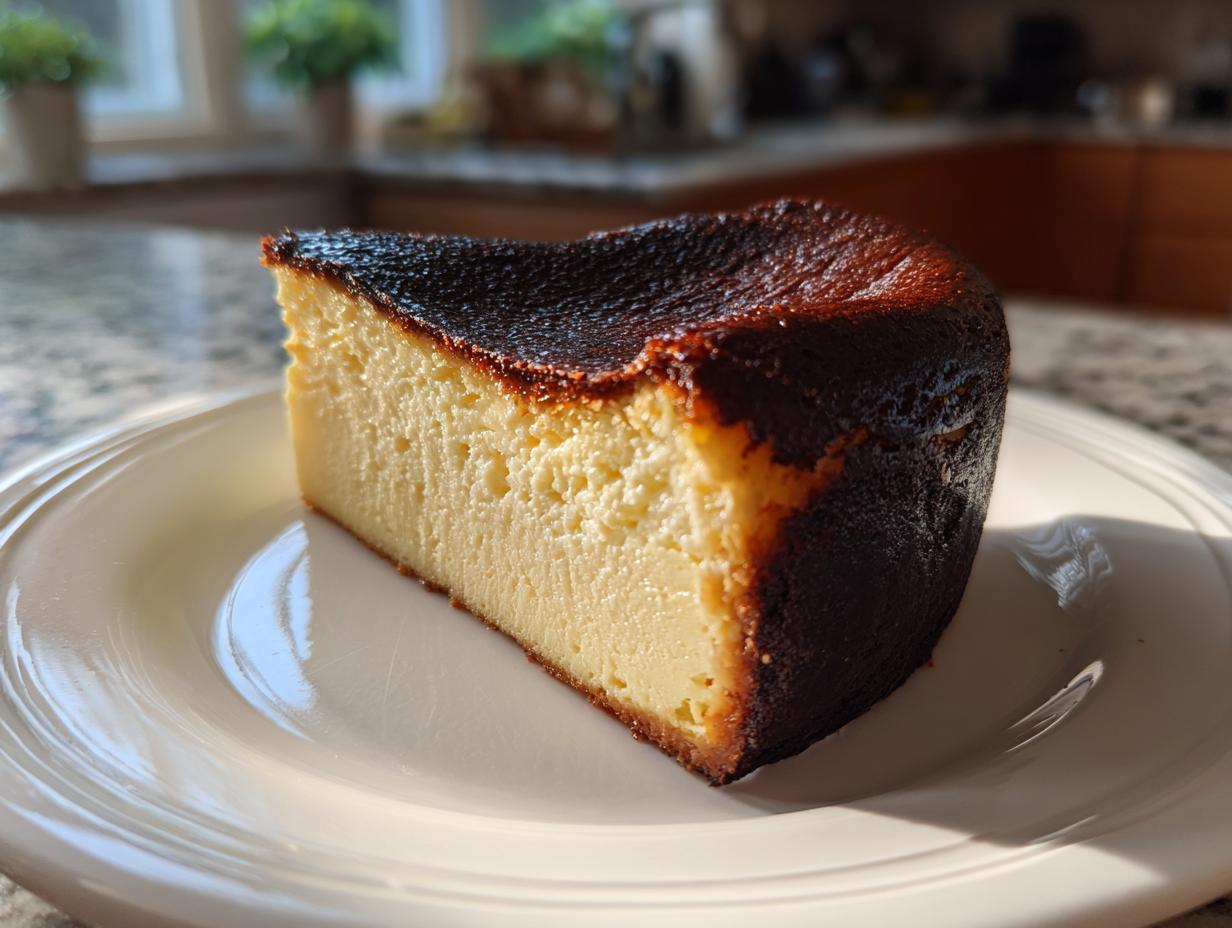
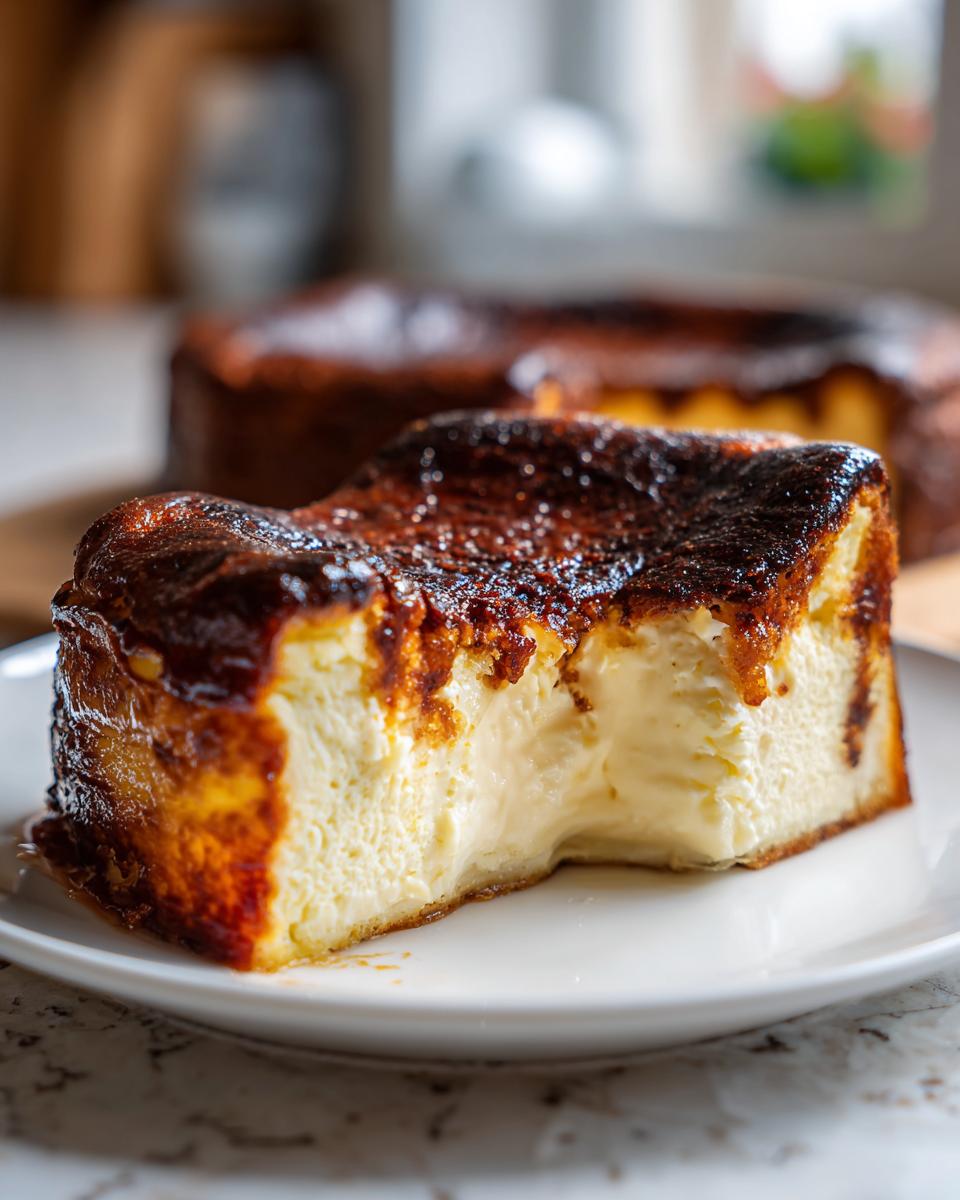
If you’ve been scrolling anywhere online in the last few years, you’ve definitely seen this showstopper: the dramatically dark, beautifully rustic **Basque Burnt Cheesecake**. It looks like it belongs in a fancy bakery, right? Well, I’m here to tell you that this is *the* dessert that dragged me out of my takeout rut and got me excited about baking again. The best part about this recipe is that it completely skips the fiddly crust and the dreaded water bath. Seriously, this is the easiest, crustless version out there. We nail that signature creamy center and gorgeously charred top with minimal fuss. It’s proof that a truly decadent dessert doesn’t need to demand your entire weekend. Trust me, once you bake this simplicity, you won’t look back. If you’re looking for more simple joys, check out my full collection of delicious dessert recipes.
- Why This Basque Burnt Cheesecake Recipe Is Your New Go-To
- Gathering Ingredients for Your Basque Burnt Cheesecake
- Step-by-Step Instructions for the Easy Burnt Cheesecake
- Cooling and Serving Your Basque Burnt Cheesecake
- Tips for the Best Basque Cheesecake Experience
- Serving Suggestions for This Decadent Dessert Ideas
- Storage and Reheating Instructions for Leftover Basque Burnt Cheesecake
- Frequently Asked Questions About San Sebastian Cheesecake
- Understanding the Nutrition in This Indulgent Spanish Dessert
- Share Your Basque Burnt Cheesecake Creations
Why This Basque Burnt Cheesecake Recipe Is Your New Go-To
When I first tried making a traditional cheesecake, I gave up halfway through trying to manage the boiling water bath. It felt like I needed a chemistry degree! That’s why this version—the true **Basque Burnt Cheesecake**—is such a revelation. It’s straightforward, requires almost zero fuss, and delivers restaurant-quality results right from your home oven. You simply can’t beat that combination.
- Seriously few ingredients—we’re talking just the essentials you likely already have.
- The texture is pure indulgence: airy, light, and unbelievably creamy.
- It looks rustic and impressive, yet takes less than 15 minutes of actual work.
The Magic of No Water Bath Cheesecake Baking
Forget carefully wrapping your springform pan in thirty layers of foil! The beauty of this Spanish classic is that it’s a **No Water Bath Cheesecake**. We toss that fussy step out the window entirely. High heat and a good parchment paper liner handle all the moisture management for us. This simple technique is what makes it a true **Simple Baked Cheesecake** that busy folks like me can rely on.
Achieving That Signature Caramelized Cheesecake Top
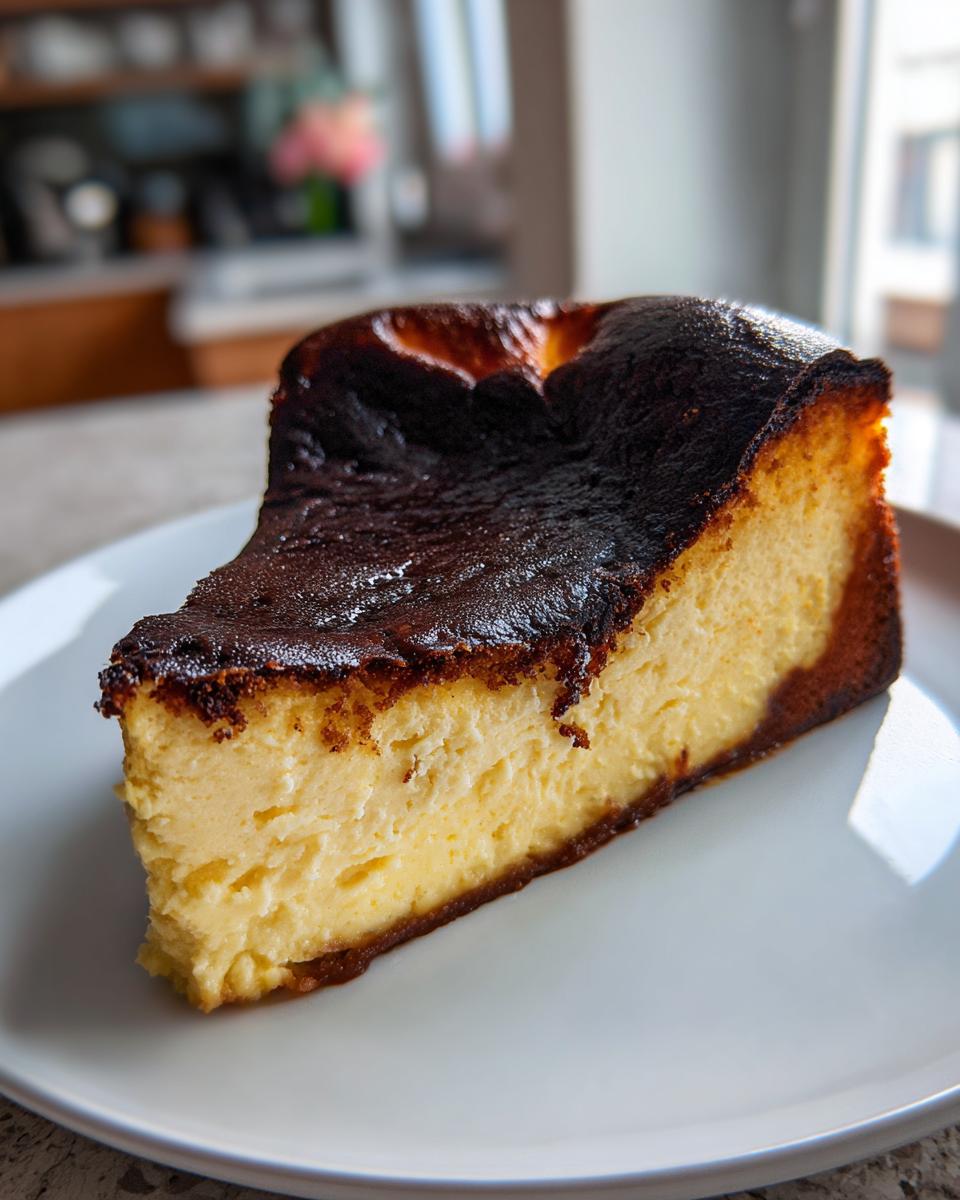
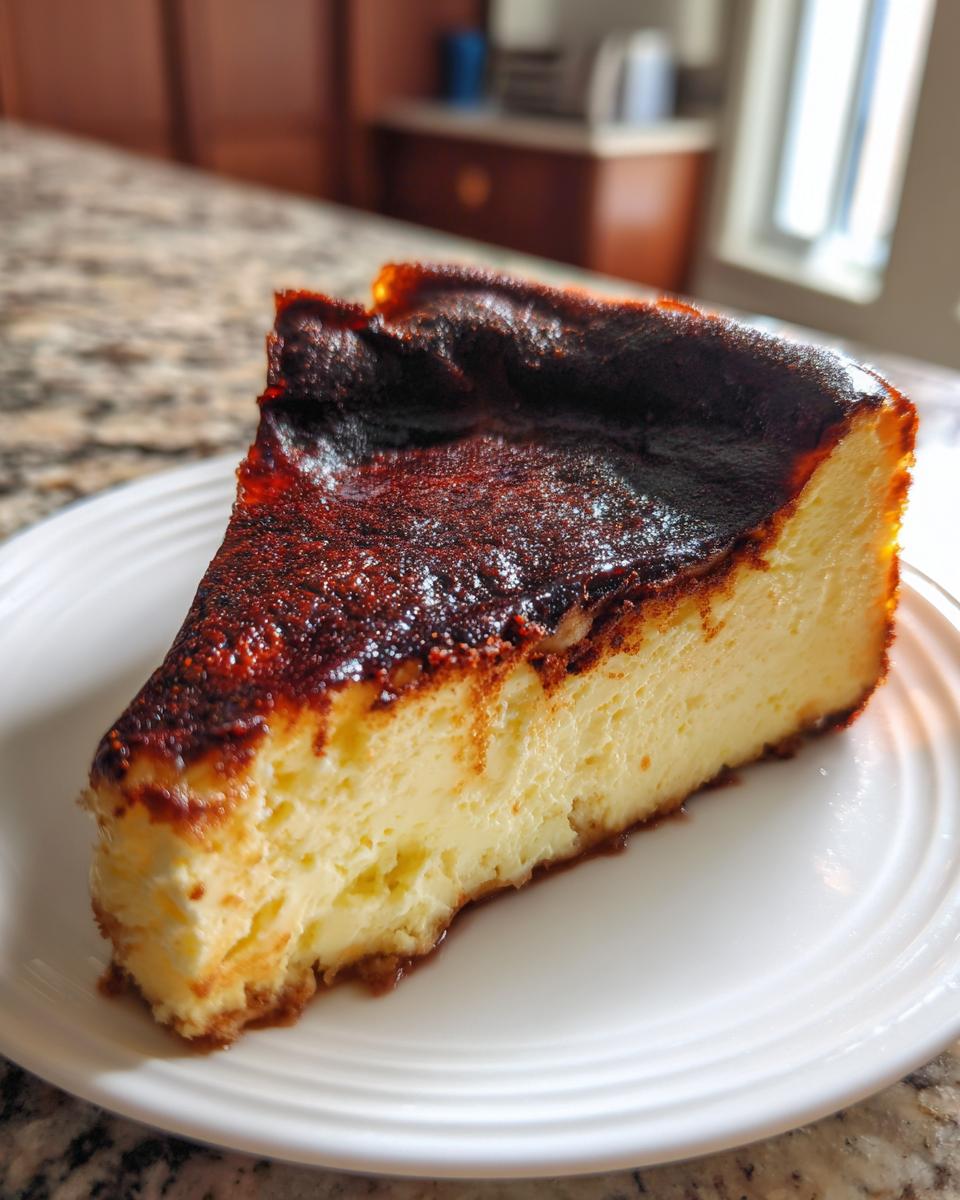
People often ask me if they did something wrong when the top looks almost black. Absolutely not! That dark color is called for. We crank the oven temperature way up high so the sugars caramelize intensely, creating that famous **Caramelized Cheesecake Top**. It balances the sweetness of the rich interior perfectly. Don’t pull it out just because it looks too dark—that’s when the magic happens!
Gathering Ingredients for Your Basque Burnt Cheesecake
One of the reasons this **Basque Burnt Cheesecake** took over my baking schedule is the ingredient list. Honestly, it’s shocking how few things you need to create something so intensely rich and special. We are working here with just seven core components. Because there’s so little going on, every single ingredient needs to be exactly right, especially the temperature. If you skip this prep, you end up with lumps, and trust me, we are aiming for pure, glorious smoothness here.
- 1.5 lbs cream cheese, softened to room temperature
- 1 1/4 cups granulated sugar
- 4 large eggs, room temperature
- 2 large egg yolks, room temperature
- 1 3/4 cups heavy cream
- 1 tablespoon all-purpose flour
- Pinch of fine sea salt
Ingredient Clarity and Preparation Notes
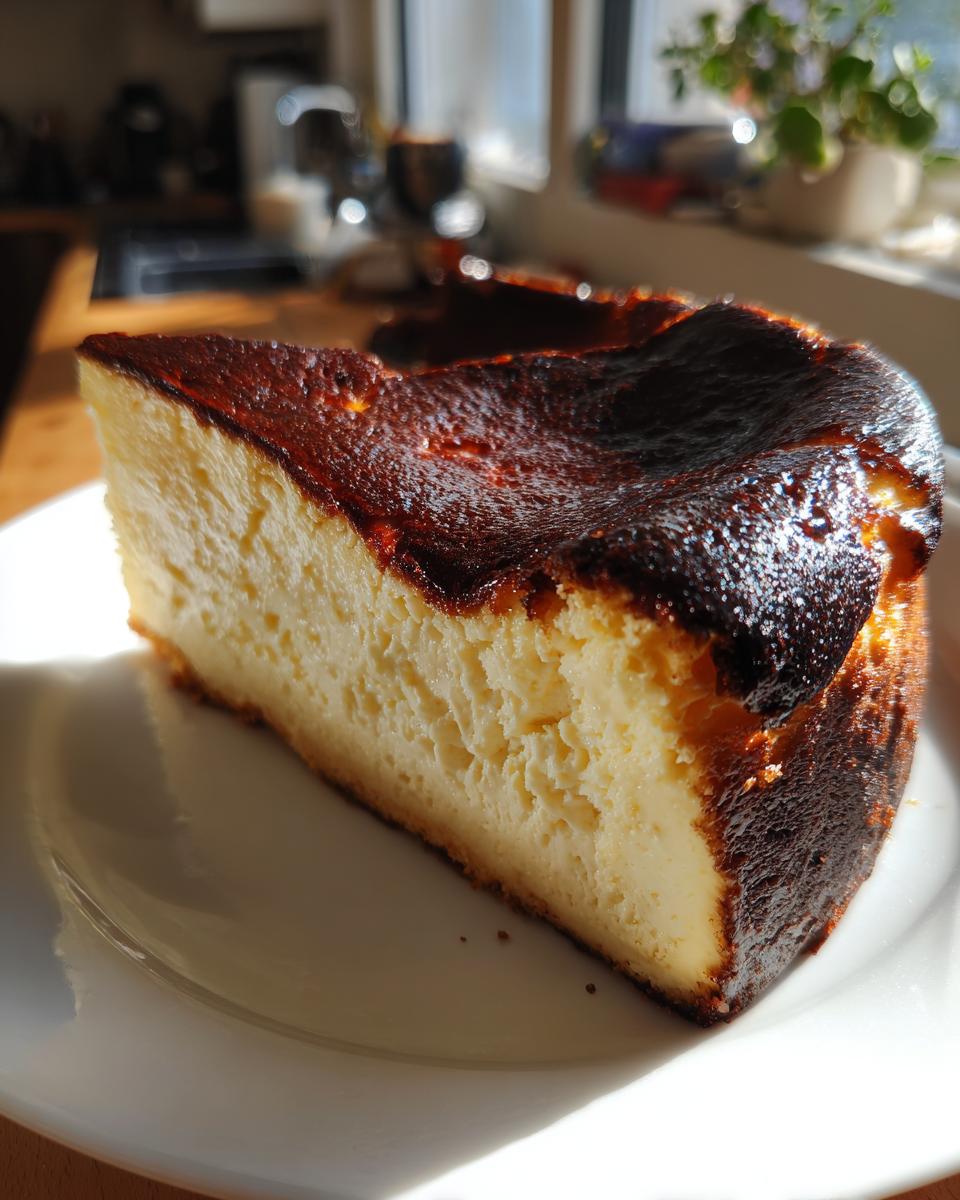
Listen, this one point is non-negotiable if you want that beautiful **Velvety Cheesecake Center**. Your cream cheese needs to be fully softened—not slightly soft, but totally pliable, like softened butter. That goes for the eggs too! Cold eggs shock the softened fat, creating instant lumps that even the strongest mixer can’t fix later. Taking an extra hour to let everything come up to room temperature is the best insurance policy you can buy for a perfectly smooth batter.
Step-by-Step Instructions for the Easy Burnt Cheesecake
Okay, now for the fun part! We’re going to assemble this **Easy Burnt Cheesecake** quickly, but we have to be mindful not to beat too much air into it. Remember, we want creamy, not puffy! First thing’s first: let’s prep the pan. I use an 8-inch springform pan, and you need to line it with two sheets of parchment paper, crisscrossing them and letting the sides really billow up high over the rim. This is what gives the San Sebastian Cheesecake its signature rustic, crinkly edge when it shrinks down later. Don’t worry about it looking neat; rustic is the goal! Preheat that oven to 400 degrees Fahrenheit right now so it’s nice and hot when the batter is ready. If you want a masterclass on avoiding curdled fillings, I wrote about making silky custards over here.
Mixing the Batter for a Smooth Base
Start by bashing that room-temperature cream cheese until it sings—super smooth is the goal here. Then, gently beat in your sugar until it blends, but stop right there. Now the eggs go in, one at a time, mixing just until you see the yolk disappear. We are NOT whipping this like we would a regular cake batter! Too much air equals a less creamy result later. Gently fold in the cream, and then mix your flour and salt separately before folding that in by hand until you see no white streaks left.
Baking Time and Visual Cues for Perfection
Pour that thin batter into your prepared rustic pan. Don’t panic; it’s supposed to look very liquidy! We bake this at that high 400°F for about 50 to 60 minutes. When you think it might be done is usually when you need to check. You’re looking for a deeply darkened, almost black top surface for that classic look. Most importantly, gently nudge the pan: the very center needs to *significantly* wobble, like thick jelly. If it’s firming up too much, that’s too long! This wobble ensures that perfect **Crustless Cheesecake Baking** result.
Cooling and Serving Your Basque Burnt Cheesecake
Now that you have coaxed that gorgeous, dark crust from the oven, you absolutely cannot touch it for hours. I know, I know—it looks ready to eat, but cooling is just as important as the baking itself for this **Basque Burnt Cheesecake**! We have a two-step cooling process that is essential for achieving that perfect texture everyone raves about.
First, you need to let it rest right on the counter, still in the pan, for at least three hours. As it cools slowly, it sets up beautifully. If you try to move it while it’s piping hot, you risk deflating the center too much. After those three hours are up, we move it to the fridge. It needs at least four hours in there, but overnight is always best for the firmest and smoothest consistency.
Here’s my biggest tip for serving this incredible **Creamy Cheesecake Dessert**: pull it out of the fridge about 45 minutes before you plan to cut it. Serving it slightly warmer than ice-cold brings out the complex, decadent flavors and ensures that interior is that luscious, melt-in-your-mouth texture we are aiming for.
Tips for the Best Basque Cheesecake Experience
Making the **Best Basque Cheesecake** really comes down to a few little tricks I picked up through trial and error. Remember, this is a rustic dessert, so fighting its nature is pointless! We embrace the imperfections—that’s where the flavor hides. The high heat is necessary, but you can tweak things like pan size if you don’t have a springform handy. Keep those ingredients consistently at room temperature, and whatever you do, don’t over-mix! A little care here means you get that perfect wobble every time. For other crowd-pleasers that come together easily, like my dip recipes, check out this caramelized onion dip.
Making a Burnt Cheesecake Loaf Pan Variation
If you don’t have an 8-inch springform pan, you can absolutely use a standard loaf pan. We still need that parchment setup—line the loaf pan generously, leaving a paper ‘sling’ over the long sides so you can lift the whole **Basque Burnt Cheesecake** out later. Because the loaf pan is deeper, the heat takes longer to penetrate the center, so you’ll need to start checking for that tell-tale wobble sooner, maybe around the 45-minute mark. Watch that top closely!
Serving Suggestions for This Decadent Dessert Ideas
The beauty of this **Basque Burnt Cheesecake** is that it truly plays well with almost nothing! It’s so rich and flavorful on its own, it doesn’t need heavy sauces or elaborate toppings. For a perfect **Cheesecake for Dinner Party**, I usually just do a very light dusting of powdered sugar right before serving for a little visual contrast. It makes it look even more professional.
If you want a touch of brightness to cut through that richness, simple fresh berries—raspberries, sliced strawberries, or even some tart blackberries—are absolute perfection. They add color and a little zing. And if you happen to be pairing this with a cocktail, I think my easy Lemon Drop Martini recipe offers just the right citrus counterpoint!
Storage and Reheating Instructions for Leftover Basque Burnt Cheesecake
It’s rare that I have leftovers of this **Basque Burnt Cheesecake**, but when I do, I treat them like gold! Wrap the remaining dessert tightly in plastic wrap or place it in an airtight container before popping it in the fridge. It keeps wonderfully for about four or five days. When you’re ready for a slice later, remember that cold isn’t ideal for peak creaminess. Take the piece out of the fridge about 30 to 45 minutes before you plan to eat it. Letting it warm up just slightly brings back that gorgeous, melt-in-your-mouth texture that makes this dessert so famous!
Frequently Asked Questions About San Sebastian Cheesecake
I always get questions after people make their first **Basque Burnt Cheesecake**, and that’s great! It just means you’re paying attention to the science of that rich, Spanish flavor. Here are a few things that always pop up in my comments section.
Why is the top supposed to be burnt, anyway?
This is the easiest one! It’s called “burnt” because we deliberately bake it at a high heat to achieve that deep caramelization. It’s a wonderful contrast to the soft filling. If your top hasn’t darkened significantly, just pop it under the broiler for 30 seconds to a minute—but watch it like a hawk! Browned is good; black is what we’re aiming for on the surface for that true **San Sebastian Cheesecake** experience.
Can I use light cream cheese or low-fat ingredients?
Please, don’t! This recipe relies heavily on the fat content to achieve that signature texture. If you substitute with light cream cheese or use half-and-half instead of heavy cream, you’re going to end up with a runny mess instead of a **Velvety Cheesecake Center**. Stick to the full-fat stuff for the best results. It’s a richness event, not a diet day!
How do I know when the cheesecake is finished baking?
The visual cue is the dark top, but the tactile cue is everything. It should still have a substantial wobble in the middle—think of a Jell-O mold that’s just set up, way looser than a New York style cheesecake. The edges will look set, but the center must look almost liquid. It sets up completely while cooling, giving you that **Creamy Cheesecake Dessert**. For more amazing baked treats, take a look at my easy ice cream pie recipe!
Understanding the Nutrition in This Indulgent Spanish Dessert
It’s one of those **Decadent Dessert Ideas** that feels too good to be true, so let’s talk numbers for this **Indulgent Spanish Dessert**. Because we’re using full-fat cream cheese and heavy cream, the richness definitely shows up here, but remember, this is an indulgence, and we celebrate it!
Here is the estimated breakdown per slice based on the recipe yield of 8 servings. Keep in mind these totals are estimates; they can shift depending on the exact brands of cream cheese and sugar you use. It’s always important to remember that these numbers are based on the standard recipe measurements, not any funky swaps!
- Serving Size: 1 slice
- Calories: 450
- Fat: 35g
- Saturated Fat: 22g
- Carbohydrates: 30g
- Sugar: 35g
- Protein: 8g
- Cholesterol: 180mg
We are talking about a high-satisfaction, high-flavor treat here. Don’t forget to check out my other simple favorites when you need something a little lighter sometimes, like my post on easy ice cream pie!
Share Your Basque Burnt Cheesecake Creations
Alright, now that you’ve mastered the high heat and you’re basking in the glow of your beautifully charred, creamy creation, I absolutely need to hear about it! This is where the Little Kitchen Diary community really shines—seeing all your successes brings me so much joy.
Did you nail that wobble just right? Did your family look at your dark-topped masterpiece and ask if you accidentally left the oven on? (Mine did!) Tell me all about it!
Please, take a moment to leave a rating and drop a comment below telling me how your **Basque Burnt Cheesecake** turned out. If you snapped a photo of that rustic parchment paper hugging your finished cheesecake, don’t keep it to yourself! Sharing your experience helps other busy home cooks realize just how doable this recipe is. I love seeing the creativity that comes out when people realize they can make something this gourmet with so little effort. If you want to learn more about my simple cooking philosophy, you can read my story right here on the ‘About’ page.
PrintEasy Basque Burnt Cheesecake: Creamy Center, Caramelized Top
Make this simple Basque Burnt Cheesecake, a crustless dessert famous for its velvety interior and perfectly charred exterior. This recipe uses few ingredients and requires no water bath, making it an accessible, impressive dessert for any dinner party.
- Prep Time: 15 min
- Cook Time: 60 min
- Total Time: 5 hours 15 min
- Yield: 8 servings 1x
- Category: Dessert
- Method: Baking
- Cuisine: Spanish
- Diet: Vegetarian
Ingredients
- 1.5 lbs cream cheese, softened to room temperature
- 1 1/4 cups granulated sugar
- 4 large eggs, room temperature
- 2 large egg yolks, room temperature
- 1 3/4 cups heavy cream
- 1 tablespoon all-purpose flour
- Pinch of fine sea salt
Instructions
- Line an 8-inch springform pan with two overlapping sheets of parchment paper, allowing the paper to extend high above the rim. This creates the rustic look.
- Preheat your oven to 400 degrees Fahrenheit (200 degrees Celsius).
- In a large bowl, use a hand mixer or stand mixer to beat the softened cream cheese until smooth. Scrape down the sides.
- Add the granulated sugar and mix until just combined and no sugar granules remain.
- Beat in the eggs one at a time, mixing only until each egg is incorporated before adding the next. Mix in the egg yolks.
- Slowly pour in the heavy cream while mixing on low speed until the batter is uniform.
- In a small bowl, whisk together the flour and salt. Gently fold this dry mixture into the batter by hand until just combined. Do not overmix.
- Pour the batter into the prepared pan. The batter will be thin.
- Bake at 400°F for 50 to 60 minutes. The top should be deeply caramelized, almost black in spots, and the center should still wobble significantly when gently shaken.
- Remove the cheesecake from the oven. Let it cool completely on a wire rack at room temperature for at least 3 hours. The center will set as it cools.
- Chill the cheesecake in the refrigerator for at least 4 hours, or preferably overnight, before serving. Serve at room temperature for the best creamy texture.
Notes
- For a loaf pan variation, use a standard loaf pan lined with parchment paper and reduce the baking time slightly, checking for the wobble sooner.
- Room temperature ingredients are key to achieving a smooth, lump-free batter.
- This crustless cheesecake is best served slightly warm or at room temperature to highlight its velvety texture.
Nutrition
- Serving Size: 1 slice
- Calories: 450
- Sugar: 35g
- Sodium: 150mg
- Fat: 35g
- Saturated Fat: 22g
- Unsaturated Fat: 13g
- Trans Fat: 0g
- Carbohydrates: 30g
- Fiber: 0g
- Protein: 8g
- Cholesterol: 180mg