
You know that feeling when the air finally gets crisp, and all you want is something warm bubbling in the oven? That aroma of cinnamon and baked sugar just signals that it’s officially time to embrace cozy evenings. For me, that’s where my Easy Brown Sugar Cinnamon Pear Crisp comes in. It’s hands down the easiest, most perfectly spiced treat I’ve found that doesn’t require me to spend the whole afternoon fussing over it. When I was getting back into cooking after work got crazy, recipes like this were my lifeline. They prove that you don’t need complicated techniques to achieve pure, joyful, home-cooked flavor. If you’re ready for a quick fruit dessert that tastes like autumn hugged you, stick around! I’m sharing this real-life secret from my kitchen diary, perfect for anyone needing easy fall baking ideas.
- Why This Easy Pear Crisp Recipe Belongs in Your Autumn Dessert Recipes Collection
- Gathering Ingredients for Your Homemade Pear Crisp
- Step-by-Step Guide: How to Make Pear Crisp
- Expert Tips for the Best Homemade Pear Crisp
- Storage and Reheating Instructions for Your Pear Crisp
- Serving Suggestions for This Rustic Pear Dessert
- Frequently Asked Questions About Making a Pear Crisp
- Estimated Nutritional Data for This Pear Crisp
- Share Your Simple Baked Fruit Dessert Success
Why This Easy Pear Crisp Recipe Belongs in Your Autumn Dessert Recipes Collection
Look, I get it. You’re busy. You want that amazing, pull-out-all-the-stops flavor without spending half your evening scraping burnt sugar off a pan. That’s the promise of this recipe! It delivers huge payoff for minimal effort, making it a go-to addition to your autumn dessert recipes list because it’s just so darn simple. It’s the kind of reliable favorite that makes you feel accomplished.
- This whole thing, from slicing to serving, is mostly hands-off. It’s a genuine quick fruit dessert.
- It hits all the right notes for true comfort food—it’s one of those perfect warm comforting desserts you need when the weather turns chilly.
- No fuss, no fancy pastry work, just pure, bubbly fruit satisfaction, unlike some more involved baking projects you might find, like my easy ice cream pie recipe sometimes requires!
The Perfect Brown Sugar Cinnamon Crisp Flavor Profile
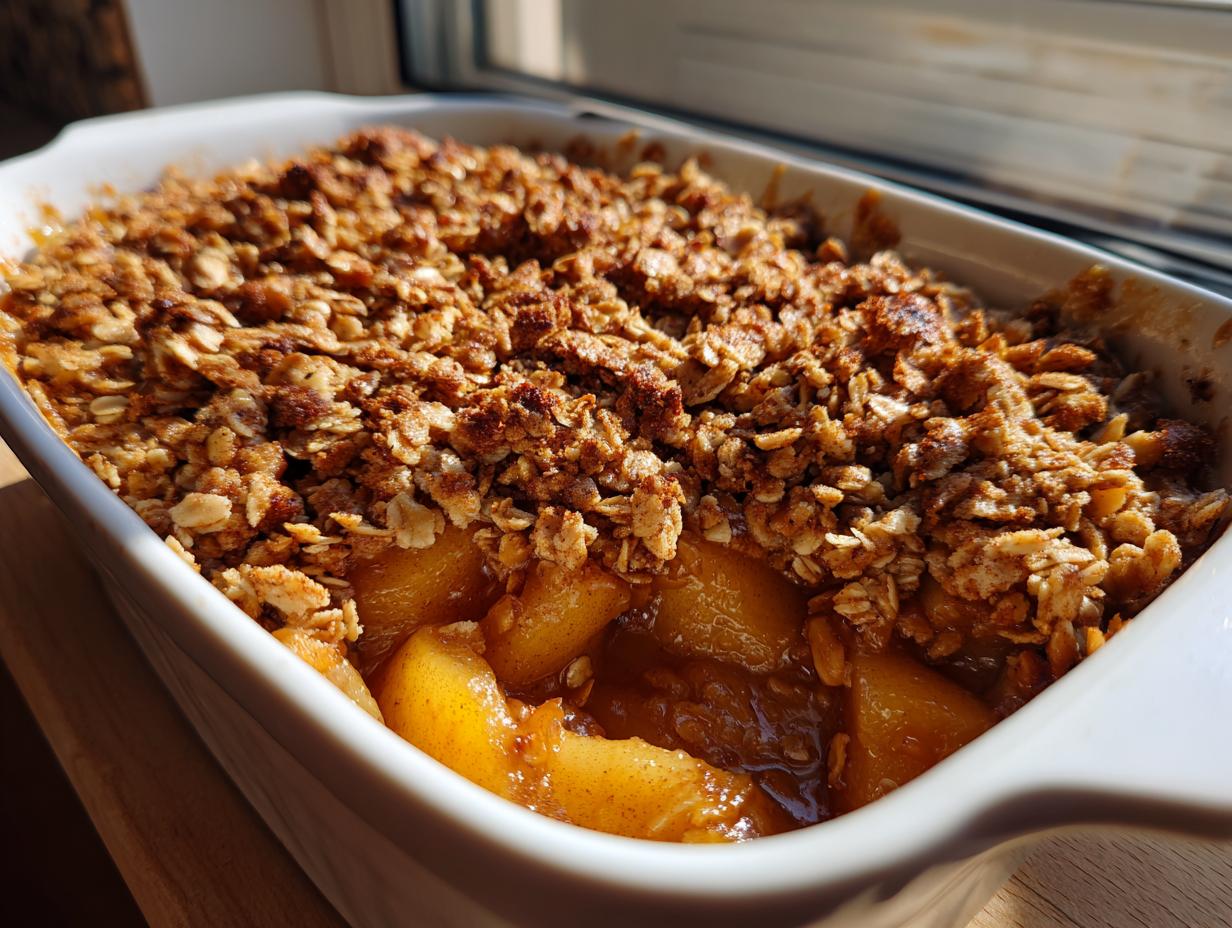
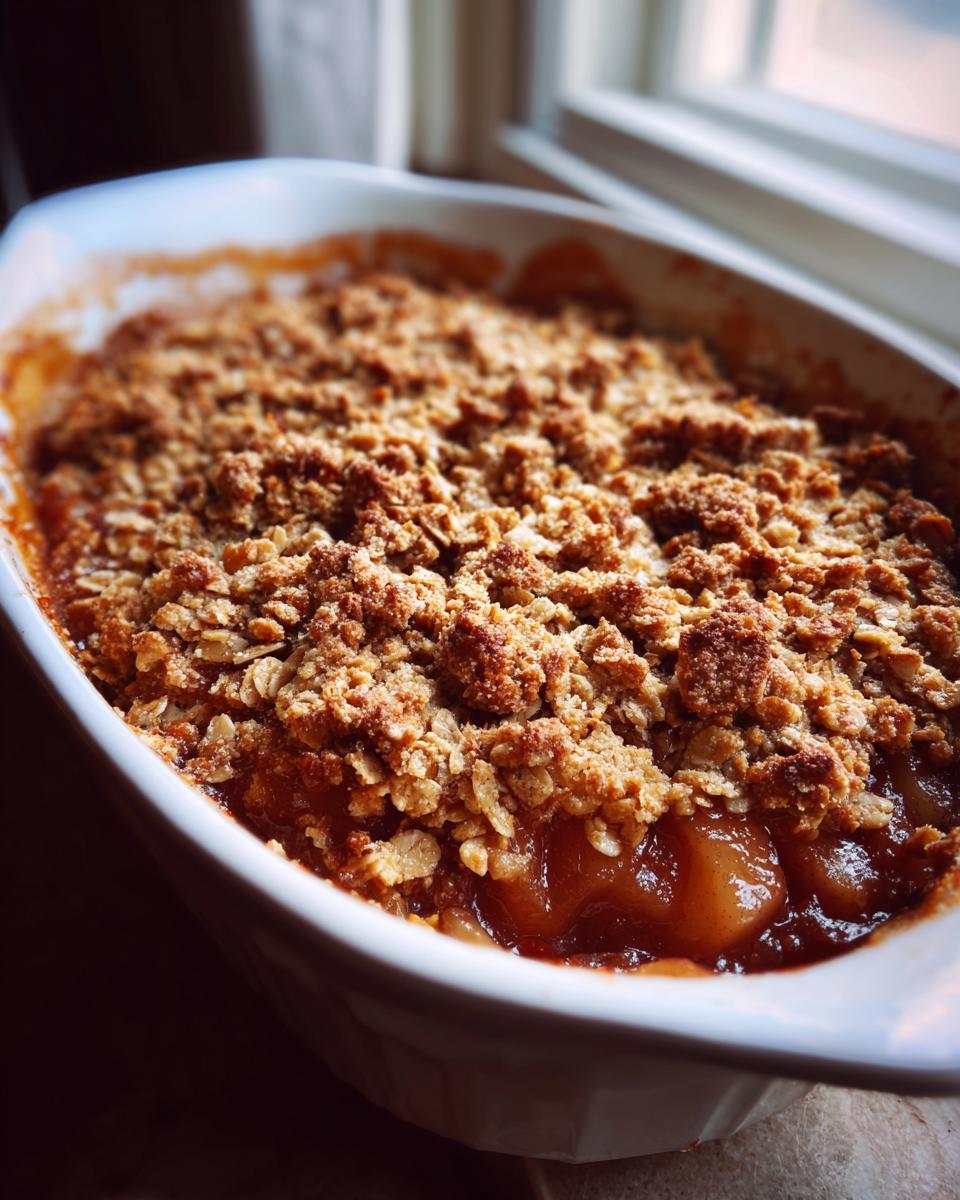
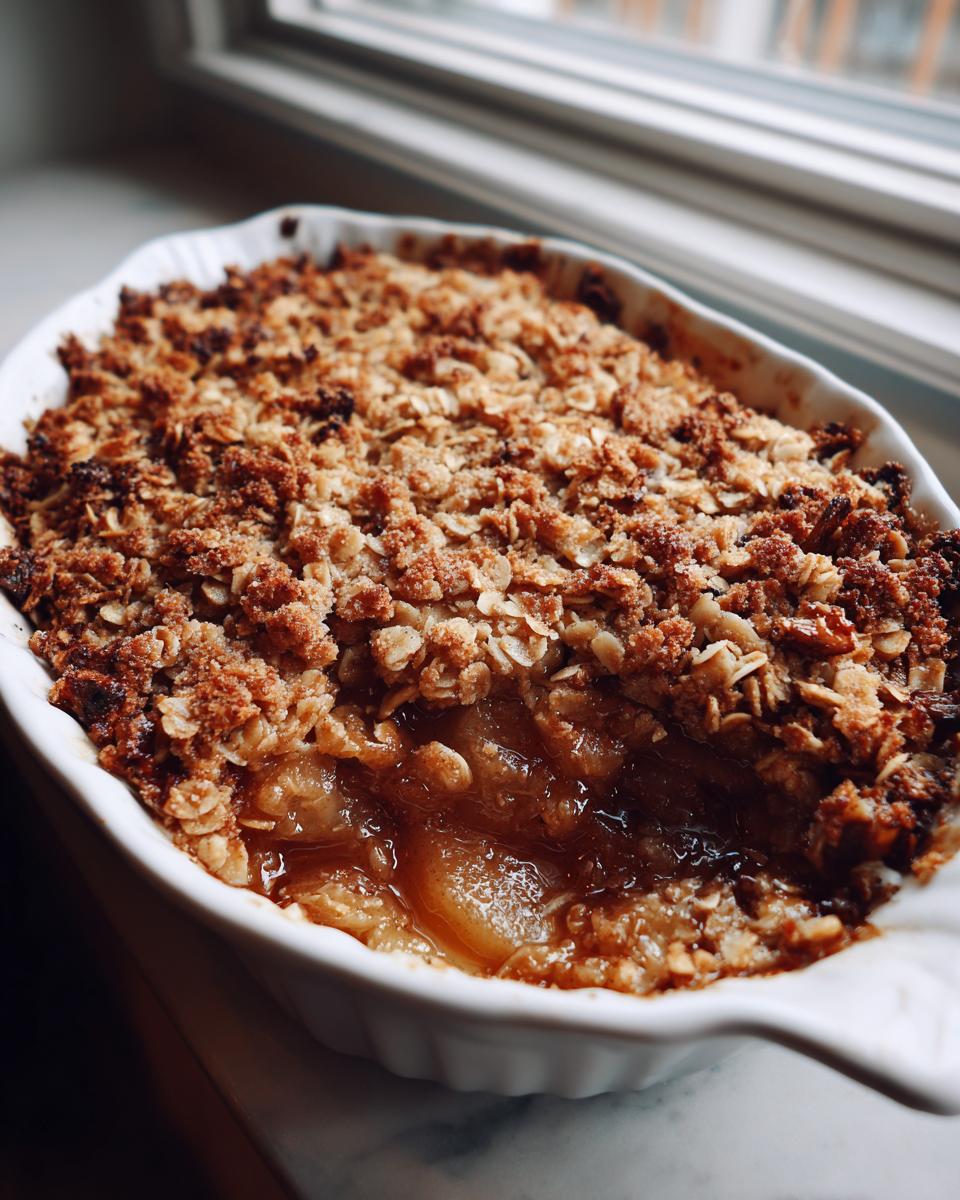
When you pull this out of the oven, the smell alone is worth the effort. We get tender pears that soften beautifully, perfectly spiced with nutmeg and cinnamon, sitting right underneath that incredible crunchy layer. I always use a bit more brown sugar than white in the topping because it gives that deep, almost caramel note. That’s the secret to a truly unforgettable brown sugar cinnamon crisp explosion in every bite.
Gathering Ingredients for Your Homemade Pear Crisp
Okay, let’s talk shopping. Since we want the best homemade pear crisp, we need to be clear about what goes where. Getting the fruit right is key to mastering baking with pears. Everything here is easily accessible, but how you handle the butter in the topping makes all the difference—trust me on the cold part! If you’ve ever made my quick stovetop candied pecans, you know I preach about temperature control!
Pears and Spices for the Filling
For the fruit base, we need about six medium pears. I always lean toward Bosc or Anjou; they hold their shape beautifully and don’t turn into mush when they bake. Make sure you peel, core, and slice them up. Toss those slices gently with the lemon juice—that little bit of acid wakes up the flavor and stops them browning too fast—plus the granulated sugar and the spices for that wonderful aroma.
Crafting the Buttery Topping Recipe
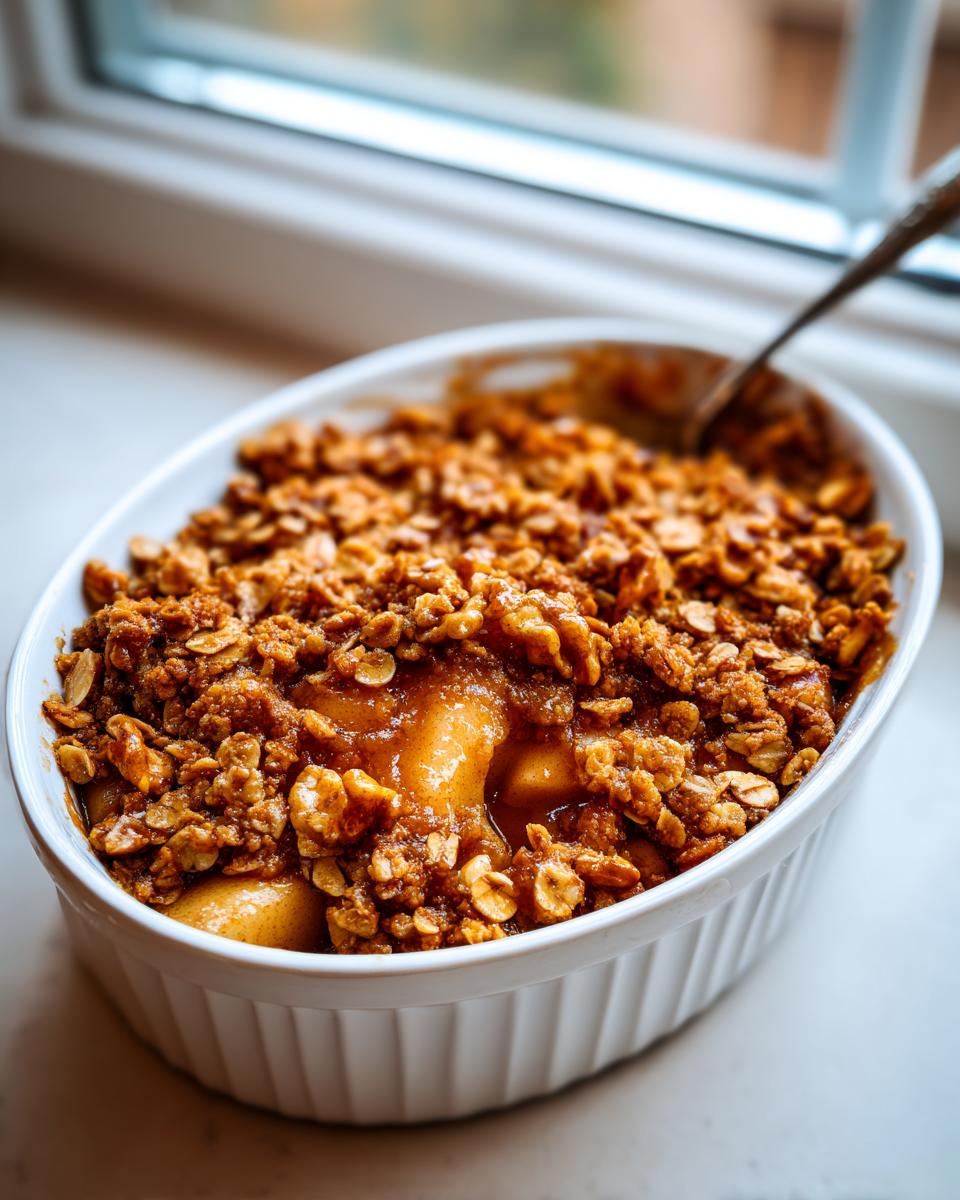
This is where the magic for our oat crumble topping recipe happens. You absolutely must use cold, unsalted butter cut into tiny cubes. If the butter is warm, you just end up with paste, not crumble! Combine the oats, brown sugar, salt, and the rest of the cinnamon. If you like crunch, this is the time to stir in those optional chopped walnuts. We want coarse, shaggy crumbs when we’re done here.
Step-by-Step Guide: How to Make Pear Crisp
Alright, ready to put it all together? This is truthfully the most straightforward part. We are aiming for a wonderfully executed, no fuss pear crisp that looks and tastes like you spent hours on it. Since we are baking this at 375 degrees Fahrenheit, make sure your oven is heating up while you’re doing the prep work. If you need a quick refresher on making fruit fillings without fuss—maybe you’re thinking of an easy stovetop homemade applesauce next—this method will feel familiar!
Preparing the Cinnamon Spiced Pears
Take those gorgeous slices you mixed up and gently pour them into your greased dish. Don’t dump them! Gently spread them out so you have an even layer across the bottom. This ensures that every bite gets the same amount of sweet, tender fruit. You don’t want one corner drier than the other, so take an extra second to spread them out nicely.
Assembling the Oat Crumble Topping
Now for the crowning glory! In a separate bowl, mix your dry topping ingredients—oats, brown sugar, salt, and the last bit of cinnamon. This is where the butter comes in. You need to ‘cut in’ that cold butter. I prefer just using my fingertips for this; really work it into the dry mix until it totally transforms into something that looks like rough, pebbly sand or coarse crumbs. Once that’s done, sprinkle that buttery topping evenly all over the fruit layer. Lightly press it down, but don’t pack it!
Baking Times for the Perfect Pear Crisp
Pop it into your preheated 375°F oven for about 35 to 45 minutes. How do you know it’s done? Easy! You look for two things: the topping should be gorgeously golden brown, and you should see the filling bubbling up around the edges. That bubbling means those cinnamon-spiced pears are perfectly tender. Once it’s out, resist the urge to dig in immediately—let it cool for 15 minutes. This lets the juices settle down so you don’t burn your mouth!
Expert Tips for the Best Homemade Pear Crisp
Even though this is my favorite easy pear crisp recipe because it’s so simple, a few little tricks can take it from great to absolutely legendary, especially when you’re looking for that perfect fall fruit crisp feel. I always stress using the right pear, but sometimes, you just need to switch things up to use what you have on hand. These little tweaks are what make the recipe truly yours and build that trust that your home cooking will always work out.
Variations: Cranberry Pear Crisp and Apple Pear Crisp Combo
If you’re looking to jazz things up, mixing the pears is always fun! I know some folks love that tart zip, so you can easily make a cranberry pear crisp by swapping out about a cup of pear slices for fresh cranberries. Or, if you have a ton of apples lying around, making an apple pear crisp combo is fantastic—just make sure the apple slices aren’t too thick, or they won’t soften at the same speed as the pears. Remember, these variations still fall under my umbrella of easy fall baking ideas; they just swap the star fruit!
Storage and Reheating Instructions for Your Pear Crisp
So, what if you manage to have leftovers (which is rare in my house!)? Keeping this crisp delicious is easy. Once it’s cooled down completely, you can store any remaining simple baked fruit dessert right on the counter if you’re planning to eat it within 24 hours, just covered tightly. For longer storage, cover it well and pop it in the fridge for up to four days. Just don’t put it in the fridge uncovered unless you want a soggy top!
When you reheat it, skip the microwave if you can. The microwave softens that beautiful crispy topping we worked so hard on. Instead, reheat individual portions in a toaster oven or put the whole dish back in a 350°F oven for about 10 minutes until it’s warm and bubbling again. A little reheat in the oven keeps that buttery crunch intact, just like it was fresh out of the oven. If you need more tips on storing baked goods, check out my advice over on the rigatoni bake post—the principles are similar!
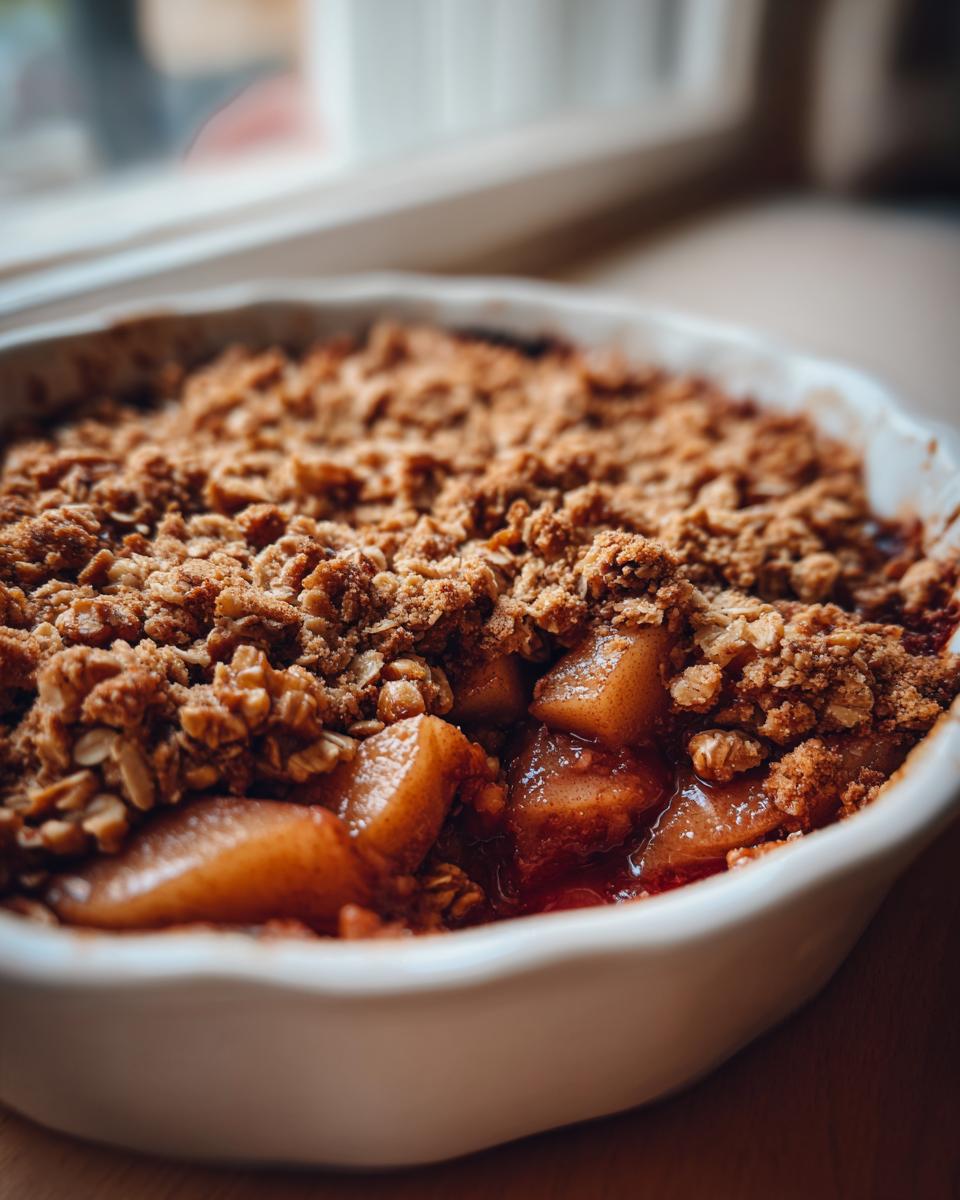
Serving Suggestions for This Rustic Pear Dessert
This rustic pear dessert is fantastic all on its own, especially when it’s just pulled from the oven the first time. But let’s be honest, almost nothing beats a warm crisp with something cold melting over the top. That contrast is pure bliss! If you want those perfect cozy evening treats, serve it up with a big scoop of good quality vanilla ice cream. Seriously, the melting cream mingling with the cinnamon-spiced pears is heaven.
If ice cream feels too heavy, a simple dollop of freshly whipped cream works wonders too. You can even drizzle a little homemade caramel on top if you’re feeling ambitious! It’s delicious any way you serve it, but I always link to my old-fashioned banana cream pie notes when I talk about toppings because the technique for a great whipped cream is universal!
Frequently Asked Questions About Making a Pear Crisp
I always get questions coming in about baking with pears, and that’s totally fair! This is my favorite place to clear everything up so you feel super confident before you even turn the oven on. Don’t sweat the small stuff; these are all super common thoughts people have when tackling one of my favorite simple baked fruit dessert recipes. If you’re not sure who I am yet, you can always learn a bit more on my About page!
What is the best type of pear to use for an easy pear crisp recipe?
This is probably the most important question for texture! You don’t want mushy pears, right? I strongly recommend using Bosc or Anjou. They are firm enough when you slice them up that they hold their shape wonderfully while baking—that means you get tender chunks of fruit instead of pear soup. They just handle the heat better than softer varieties do. That firmness is key to a structure that holds up in your easy pear crisp recipe.
Can I make the oat crumble topping recipe ahead of time?
Yes, you absolutely can prep the topping early! I often do this on a Sunday evening so I can just throw the whole dessert together after work later in the week. Keep the mixed dry ingredients—oats, sugar, spices—in an airtight container on the counter. But here’s the catch: you MUST keep the cold butter separate until right before you bake. If you try to mix the butter in early, it will melt and warm up, ruining the texture of the oat crumble topping recipe.
How can I make this a simple baked fruit dessert without nuts?
Please don’t worry if nuts aren’t your thing! Walnuts are totally optional in my recipe; they just add an extra little crunch that I enjoy. If you want to leave them out entirely, your pear crisp will still be fantastic. If you want to replace that texture, try tossing in about a half cup of pumpkin seeds or sunflower seeds when you mix the dry topping ingredients. They toast up nicely and give you that little bit of savory bite!
Estimated Nutritional Data for This Pear Crisp
Now, I want to be super clear about this part. Since we’re dealing with fresh fruit, homemade butter topping, and real sugar, these numbers are just my best guess based on standard ingredient measurements. Think of this less like a lab report and more like a helpful guideline when you’re enjoying this big hug of a dessert. I certainly don’t weigh every serving when I bring this out for family dessert night!
This information assumes you make the full recipe and divide it evenly into six standard servings. Remember, the goal here is comfort and joy, not calorie counting, but it’s good to have the ballpark figures. Here’s the breakdown:
- Calories: Around 350 per serving
- Fat: Roughly 18g, mostly from that delicious buttery topping!
- Carbohydrates: About 48g in total for the serving.
- Sugar: We’ve got about 35g here, mostly natural sugars from the pears and the brown sugar we used.
- Protein: Around 4g per serving.
Like everything in my kitchen diary, this is an *estimate* of the ingredients we used. Enjoy every bite of this fantastic pear crisp!
Share Your Simple Baked Fruit Dessert Success
I truly hope this pear crisp brought a bit of cozy comfort to your kitchen! Now that you’ve made this wonderfully easy fall dessert, I’d genuinely love to hear what you thought. Did the topping turn out perfectly golden for you? Please stop by the contact page here and let me know if you tried the cranberry variation!
Leave a rating and share your thoughts in the comments below so I can keep developing more genuine, real-life recipes just for you. Happy baking!
PrintEasy Brown Sugar Cinnamon Pear Crisp

Make this easy pear crisp featuring tender, spiced pears under a buttery, crunchy oat topping. It is a simple, comforting dessert perfect for any fall evening.
- Prep Time: 15 min
- Cook Time: 40 min
- Total Time: 55 min
- Yield: 6 servings 1x
- Category: Dessert
- Method: Baking
- Cuisine: American
- Diet: Vegetarian
Ingredients
- 6 medium ripe pears, peeled, cored, and sliced
- 1 tablespoon lemon juice
- 1/2 cup granulated sugar
- 1 teaspoon ground cinnamon
- 1/4 teaspoon ground nutmeg
- 1/4 cup all-purpose flour
- 1 cup old-fashioned rolled oats
- 1/2 cup packed brown sugar
- 1/2 teaspoon ground cinnamon
- 1/4 teaspoon salt
- 1/2 cup (1 stick) cold unsalted butter, cut into small pieces
- 1/2 cup chopped walnuts (optional)
Instructions
- Preheat your oven to 375 degrees Fahrenheit. Lightly grease an 8×8 inch baking dish.
- In a large bowl, combine the sliced pears, lemon juice, granulated sugar, 1 teaspoon cinnamon, and nutmeg. Toss gently to coat the pears evenly.
- Pour the spiced pear mixture into the prepared baking dish and spread it into an even layer.
- In a separate medium bowl, prepare the topping. Combine the rolled oats, brown sugar, 1/2 teaspoon cinnamon, salt, and flour. Mix well with a fork.
- Cut in the cold butter using a pastry blender or your fingertips until the mixture resembles coarse crumbs. If using, stir in the chopped walnuts.
- Sprinkle the oat crumble topping evenly over the pear filling. Press it down lightly.
- Bake for 35 to 45 minutes, or until the topping is golden brown and the fruit filling is bubbling around the edges.
- Remove from the oven and let the pear crisp cool for at least 15 minutes before serving warm.
Notes
- Use firm but ripe pears, such as Bosc or Anjou, for the best texture after baking.
- For an extra layer of flavor, substitute 2 tablespoons of the flour in the topping with cornstarch.
- Serve this warm comforting dessert with vanilla ice cream or a dollop of whipped cream for a classic finish.
Nutrition
- Serving Size: 1 serving
- Calories: 350
- Sugar: 35g
- Sodium: 150mg
- Fat: 18g
- Saturated Fat: 11g
- Unsaturated Fat: 7g
- Trans Fat: 0g
- Carbohydrates: 48g
- Fiber: 5g
- Protein: 4g
- Cholesterol: 45mg