
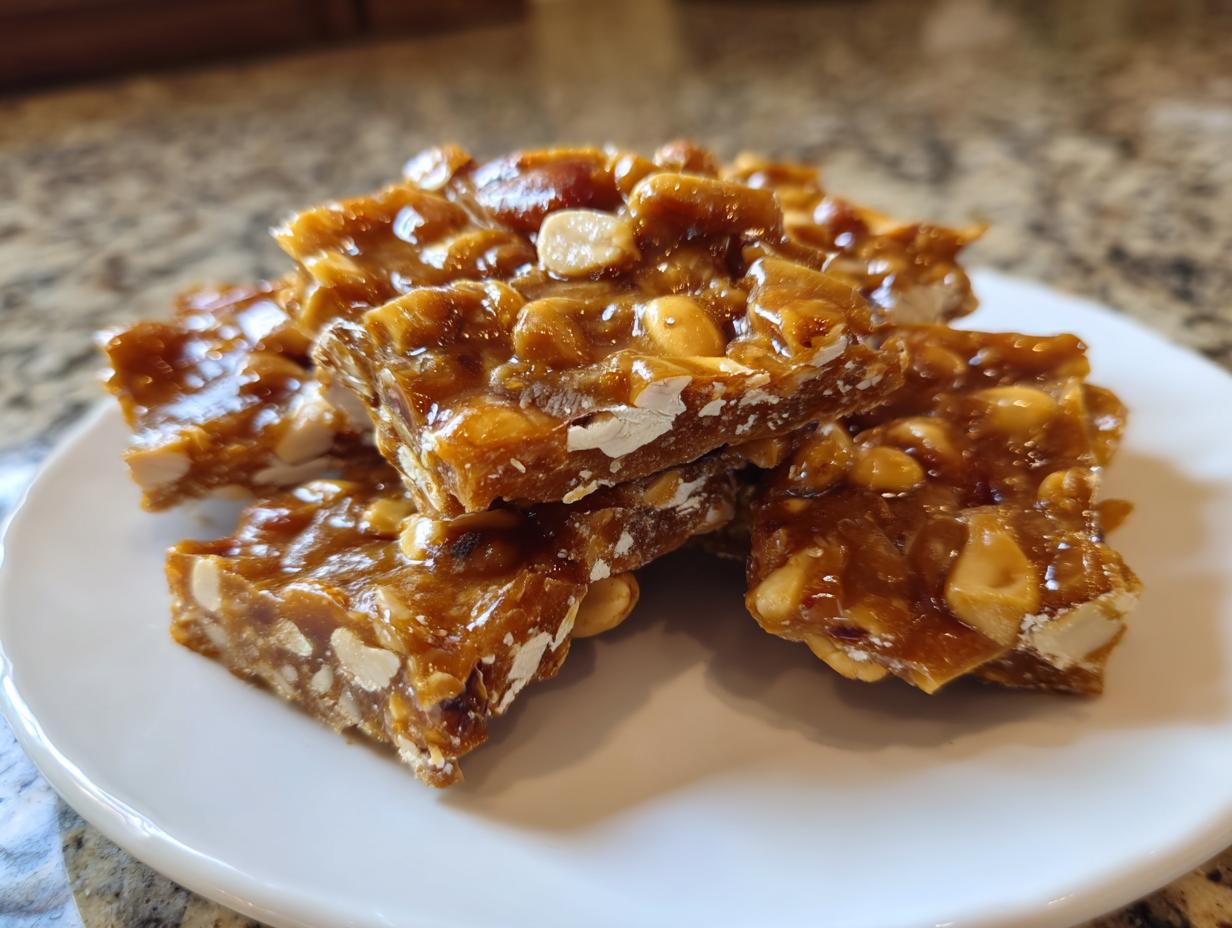
Oh, that sound! You know the one—that loud, satisfying *CRACK* when you break off a piece of perfect, homemade candy? That shatter is pure joy, isn’t it? For years, I chased that sound, and honestly, my first few attempts at brittle were chewy, sticky messes. But I finally nailed the technique, and I’m excited to share this completely dependable, old-fashioned peanut brittle recipe with you today. Trust me, if you’re looking for that signature ‘perfect snap’ every single time, this is the one you need. As I always say here at Little Kitchen Diary, great cooking doesn’t have to be hard; it just needs to be reliable. This recipe proves that even candy-making for beginners can result in crisp, buttery perfection.
- Why This Peanut Brittle Recipe Delivers the Perfect Snap
- Gathering Your Ingredients for Classic Peanut Brittle Recipe
- Step-by-Step Instructions for Our Peanut Brittle Recipe
- Tips for Success with Your Homemade Brittle Recipe
- Storage and Keeping Your Peanut Brittle Recipe Crunchy
- Serving Suggestions for This Old Fashioned Candy
- Frequently Asked Questions About Making Peanut Brittle Recipe
- Nutritional Estimate for This Classic Confectionery
- Share Your Homemade Brittle Success
Why This Peanut Brittle Recipe Delivers the Perfect Snap
Look, brittle lives or dies by its texture. If it’s chewy, well, it’s basically a nice peanut slab, not brittle! What makes this specific peanut brittle recipe so reliable is that we focus only on achieving that unmistakable, beautiful ‘perfect candy snap.’ I’m not kidding, my first batches were disasters! They always ended up soft because I was eyeballing the temperature. I finally learned that candy making is chemistry, not guesswork. Once I started respecting the thermometer, everything changed, and I finally got that truly crunchy candy texture I was hunting for.
The Science Behind Achieving Hard Crack Stage
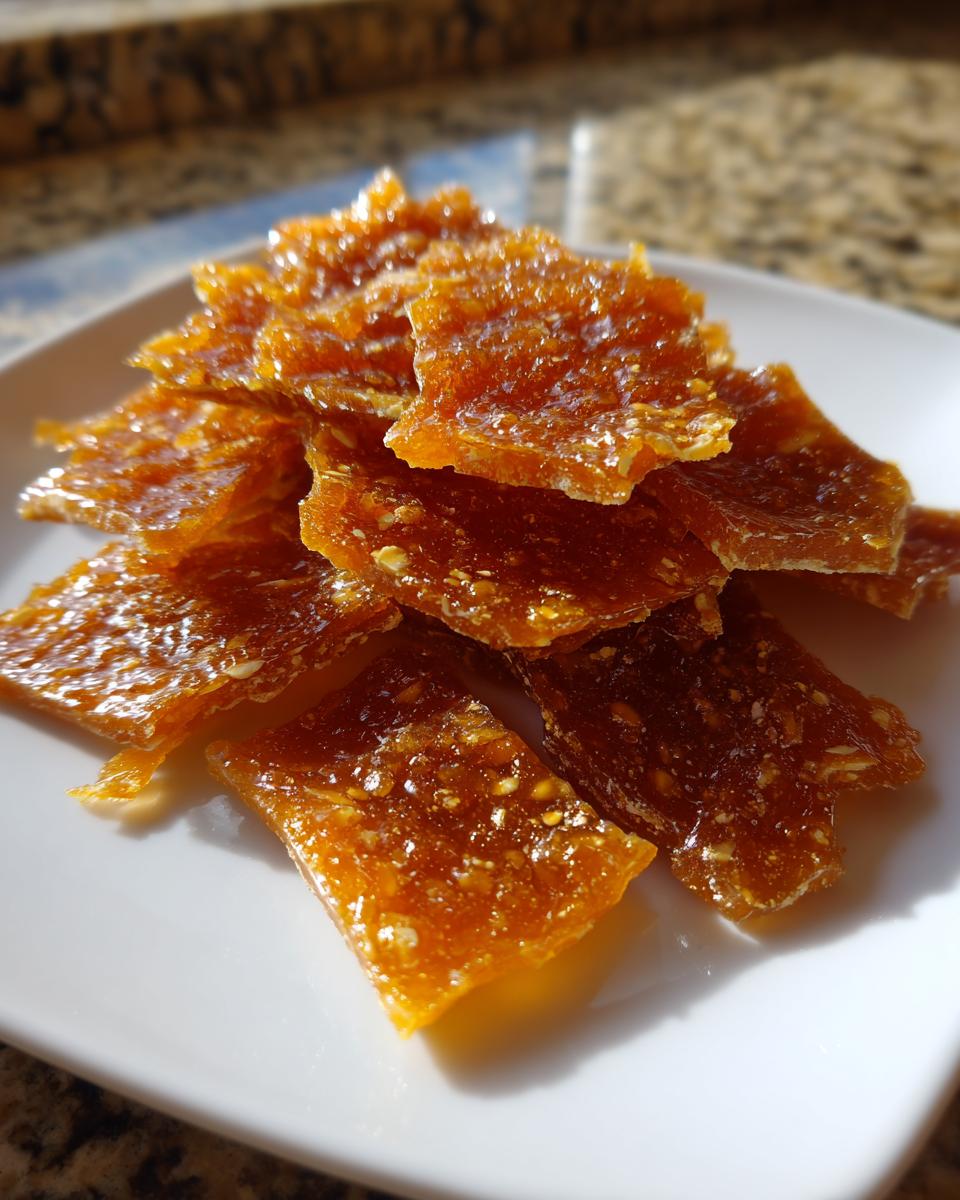
This is the heart of the whole operation. To get that glass-like shatter, the sugar syrup absolutely has to hit what we call the ‘hard crack’ stage. That means we need the thermometer to read exactly 300 degrees Fahrenheit, or 149 degrees Celsius. When you boil the sugar, water evaporates, and the sugar gets more concentrated. If it stops short, the candy stays pliable and chewy. But once it hits 300°F, the sugar structure is rigid, glassy, and ready to snap perfectly when you break it. It’s non-negotiable for this kind of homemade brittle!
Gathering Your Ingredients for Classic Peanut Brittle Recipe
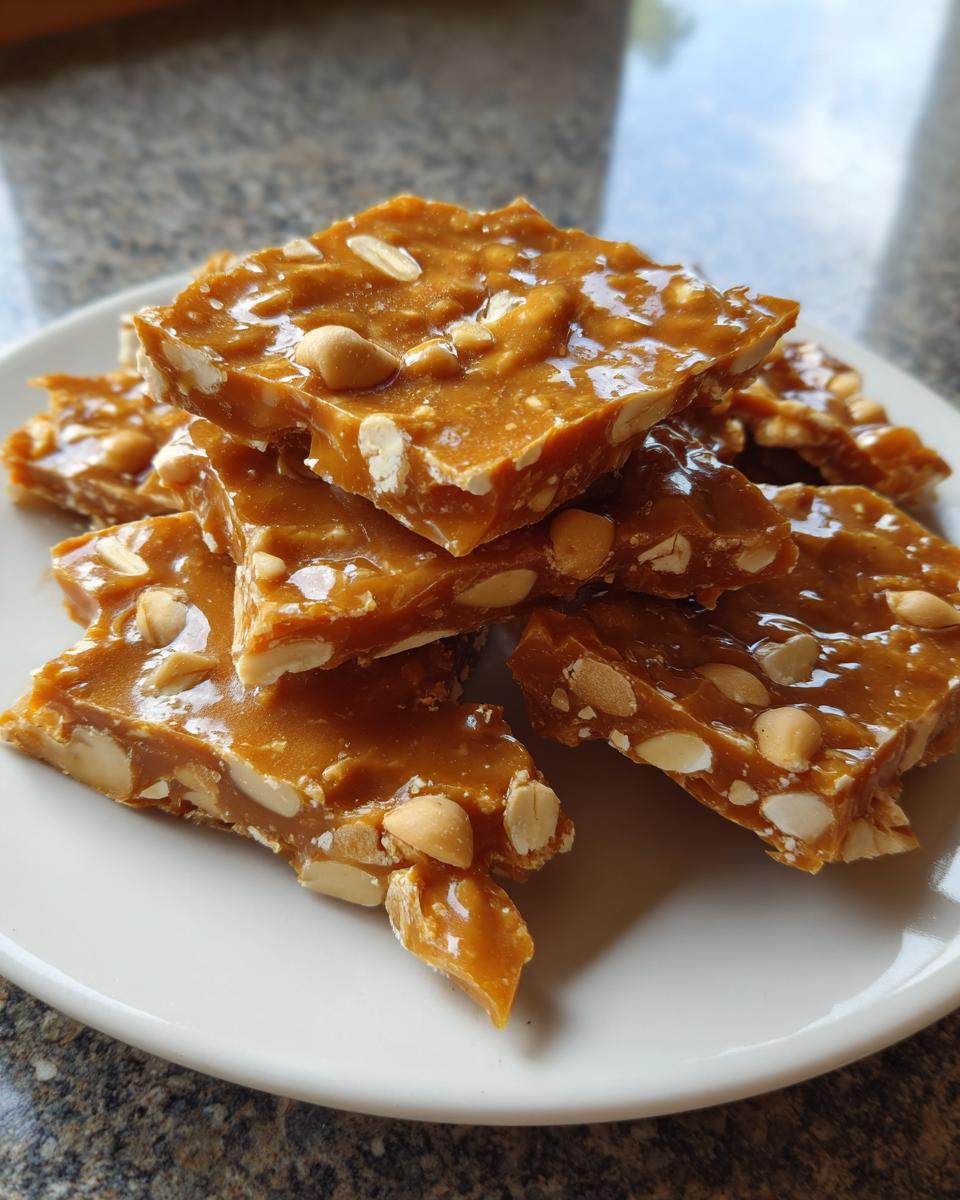
I love this part because it proves how something so spectacular—a rich, buttery, salty treat—can come from the most basic pantry staples. Seriously, this isn’t complicated, and that’s why I call it my favorite easy peanut candy method. You don’t need fancy extracts or odd flours here. Just grab your sugar, your corn syrup, and those wonderful roasted peanuts. Before you even turn on the stove, make sure your baking sheet is ready; trust me, you won’t want to be looking for butter while the caramel is cooling!
Here is what you need for about a pound of incredible, shatteringly crisp brittle:
- 2 cups granulated sugar
- 1 cup light corn syrup
- 1 cup water
- 1 teaspoon baking soda
- 1 teaspoon vanilla extract
- 1/2 teaspoon salt
- 2 cups roasted, unsalted peanuts
- 1 tablespoon butter, for greasing
Oh, and if you’re looking for some other quick sweets to go along with this—maybe something drizzled or dipped—you should check out what my friends are making over at Pastry With Me!
Step-by-Step Instructions for Our Peanut Brittle Recipe
Alright, deep breaths! If you can follow directions and move a little fast when the timer gets close, you can absolutely master how to make brittle. This section is what separates the crunchy keepers from the sticky surprises. Since this is a recipe for candy making for beginners, I’ve broken down the timing so you know exactly when to be ready to move. The key here is preparation—get your pan ready before the syrup even starts boiling!
Preparing Your Surface and Initial Syrup Cook
First things first, get that large baking sheet ready. I use a tiny bit of butter and rub it all over the surface, but you can use parchment paper if you prefer. Just have it ready nearby! Next, grab your heavy-bottomed saucepan—we don’t want hot spots burning our sugar. Combine your sugar, corn syrup, and water. You can stir gently just until the sugar dissolves, but the minute you see those first bubbles forming, stop stirring completely! Pop in your candy thermometer so the tip isn’t touching the bottom. We need medium heat and patience for the first phase.
Reaching the Critical Hard-Crack Stage in This Peanut Brittle Recipe
This is where the magic starts building. Let that syrup bubble away until it hits 250 degrees Fahrenheit (that’s the soft-ball stage). Now, you add your two cups of crunchy roasted peanuts and keep stirring occasionally so nothing scorches on the bottom. You are totally focused now until 300 degrees Fahrenheit (149 Celsius). That 300°F is the crucial, untouchable hard-crack stage. Don’t guess! If it stops even 5 degrees shy, your peanut brittle recipe will disappoint you with sogginess, so trust the thermometer!
The Rapid Finish: Adding Leavening and Spreading
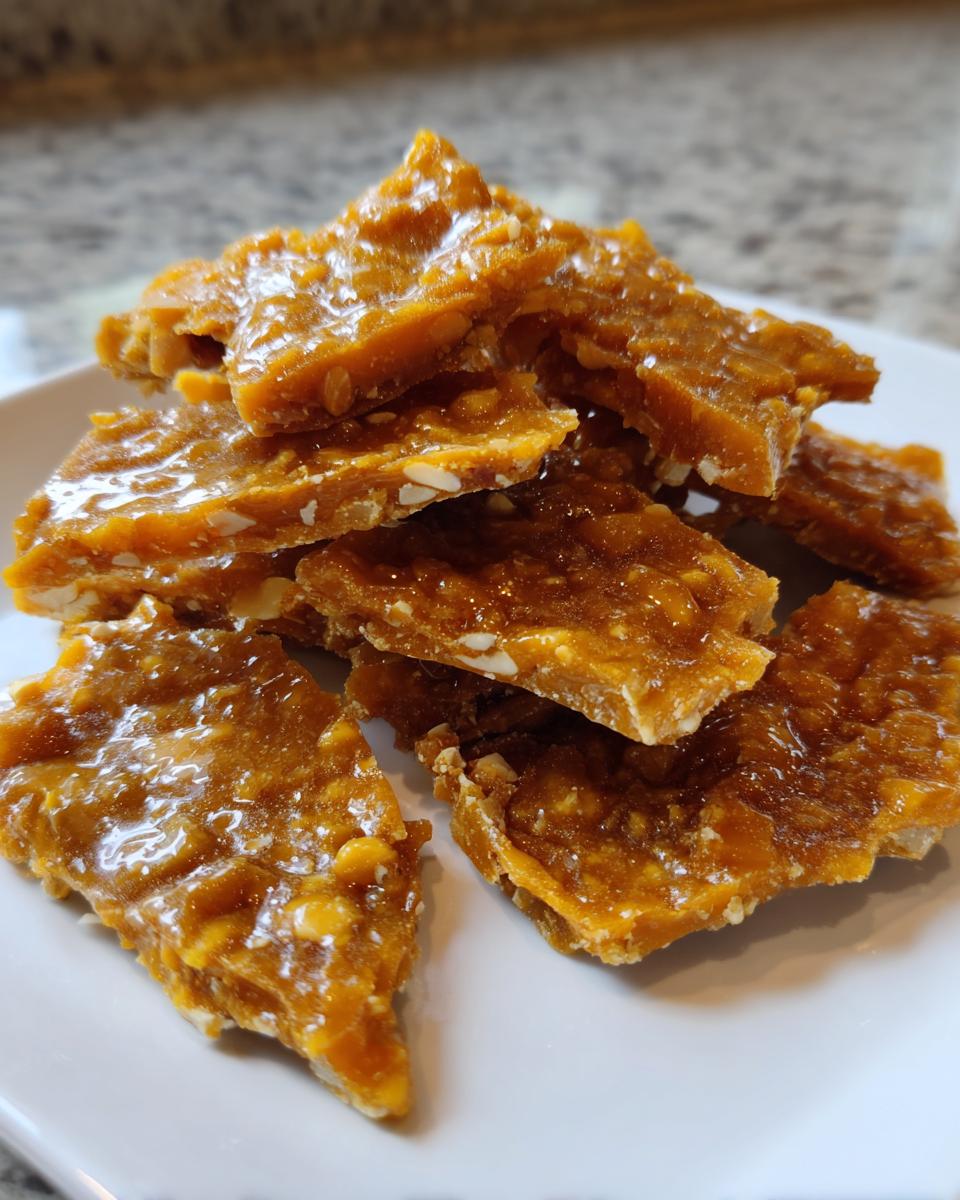
The second you hit 300°F, yank that pan off the burner right now! Immediately stir in your vanilla, salt, and that baking soda. Watch out—the mixture will foam up like crazy, almost doubling in volume! It’s a quick reaction, so you need to be instant. Pour that rapidly expanding mixture onto your buttered sheet immediately. Do NOT touch it with a spatula to spread it out! Let that hot foam flow naturally across the pan. Let it cool completely, usually about half an hour, until it’s completely rock hard. Once solid, you take a hammer, or the back of a heavy spoon, and break it into beautiful, jagged pieces!
If you’ve got the sugar and butter ratio down in your frosting, you might want to check out my fluffy buttercream recipe for topping cakes later!
Tips for Success with Your Homemade Brittle Recipe
Even with the steps laid out, candy making—especially brittle—can be a little intimidating. But that’s why I always want to give you the extra little insider nudges that saved me hours of frustration! Taking care of these small details is what moves this from being just a recipe to being *your* perfectly reliable buttery peanut treat. Don’t stress; remember, this is supposed to be fun, and achieving that perfect snap is totally within reach now!
Peanut Preparation: Toasting for Deeper Flavor
The recipe calls for roasted peanuts, which is easiest. But if you only have raw ones kicking around in your pantry, don’t panic and run to the store! You are totally fine, you just need 5 extra minutes. Lightly toast those raw peanuts in a clean, dry pan over medium heat before you even start messing with the sugar. You want them to smell fragrant and get just a little bit golden. This step wakes up their natural oils and deepens the flavor so they don’t taste bland next to that rich caramel. Plus, if you want to try a different nut next time, like pecans or almonds, this toasting trick works for all of them!
If you ever find yourself with extra nuts lying around after making this, you absolutely must try my recipe for candied pecans; they are dangerously easy to make on the stovetop!
Storage and Keeping Your Peanut Brittle Recipe Crunchy
Okay, you’ve made it! Your brittle is perfect, gleaming gold, and smells incredible. Now, don’t let humidity wreck your hard work! Brittle is super susceptible to moisture because of all that lovely simple sugar we cooked down. Humidity is the absolute enemy of the ‘perfect snap.’ If you leave it sitting out in the open air, it just gets sticky and soft, and that satisfying *crunch* disappears.
So, here is my strict rule: Once it’s completely cool—and I mean stone cold—you need to get it into an airtight container immediately. I often double-layer mine between sheets of wax paper just to be safe. Keep that container in the coolest, driest spot in your pantry. This sweet and salty snack holds up beautifully for weeks if it stays sealed tight! You’ll have the best homemade treat ready whenever the craving hits.
Serving Suggestions for This Old Fashioned Candy
Honestly, this old fashioned candy tastes fantastic all by itself, but I love planning out how to use up this incredible batch—or making extra specifically for gifting! If you are putting together trays of holiday candy recipes, this brittle is always the first thing people grab. The sweet, salty, crunchy contrast is just irresistible.
It makes such a thoughtful, personal touch as a homemade gift idea, too. Just break it into pretty, irregular shards and tuck it into clear bags tied with simple ribbon. And for enjoying it right now? You absolutely have to pair a piece with a rich, warm drink. Seriously, grab a mug of my three-ingredient whipped hot chocolate, let the brittle melt slightly into the warmth, and just enjoy that moment. If you’re looking for even more spectacular holiday inspiration, make sure you peek at what they are doing over at Little Cooks Reading Books!
Frequently Asked Questions About Making Peanut Brittle Recipe
It’s totally normal to have questions when dealing with hot sugar! Candy making feels intense, but once you clear up these little sticking points, you’ll see this peanut brittle recipe is totally approachable. Most of the issues people run into always circle back to texture—that glorious, satisfying crunch. Let’s troubleshoot those last few worries so you can get that perfect candy snap!
Can I make this peanut brittle recipe without a candy thermometer?
Listen, if I could tell you one thing that will save you a ton of sticky frustration, it’s this: please don’t try to make this without a reliable candy thermometer. I know, I know, it sounds fussy, but candy is unforgiving! If you try the ‘cold water test,’ you risk letting the sugar cool down too much while testing, which throws off your final temperature, or you just guess wrong. For this recipe, hitting 300°F is the *only* way to guarantee that hard, clean snap we are after. Trying to fake it usually leads right back to that chewy candy outcome, and we worked too hard for that!
Why did my peanut brittle turn out chewy instead of crunchy?
This is the saddest kitchen moment, but don’t worry, we can fix it next time! If your brittle came out chewy, sticky, or soft, it almost always means the syrup didn’t reach the full hard-crack temperature—it stopped short of 300°F (149°C). Sugar needs that high heat to crystallize rigidly. The second common culprit is humidity. If you left the cooled brittle sitting out on a damp day before sealing it, that moisture sucks right into the sugar, making everything soft. So, check your thermometer reading first, and always seal it up fast!
What is the best way to store leftover peanut brittle?
This goes back to the humidity enemy! Leftover brittle needs maximum protection. You must store it in a truly airtight container. I like using mason jars with good seals or heavy-duty zip-top bags where I push out every bit of air. Make sure the brittle is completely cool before sealing it up. Keep that container somewhere cool and dry—your pantry is usually great, provided it’s not right next to the dishwasher! Properly stored, these sweet and salty snacks will stay crisp for weeks!
Nutritional Estimate for This Classic Confectionery
Now, let’s be real, nobody is making this sugary, buttery masterpiece for health reasons, right? This is pure, nostalgic indulgence! But since we’re keeping things transparent here at Little Kitchen Diary, I wanted to share a general look at what you’re diving into when you enjoy this classic confectionery. Remember, this is just an estimate based on dividing the whole batch by the yield, so your actual numbers might vary depending on exactly how much sugar stuck to your pan!
Consider a standard one-ounce serving of this peanut brittle recipe to clock in around:
- Calories: 150
- Sugar: 18g
- Fat: 8g (with about 2g saturated)
- Sodium: 45mg
- Carbohydrates: 19g
- Protein: 3g
It’s got a nice kick of energy from the sugar and the fat carries that wonderful buttery flavor. Enjoy it mindfully, maybe with a cup of coffee, knowing you made something truly special from scratch!
Share Your Homemade Brittle Success
Now for the best part—seeing what you all create! I poured my heart, and maybe a few scorch marks in the early days, into making this the absolute most foolproof peanut brittle recipe out there. But the real success story is when you tell me it worked for you, too. Did you get that gorgeous, unmistakable *snap*? Was it easy to pour?
Please, please leave a comment below! Tell me how it went, especially if you managed to hit that 300-degree mark perfectly. Knowing that this old fashioned candy brought a little crunchy joy to your kitchen is genuinely what Little Kitchen Diary is all about. We are a community built on sharing simple, delicious wins!
If you love learning about my approach to real-life cooking—the simple philosophy that guides every recipe here—you can always read a little more about that over on my About page. Happy brittle making, everyone!
PrintEasy, Old-Fashioned Peanut Brittle Recipe with Perfect Snap

Make classic, crunchy peanut brittle at home. This recipe uses simple ingredients and a candy thermometer guide to help you achieve the perfect hard crack texture every time. It is a sweet and salty treat ideal for gifting.
- Prep Time: 10 min
- Cook Time: 25 min
- Total Time: 35 min
- Yield: About 1 pound 1x
- Category: Dessert
- Method: Stovetop Cooking
- Cuisine: American
- Diet: Vegetarian
Ingredients
- 2 cups granulated sugar
- 1 cup light corn syrup
- 1 cup water
- 1 teaspoon baking soda
- 1 teaspoon vanilla extract
- 1/2 teaspoon salt
- 2 cups roasted, unsalted peanuts
- 1 tablespoon butter, for greasing
Instructions
- Lightly grease a large baking sheet with butter or line it with parchment paper. Set aside.
- Combine the sugar, corn syrup, and water in a heavy-bottomed, large saucepan. Stir gently until the sugar dissolves.
- Place the saucepan over medium heat. Insert a candy thermometer. Do not stir the mixture once it begins to boil.
- Cook the mixture without stirring until it reaches 250 degrees Fahrenheit (121 degrees Celsius), the soft-ball stage. This takes about 15 to 20 minutes.
- Add the roasted peanuts to the syrup mixture. Continue cooking, stirring occasionally to prevent scorching, until the temperature reaches 300 degrees Fahrenheit (149 degrees Celsius), the hard-crack stage.
- Immediately remove the pan from the heat. Quickly stir in the baking soda, vanilla extract, and salt. The mixture will foam up rapidly. Work fast.
- Pour the hot mixture onto the prepared baking sheet. Do not spread it with a spatula; let it flow naturally.
- Allow the brittle to cool completely, about 30 minutes, until it is hard and brittle.
- Once cool, break the peanut brittle into irregular pieces. Store in an airtight container.
Notes
- Use a candy thermometer for accuracy; reaching the hard-crack stage (300°F/149°C) is essential for a perfect snap.
- Ensure your baking sheet is ready before the syrup reaches the final temperature, as the final steps must be done quickly.
- If you do not have roasted peanuts, you can lightly toast raw peanuts in a dry pan before starting the recipe.
Nutrition
- Serving Size: 1 ounce
- Calories: 150
- Sugar: 18g
- Sodium: 45mg
- Fat: 8g
- Saturated Fat: 2g
- Unsaturated Fat: 6g
- Trans Fat: 0g
- Carbohydrates: 19g
- Fiber: 1g
- Protein: 3g
- Cholesterol: 5mg