

There is just something unbeatable about a perfectly set, comforting dessert, isn’t there? For me, that dessert is classic, old-fashioned egg custard. When I first started cooking again, escaping the takeout rut, I spent weeks terrified of custard. It always seemed to crack, bubble up, or end up soupy! That frustration is real, but trust me, we conquer it here. This recipe is my guaranteed, no-fail version. It’s the one I landed on after countless kitchen experiments, which is why I’m sharing it today. It’s built on the simple philosophy of Little Kitchen Diary, which you can read more about on the About page. Great food doesn’t need to be complicated, just correct. You’re going to love this
- Why This Classic Egg Custard Recipe Guarantees Success
- Ingredients for Your Fail-Proof Egg Custard
- How to Make Egg Custard: Step-by-Step Instructions
- Tips for the Best Creamy Baked Custard
- Variations on Your Simple Dessert Ideas
- Serving Suggestions for This Traditional Creamy Dessert
- Storage and Reheating Instructions for Homemade Custard
- Frequently Asked Questions About Egg Custard
- Estimated Nutritional Data for This Simple Dessert
Why This Classic Egg Custard Recipe Guarantees Success
When I tell people this is a no-fail recipe, I mean it! I’ve taken all the guesswork out of this beloved Old Fashioned Egg Custard. The biggest complaints for custard are always the same: it curdles, it gets a skin, or it looks like scrambled eggs around the edges. We won’t have any of that here. This method is designed specifically to deliver that delicate, Creamy Baked Custard texture everyone hopes for.
- We use warmth, not brutality, to set the eggs.
- We involve two crucial steps before it even hits the oven!
- The result is dessert perfection, year after year.
The Secret to Silky Smooth Custard Texture
Achieving that Smooth Dessert Texture depends entirely on what you do *before* you pour the mixture. You must whisk gently until it’s just combined. If you start whipping it like you’re making meringue, you introduce air, and that air creates bubbles on top when baking. Those bubbles turn into a rough skin, which we definitely don’t want in a Creamy Baked Custard. We want pure silk!
Mastering the Water Bath Custard Technique
This is the absolute game-changer—the key to my “Fail-Proof Egg Custard” claim. You have to bake your custard inside a warm water bath, also known as a *bain-marie*. Think of it like a cozy little steam room for your dish. The water surrounding the baking dish controls the heat flow so gently that your eggs set evenly. This technique stops the edges from overcooking while the center is still liquid, meaning no cracks! Seriously, never skip the water bath if you want perfect results.
Ingredients for Your Fail-Proof Egg Custard
Making an Easy Homemade Custard doesn’t require a trip to a specialty store. We are focusing just on basic, beautiful ingredients here. For this recipe, you’ll need three large eggs, half a cup of gentle granulated sugar, and 2 and 2/3 cups of whole milk. That rich whole milk is important; it’s what gives the final dish that deeply satisfying mouthfeel. We flavor it simply with one teaspoon of pure vanilla extract, a quarter teaspoon of warm ground nutmeg, and just a tiny pinch of salt to make all those sweet flavors pop.
Don’t worry about complicated measuring systems here. Everything is straightforward, which is why it’s such a great recipe for anyone new to baking or custard making. If you happen to be making this for someone with dietary restrictions, good news—this classic egg custard is naturally vegetarian!
Ingredient Notes and Simple Substitutions
I always tell people that the quality of your simple components really shines through in a recipe like this, so try to use the best you can find. When it comes to the milk, please stick with whole milk. Lower fat just doesn’t lend itself well to that decadent texture we are aiming for. And for the vanilla, if you can use real pure vanilla extract, do it! It makes the difference between a passable dessert and a truly special Vanilla Egg Custard.
As for the nutmeg? That’s my personal touch for that old-fashioned flavor, but if you aren’t a big fan, feel free to swap it out for a tiny dash of ground cinnamon. Either way, the sweetness level is perfectly balanced, so you don’t need to adjust the sugar. I find that using slightly older, room-temperature eggs whisks together a bit smoother, just a casual tip from my kitchen to yours.
How to Make Egg Custard: Step-by-Step Instructions
Okay, let’s get this beautiful egg custard batter ready! Remember, the goal here is gentle incorporation. First thing, get your oven warming up to 325 degrees Fahrenheit. While that’s heating, set up your baking dish or ramekins. Next, you need to warm that milk slightly—just to a simmer, not a rolling boil. We want it warm, not angry!
In a separate bowl, you’ll lightly whisk your eggs, sugar, vanilla, nutmeg, and salt. I mean *lightly* whisk. We aren’t trying to make foam here, folks. Once the milk is warm, you slowly pour it, little by little, into your egg mix while you whisk constantly. This process is called tempering, and it keeps your eggs from turning into clumps. It takes patience, but it’s vital for that Creamy Baked Custard.
Tempering and Straining for Smooth Egg Custard
Tempering is just my way of slowly introducing the heat so the eggs don’t scramble when they meet the warm milk. After you’ve gently poured all that milk in, you absolutely have to strain that mixture through a fine-mesh sieve. I learned this the hard way once when I was rushing for a dinner party! I skipped straining, and I ended up with bits of cooked egg white speckling my otherwise perfect custard. Yuck! Straining catches any little bits that are starting to cook too fast and ensures you get that incredible, Silky Smooth Custard texture the recipe promises.
Baking the Egg Custard in a Water Bath
This is where the magic happens. Carefully pour the strained custard into your prepared baking dish. Then, place that dish inside a larger roasting pan. The next essential step for your Water Bath Custard Technique is pouring hot water into the roasting pan until it comes halfway up the sides of your custard dish. Using hot water keeps your oven temperature stable when you open the door. Bake this setup for about 40 to 50 minutes. You’re looking for the edges to look set, but the very center—the middle—should still have a little wobble when you gently nudge the pan. If you want more tips on getting that perfect texture, check out this guide on fail-proof desserts!
Tips for the Best Creamy Baked Custard
Look, even with the water bath custard technique, home cooking always needs a little extra TLC. If you want to avoid surprises, keep these simple rules in mind! First, don’t even *think* about over-whisking those eggs in the beginning. Mix just until they are combined—seriously, just until the yolks break. That’s your golden ticket to avoiding foam.
Second, the doneness test is everything. Don’t pull it out the second a toothpick comes out clean. You want those edges firm and the center still jiggly. That residual heat is going to finish the job as it cools down on the rack. Patience is the final ingredient for a truly silky smooth custard!
Variations on Your Simple Dessert Ideas
That’s the beauty of a fundamental recipe like this egg custard—it’s a perfect canvas! Since we’ve already nailed the foolproof, creamy baked custard base, switching things up is easy and low-risk. You absolutely don’t need a whole new recipe when you get a craving for something slightly different.
If you’re feeling adventurous, the easiest way to change the flavor profile is simply by swapping out that sprinkle of nutmeg. A little pinch of ground cardamom makes it taste suddenly fancy, or maybe try a tiny grating of fresh lemon or orange zest right into your milk when you warm it up. The citrus brightens up the richness beautifully!

Also, many people ask me about pie crusts. If you are aiming for a true, grab-and-go Crustless Egg Custard, just use individual ramekins or small glass custard cups instead of one large dish. You still use the water bath, of course—never skip that! Baking them individually means they cook a little faster, and they look so cute when served.
Another really yummy idea involves adding a splash of almond extract instead of some of the vanilla for an ‘amaretto’ vibe. Since this is such a simple dessert idea, don’t overcomplicate the additions. Stick to things that blend well with eggs and dairy, and you’re going to have a successful, new classic, every single time.
Serving Suggestions for This Traditional Creamy Dessert
This beautiful, traditional creamy dessert is rich enough to stand completely on its own. When I pull that perfect, jiggly set out of the oven and let it chill, I sometimes struggle to wait to dig in! But presentation does matter, even for simple comfort food recipes.
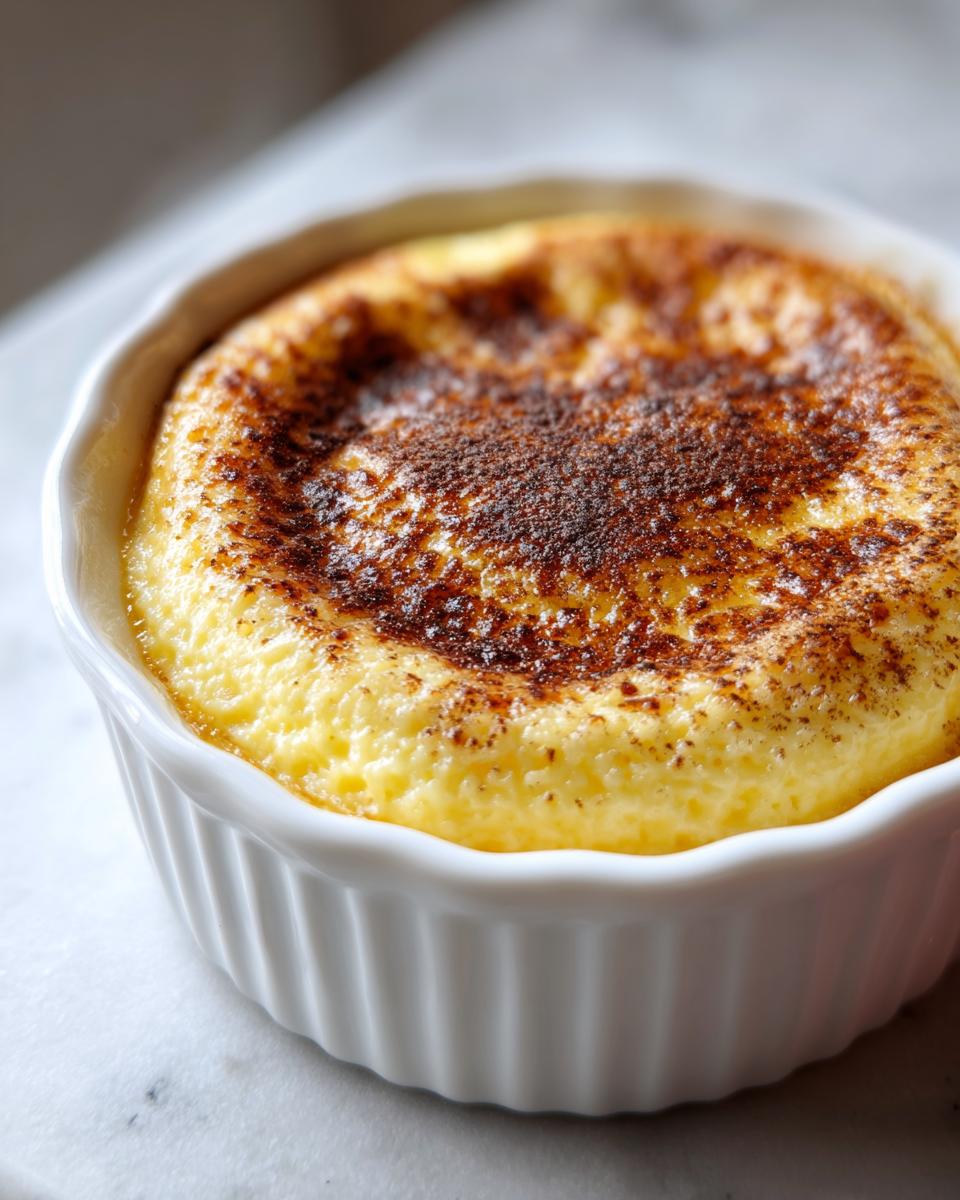
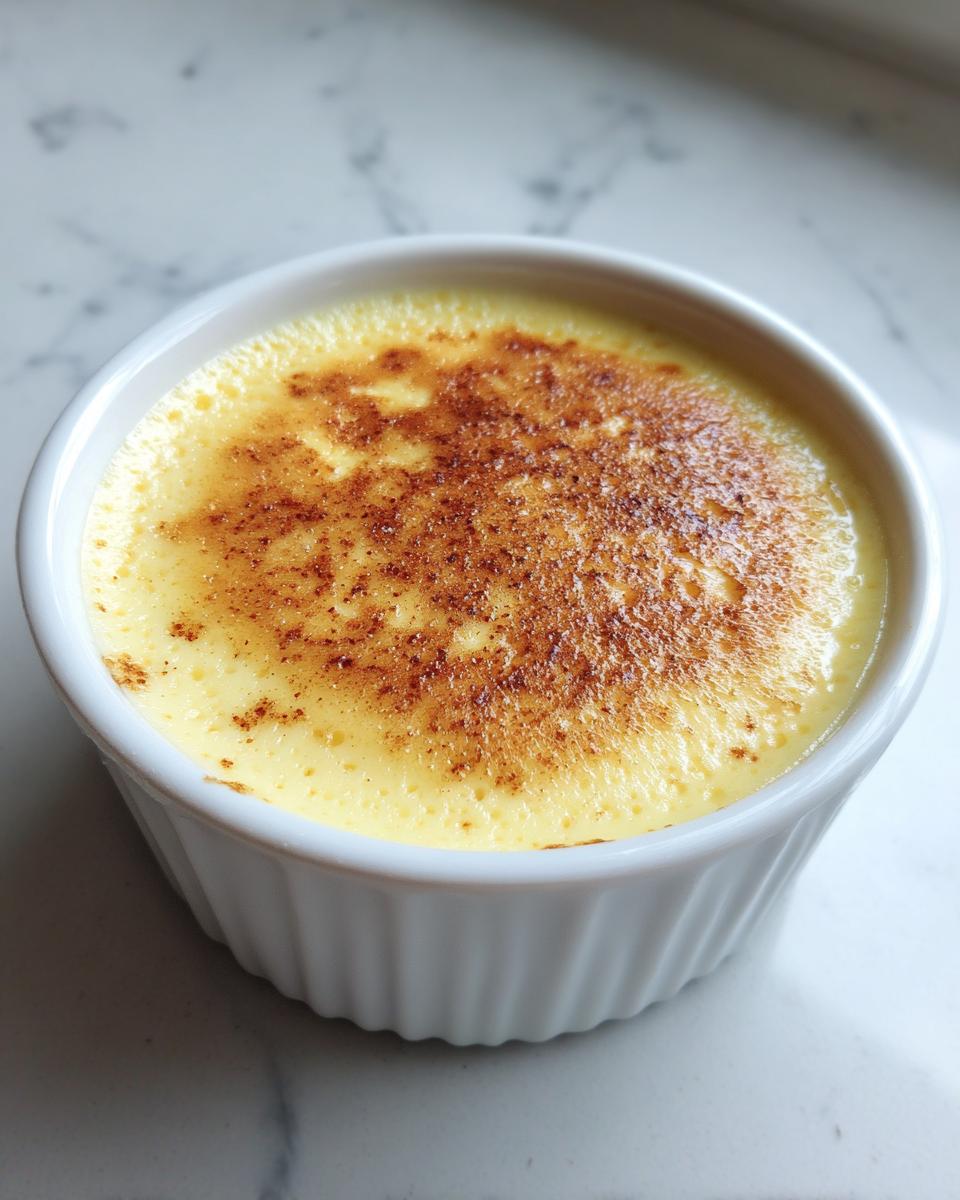
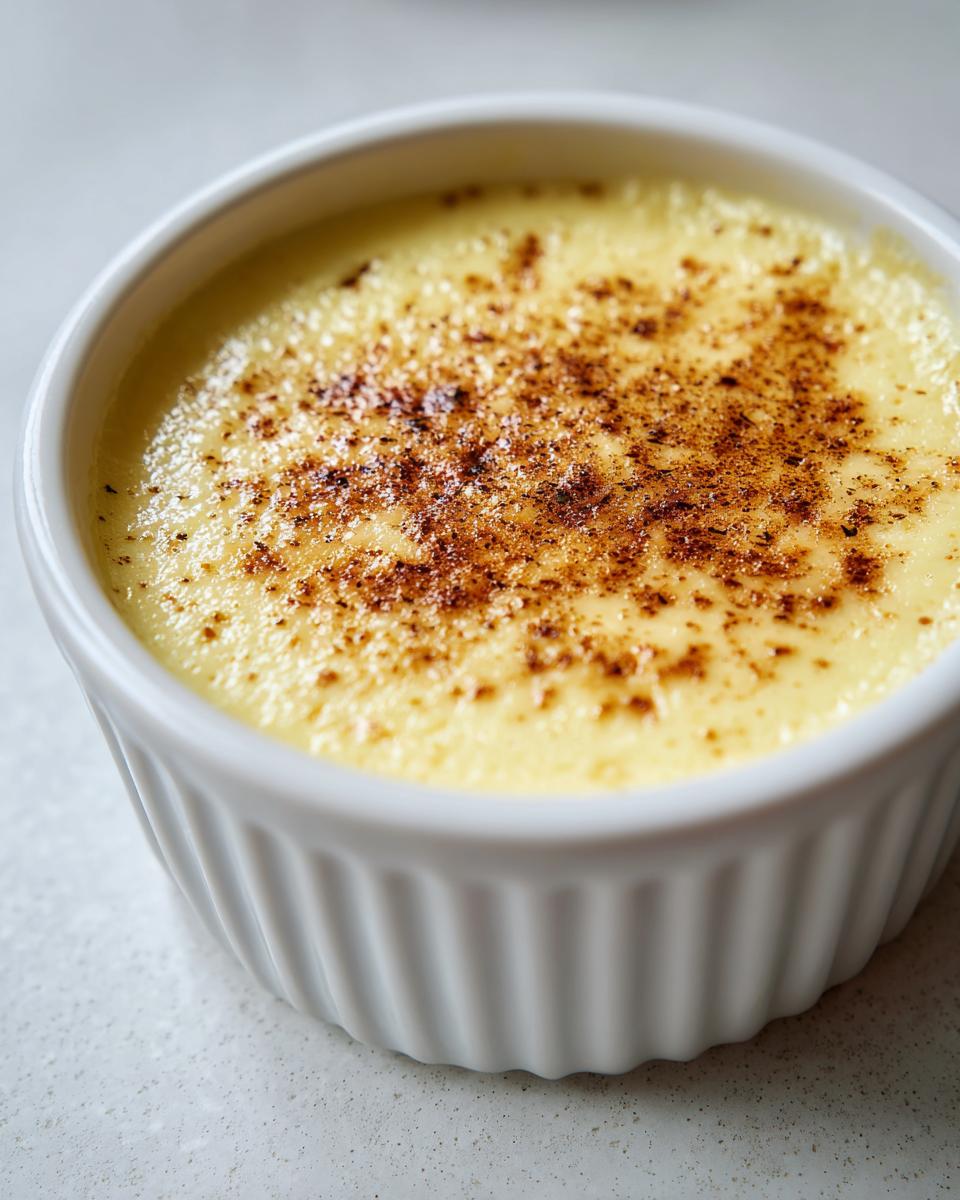
The best way to serve this egg custard isn’t to hide its texture under heavy sauces. It just needs a little whisper of something extra. My favorite way to serve it, especially after dinner when everyone is already full, is with a classic dusting of cinnamon right before it hits the table. It smells amazing and looks so homey. It truly elevates that simple vanilla flavor we used.
If you want something a little more textural, you can’t go wrong with fresh fruit. Bright, slightly tart berries—raspberries or sliced strawberries—cut through the richness of the dairy perfectly. Just a handful scattered around the edge of the plate makes it feel instantly special. Or, if you’re feeling like a real treat, a small dollop of homemade whipped cream is just heavenly.
If you happen to have made a full pie (using the necessary crust, of course!), a tiny drizzle of pure maple syrup works wonders. But honestly, once you’ve perfected the silky smooth custard center, you’ll find it needs very little dressing up at all. It’s satisfying and complete just as it is!
Storage and Reheating Instructions for Homemade Custard
It takes real restraint to let this beautiful egg custard sit, but I promise you, the chill time is absolutely worth it. This creamy baked custard transforms when it moves from the oven’s heat to the refrigerator’s cool embrace. You really need to let it chill for a minimum of four hours before you even think about serving it. That setting time is crucial for achieving that perfect, sliceable but still jiggly texture.
Once it’s fully chilled, you can cover your dish—plastic wrap works fine unless you made one in a pie dish, then I prefer foil. Stored correctly in the fridge, this classic dessert will hold up beautifully for about four days. It’s such a great comfort food recipe because you can make it way ahead of a big dinner! Trust me, it tastes even better the next day.
Now, about reheating. I’m going to be honest with you; I almost always serve this cold or room temperature. This style of vanilla egg custard really shines when it’s cool because that keeps the texture firm and silky. If you try to heat it up too rapidly, you risk messing up that carefully set protein structure we worked so hard to achieve with the water bath!
However, I know some people just can’t stand cold dessert! If you must reheat, do it super gently. If you made individual ramekins, you can take one out about 30 minutes before you plan to eat it and let it warm up slowly on the counter. This brings it closer to room temperature without cooking it further. If you absolutely need warmth, use the lowest setting on your oven with a little bit of water in the pan again, but only for about 10 minutes. Honestly, though, for the best result of this easy homemade custard, serve it chilled!
Frequently Asked Questions About Egg Custard
Can I skip the water bath for this egg custard?
Oh, I know it feels like an extra step, but please, don’t skip the water bath if you want a true, No Fail Custard Dessert! If you bake this directly in the oven, the dry heat hits the edges too fast. That heat causes the egg proteins to seize up rapidly, leading to a bubbly, cracked top. The water bath creates that gentle steam environment that ensures everything sets slowly and evenly, giving you that perfect, smooth texture every time.
Why is my finished egg custard still jiggly in the middle?
That slight jiggle is actually exactly what we are aiming for! When you test for doneness, if the center is perfectly firm, that means it’s already slightly overcooked. That residual heat sitting inside the custard as it cools down on the counter will finish the cooking process until it’s set beautifully firm by the time it’s chilled. If it’s completely solid in the oven, it’ll be rubbery when you eat it later. You want that slight wobble that promises a gorgeous, silky smooth custard later on.
Can I substitute whole milk with low-fat or skim milk?
You certainly *can*, but I wouldn’t recommend it if you’re seeking that truly rich, creamy baked custard experience. The fat content in whole milk is crucial for mouthfeel and flavor depth. Lower fat milks have more water content, and that extra water tends to create a more fragile structure that is more prone to being watery rather than creamy once baked. My best results—and your best results—come from using whole milk!
Is this egg custard recipe suitable for making ahead of time?
Absolutely, and I highly encourage it! This is one of my favorite simple dessert ideas because it’s best when made ahead. After baking, you must let it cool on the counter, and then chill it for at least four hours, but overnight is even better. The chilling allows the final structure to firm up completely, guaranteeing a cleaner slice and intensifying that classic, nostalgic flavor. If you have questions as you’re cooking, feel free to reach out via my Contact Page!
Estimated Nutritional Data for This Simple Dessert
I always include this information because I believe in being transparent about what we’re putting into our bodies, even when it comes to a nostalgic treat like this egg custard. Knowing the basics helps you fit these wonderful comfort food recipes into your balanced lifestyle. Remember, Little Kitchen Diary is committed to sharing information accurately, which is why we always list these details!
Here is the approximate nutritional breakdown based on the ingredients used in this Classic Egg Custard Recipe, assuming six equal servings. You can always check out our read on data sourcing and privacy if you’re curious about how we calculate these figures.
- Serving Size: 1 serving
- Calories: 180
- Sugar: 18g (That’s mostly from the dairy and granulated sugar!)
- Sodium: 90mg
- Fat: 6g
- Saturated Fat: 3g
- Unsaturated Fat: 3g
- Trans Fat: 0g
- Carbohydrates: 17g
- Fiber: 0g
- Protein: 8g
- Cholesterol: 110mg
Now, here’s that small but important disclaimer that comes with sharing homemade recipes. These numbers are just estimates for this specific vanilla egg custard as written. The actual values can shift around a little bit depending on which brand of milk you grab or if you decide to use a slightly different sugar ratio in your easy homemade custard. But generally speaking, this is a wonderfully light and satisfying end to any meal!
PrintFail-Proof Classic Baked Egg Custard: Silky Smooth Dessert

This is a simple, old-fashioned egg custard recipe designed to guarantee a silky-smooth texture. We use the water bath technique to prevent cracking, making this a no-fail dessert for any home cook.
- Prep Time: 15 min
- Cook Time: 50 min
- Total Time: 65 min
- Yield: 6 servings 1x
- Category: Dessert
- Method: Baking
- Cuisine: American
- Diet: Vegetarian
Ingredients
- 3 large eggs
- 1/2 cup granulated sugar
- 2 2/3 cups whole milk
- 1 teaspoon pure vanilla extract
- 1/4 teaspoon ground nutmeg
- Pinch of salt
Instructions
- Preheat your oven to 325 degrees Fahrenheit. Gather a 1.5-quart baking dish or several individual ramekins.
- Bring the milk just to a simmer on the stovetop, then remove it from the heat. Do not let it boil.
- In a separate bowl, lightly whisk the eggs, sugar, vanilla extract, nutmeg, and salt until just combined. Avoid creating excessive foam.
- Slowly pour the warm milk into the egg mixture while whisking constantly and gently. This slow addition helps temper the eggs.
- Strain the custard mixture through a fine-mesh sieve into a clean bowl or measuring cup. This step removes any unmixed bits and ensures a smooth texture.
- Pour the strained mixture into your prepared baking dish or ramekins.
- Prepare a water bath: Place the custard dish inside a larger roasting pan. Carefully pour hot water into the roasting pan until the water reaches halfway up the sides of the custard dish.
- Bake for 40 to 50 minutes, or until the edges are set but the center still jiggles slightly when gently nudged.
- Carefully remove the custard from the water bath. Let it cool completely on a wire rack before chilling in the refrigerator for at least 4 hours before serving.
Notes
- For the silkiest texture, do not over-whisk the eggs; mix only until the yolks and whites are incorporated.
- The water bath technique is essential for even cooking and preventing bubbles or cracks in your egg custard.
- If you are using ramekins, you may need to reduce the baking time slightly.
Nutrition
- Serving Size: 1 serving
- Calories: 180
- Sugar: 18g
- Sodium: 90mg
- Fat: 6g
- Saturated Fat: 3g
- Unsaturated Fat: 3g
- Trans Fat: 0g
- Carbohydrates: 17g
- Fiber: 0g
- Protein: 8g
- Cholesterol: 110mg