
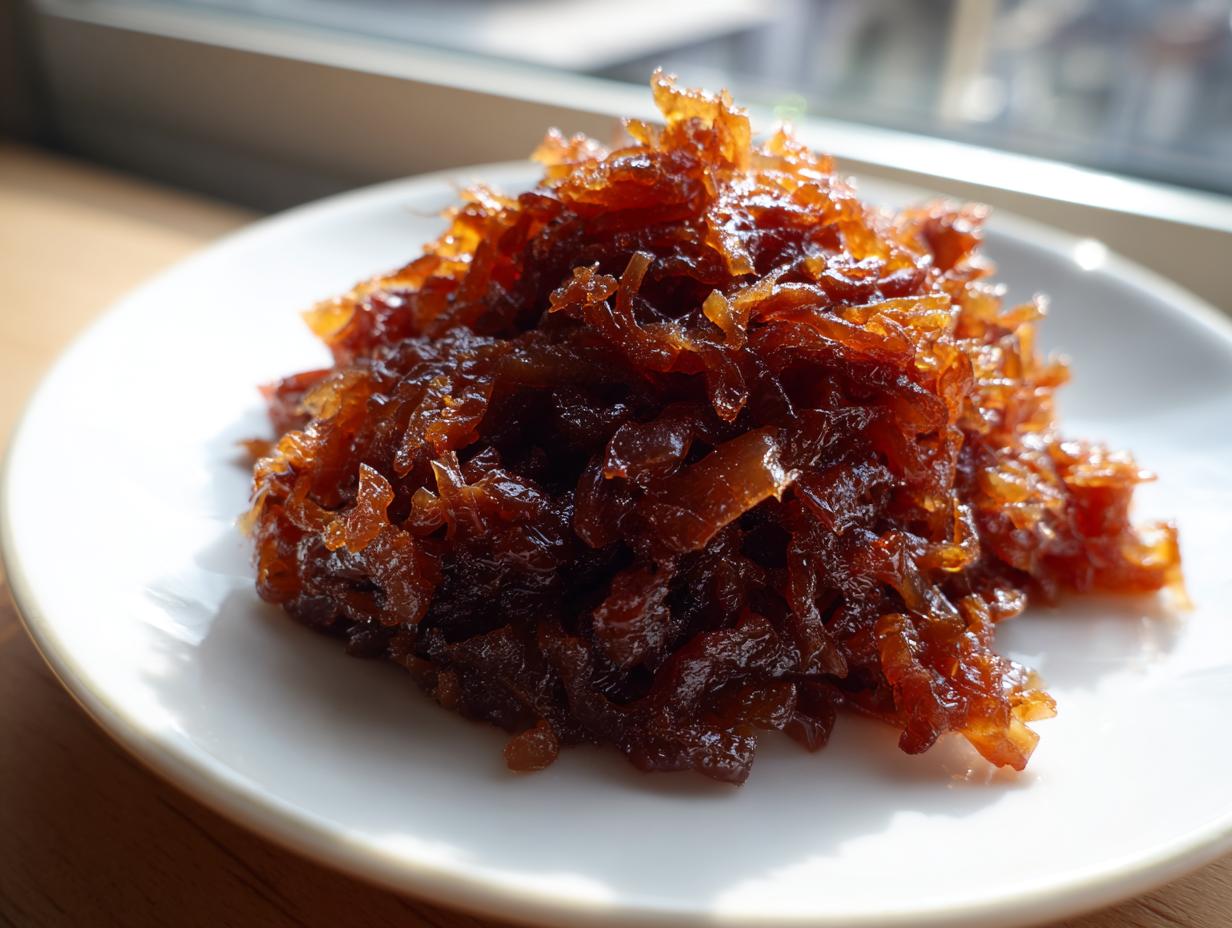
I remember when the kitchen went quiet. Life got fast, and honestly, sometimes takeout just felt easier than starting something that took, well, *time*. But I missed that kitchen magic. That’s why discovering the proper method for making deeply flavorful caramelized onions felt like finding a secret key to unlocking real home cooking again. It’s not hard, but you absolutely cannot rush it. This slow-cook technique is the foundation for turning a staple vegetable into something profoundly sweet and savory. If you’re looking to elevate burgers, pasta, or just about anything, this is the one base recipe you need in your arsenal. It brought the joy back to my cooking, and I know it will for you too. If you want to read more about why I started this journey, you can check out my story over at Little Kitchen Diary.
- Why You Will Make These Caramelized Onions Again and Again
- Essential Ingredients for Perfect Caramelized Onions
- The Best Way to Caramelize Onions: Step-by-Step Technique
- Tips for Achieving Golden Brown Onions Every Time
- Using Your Caramelized Onions as a Versatile Onion Ingredient
- Make Ahead Savory Bases and Storage for Caramelized Onions
- Troubleshooting Common Issues When Making Caramelized Onions
- Frequently Asked Questions About Caramelized Onions
- Estimated Nutritional Data for Caramelized Onions
Why You Will Make These Caramelized Onions Again and Again
This isn’t just another recipe; it’s a foundational technique that pays off huge dividends later. Once you master this, you’ll find yourself making batches just to have them ready in the fridge. Trust me, the transformation of a humble onion is something you’ll brag about.
- True Deep Flavor Onions: Because we cook them low and slow, we actually draw out all the natural sugars. This gives you a rich, complex sweetness that raw or quickly sautéed onions just can’t touch.
- The Versatile Onion Ingredient: Seriously, these go on everything! They are the perfect savory onion topping for everything from steak to toast.
- Minimal Hands-On Time: While the whole process takes time, once they are in the pot, you mostly just let them cook. This makes them fantastic weeknight meal prep sides because active work is minimal.
- Next-Level Burger Toppings Ideas: Forget those sad, crunchy strips you get at fast-food places. These jammy onions recipe additions take any burger or sandwich flavor boosters to a gourmet level.
- It’s a Cooking Basic for Depth: Learning this onion confit technique is like unlocking a cheat code for flavor. It’s basic, but it adds immediate sophistication to any meal.
- They Save Weeknights: Having a jar of these ready means you can whip up an elegant pasta dish or a quick, flavorful dip in minutes.
Essential Ingredients for Perfect Caramelized Onions
The beauty of getting true, deep flavor onions is that you don’t need a pantry full of fussy ingredients. We are aiming for purity here, which means we only rely on a few things to work their magic over time. When you keep the ingredient list short, you let the true sweetness of the humble onion shine! Seriously, don’t try to complicate this base recipe; the time we spend cooking is what does the heavy lifting.
Here is exactly what you’ll need for a great batch of caramelized onions:
- 3 large yellow onions, thinly sliced (Uniformity matters here!)
- 2 tablespoons unsalted butter (You need the flavor!)
- 1 tablespoon olive oil (This helps prevent the butter from burning too fast)
- 1/2 teaspoon salt (Essential for drawing out that moisture)
- 1/4 teaspoon sugar (This one is labeled optional, see below!)
Ingredient Notes and Substitutions
If you’ve ever stood at the grocery store staring at the onions, you’re probably wondering which ones to grab. Stick with yellow onions. They have the best balance of sugar content and structure for this slow-cook method. Red onions work too, but they sometimes turn a bit darker than that perfect golden hue we’re aiming for.
Regarding the fat, I use both butter and oil because they each bring something important to the table. The oil has a higher smoke point, which stops the butter solids from burning before the onions break down. You *could* use all olive oil, but you’d lose some of that classic, rich taste you get from real butter cooked slowly.
Now, let’s talk about that tiny bit of sugar. This is a classic onion cooking hack, but I want to be clear: if you are committed to the full hour-plus cook time, you don’t need it. The sugar is just there to nudge the process along if you are in a pinch and need slightly faster browning. For the absolute *best* deep flavor onions, skip the sugar and focus only on low, consistent heat.
The Best Way to Caramelize Onions: Step-by-Step Technique
This is where the rubber meets the road, folks. People often fail at making deeply flavored onions because they rush the process or use a pan that’s too small. Remember, we are relying on slow cooking to coax out that natural sweetness. If you’re looking to master the best way to caramelize onions, pay attention to the heat and the stirring. This entire process is about coaxing, not forcing, the change.
Setting Up for Slow Cooked Onion Sides
First, you absolutely need a wide, heavy-bottomed skillet—a Dutch oven is perfect for larger batches. You want the onions to sit in a relatively single layer so they can sweat down instead of steam themselves into soup. Combine your butter and oil over medium-low heat. I like letting the butter melt completely and gently foam before I toss in the slices and salt. Make sure every single slice gets lovingly coated in fat. Give it a good stir, and then step back. For the first 10 to 15 minutes, you’ll just stir occasionally until they look soft and translucent. They won’t even look remotely like the end product yet, but this initial softening is crucial.
Patience Pays Off: Developing Deep Flavor Onions
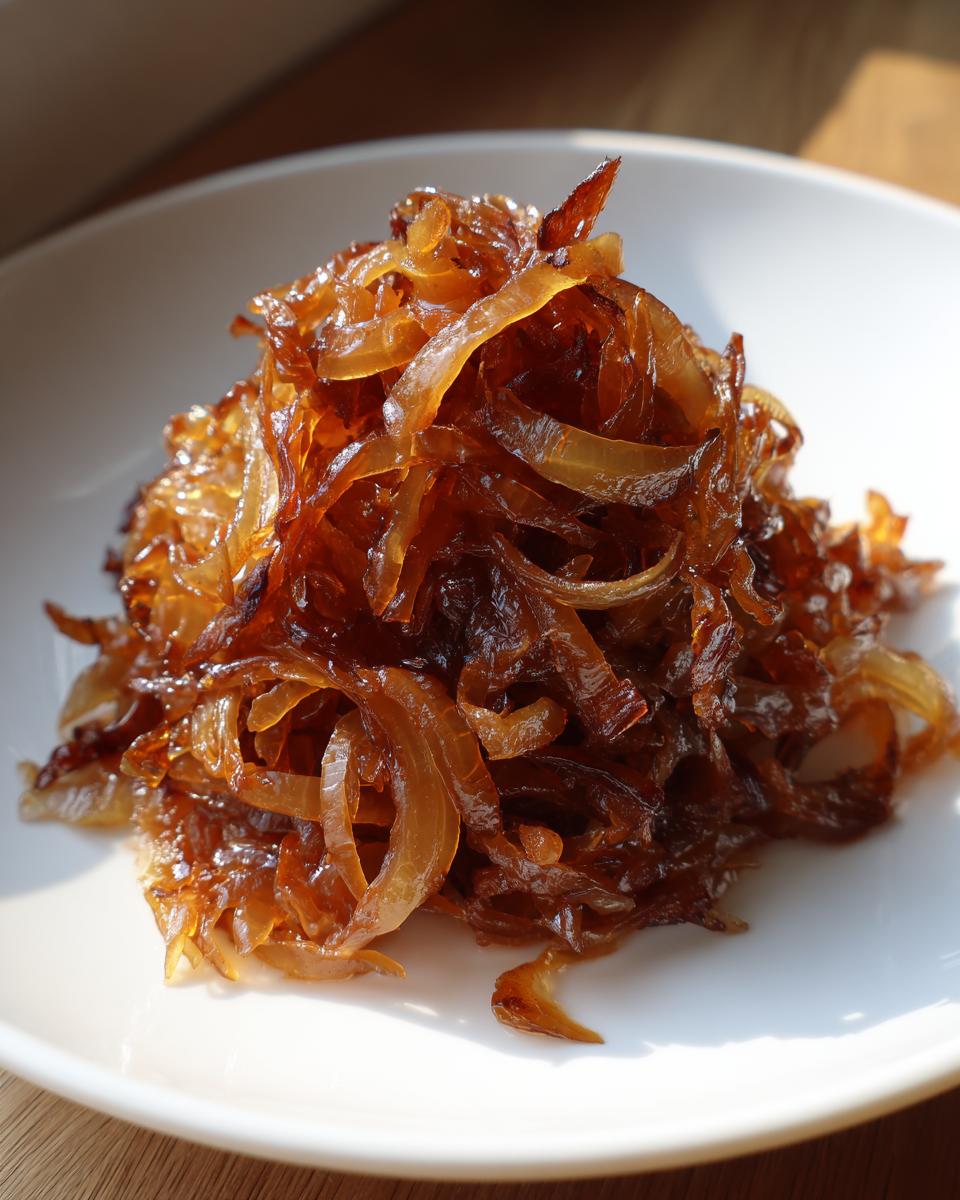
Now for the real commitment. You must drop that heat down to low. Low heat is your best friend here. You are aiming for a 45 to 60-minute gentle cook to achieve those deep flavor onions. You need to stir every 5 to 10 minutes, just enough to stop any one spot from scorching. If you see brown bits sticking to the bottom of the pan, don’t panic—that’s flavor! Quickly add just a tablespoon of water, scrape up all those sticky brown bits, and let the water evaporate before continuing to cook. That quick deglaze keeps everything moving but ensures you don’t burn the flavor base. Keep going until that color turns deep mahogany and they look beautifully jammy.
If you need to review the full steps or want to know how this relates to other baking techniques, sometimes I reference my policies over at Little Kitchen Diary.
Tips for Achieving Golden Brown Onions Every Time
Listen, I’ve been there. I once tried to push these onions from translucent to golden brown in about 20 minutes because I was starving and impatient. Oops! Total failure. They ended up steaming, looking gray, and just tasted… sad. The biggest lesson I learned in the kitchen—and this applies to all cooking basics for depth—is that you cannot argue with biology. The sugars need time to break down and change color. If you try to speed it up, they burn before they caramelize, and you end up with acrid mess instead of that sweet onion confit technique.
Since that unfortunate incident, I’ve developed a few little tricks to keep things humming along nicely and guarantee we get those gorgeously soft, jammy onions recipe texture every single time. These onion cooking hacks really help manage the process when you’re juggling a busy schedule.
- Don’t Crowd the Pan: This is the cardinal sin! If your onions are piled more than an inch deep, they will steam. Steam means moisture stays trapped, and the onions will never brown. If you’re making a huge batch, you absolutely must use two pans, or accept that the cook time will nearly double because you’re fighting the moisture.
- The Water Deglaze is Your Lifesaver: See those brown bits sticking to the bottom? That’s the good stuff! If they look like they are about to turn black, add a tiny splash of water—literally one tablespoon—and scrape it up immediately. This steam-cleans the pan without washing away the flavor compounds developing on the bottom. It also introduces a little moisture back if your onions seem dry mid-way through.
- Know Your Heat: Medium-low is the sweet spot, but ovens and stovetops lie! If your onions are aggressively sizzling or spitting fat after the first 15 minutes, your heat is too high. Turn it down until they are just gently softening. I learned this the hard way through several batches of half-burnt, half-raw slices. For guidance on timing, I often reference fantastic guides like the one over at Running to the Kitchen when I’m just double-checking my instincts.
- The Light Toss: You don’t need to stir constantly. Stirring every 5 to 10 minutes is plenty. Too much stirring cools the pan down and slows the process. We want consistent, gentle heat doing the work for us.
- Use the Right Fat: Remember I mentioned the butter/oil mix? That’s key for protecting the butter. If you only use butter, the milk solids in the butter will scorch too quickly. The olive oil acts as a wonderfully stable buffer to help achieve that perfect golden brown onions finish.

Using Your Caramelized Onions as a Versatile Onion Ingredient
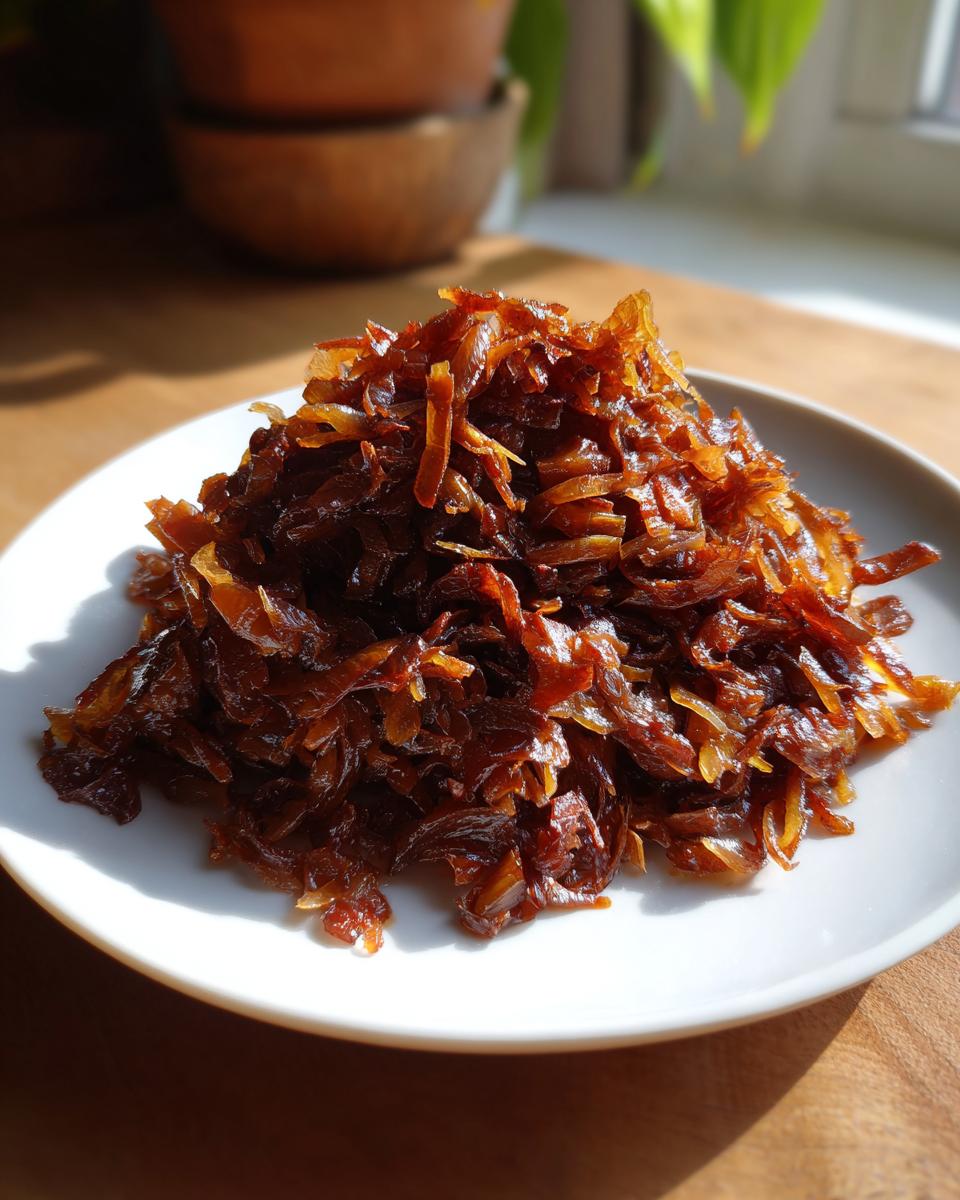
So, you’ve just spent an hour coaxing these beautiful, sweet onions into existence. Now what? The payoff is huge because these truly are the ultimate rich savory additions to nearly anything you cook. I often make a big batch just because I love knowing I have them ready for weeknight emergencies, and they completely transform simple meals.
For sandwiches, oh my goodness. They are incredible layered on a grilled cheese or piled high on a roast beef sandwich; they act as fantastic sandwich flavor boosters. Don’t forget about burgers! A thick smear of these ensures you have the best burger toppings ideas ready to go when grilling season hits. They mix beautifully with mayo and herbs for an instant, amazing dip, too.
When it comes to mains, think about topping pork chops or spreading them over a quick puff pastry tart. They shine as easy side dishes with onions when simply served warm next to roasted chicken. Honestly, if you’re trying to add that deep, slow-cooked element to your cooking but don’t have time to start from scratch every night, these are your answer. If you need ideas on how to incorporate these flavorful bases into fuller meals, I share contact info on my Contact Page, and you can see specific applications linked over at Sara’s site, like some great ideas for flavor combinations over at Sara Flavors.
Make Ahead Savory Bases and Storage for Caramelized Onions
One of my favorite parts of this whole process is that it forces you to slow down, but the payoff means you never have to slow down again later in the week! These truly shine as make ahead savory bases. Once you’ve gone through the 75 minutes of cooking, you should let those beauties cool down fully before you even *think* about putting them in a container.
Seriously, if you seal up hot onions, they’ll steam themselves into a mushy mess, and that’s the opposite of what we want for that perfect jammy texture. Let them sit on the counter until they are completely room temperature—you can test this by touching the bottom of the pan; if it’s warm, keep waiting.
Once cooled, transfer your batch into a clean, airtight container. Storing them correctly is key to keeping that deep flavor intact. I’ve found that in the refrigerator, these caramelized onions stay absolutely fantastic for up to a full week. That means when the 5 PM scramble hits, you already have an amazing side dish or main component ready to go. Just spoon some out, warm them up gently on the stove (maybe with a tiny splash of broth or water if they seem too stiff), and toss them into whatever you’re making!
I also mentioned freezing them, and yes, you can absolutely do that! If you make a truly massive batch—maybe double or triple this base recipe—you can portion them out into smaller zipper-lock bags. Lay the bags flat in the freezer so they don’t take up much room in the chest. They freeze beautifully for up to three months, making them the ultimate hack for ensuring you always have weeknight meal prep sides ready to deploy whenever inspiration strikes!
Troubleshooting Common Issues When Making Caramelized Onions
It happens to the best of us! Even when you follow the steps perfectly, sometimes the heat under your pan is just a little too aggressive, or maybe your pan was a touch too crowded that day. Don’t toss those onions out just because they look a little sad or stressed. Troubleshooting at this stage is what separates a good cook from a truly great one, because it shows you know how to adjust on the fly.
I’ve learned to recognize the signs of trouble quickly, so I can save the batch before any real damage is done. If you stick with it, you can usually rescue them and still get great caramelized onions!
- Problem: My onions are steaming, not browning at all! This is the classic sign that your heat is too low, or more likely, your pan is overcrowded. Steam means moisture can’t evaporate, and if moisture is trapped, the onions can only simmer—they can’t brown and sweeten.
- The Fix: If they are steaming profusely, turn the heat up slightly from low to medium-low, but only *after* you stir really well. If you only have a small amount of onions but they’re piled high, you have to take half of them out, cook them in a second batch later, and give the remaining onions space to breathe. Getting them into a single layer is vital!
- Problem: Parts of my onions are black, but other parts are still white but stuck. Oops, you’ve burned them slightly! This usually happens if you get distracted and forget to stir for too long, letting the exposed bits scorch on the pan bottom.
- The Fix: This is where the deglazing trick I mentioned earlier becomes mandatory! Add a tablespoon or two of water—or even a splash of stock if you have it—and immediately start scraping up those black bits with a wooden spoon. The water dissolves the burnt bits, and you can stir everything back together. Taste a small piece after you stir it all in; if it tastes bitter, you’ll need to add a bit more fat and a tiny pinch of sugar to mask the bitterness, but usually, a good scrape saves the day.
- Problem: My onions have turned a nice golden color, but they won’t get any darker! Sometimes you hit a plateau during the cooking process. They look done, but they haven’t reached that deep mahogany sweet spot.
- The Fix: First, make sure you’ve added your initial salt. Salt helps pull out moisture, which is necessary for browning. If they stall, try adding that optional 1/4 teaspoon of sugar now—it will give those sugars the extra little push they need to deepen the color without harsh heat. Just watch them closely for the next 10 minutes after adding sugar, as they can go from golden to dark very quickly at this stage.
Frequently Asked Questions About Caramelized Onions
How long does it actually take to get deep flavor onions?
This is the question I get asked the most! Because we are avoiding high heat to prevent burning, we need patience. You should plan for at least 60 minutes of gentle cooking once the onions have softened, but often, if you have a large batch or are aiming for that intensely rich mahogany color, you might push it closer to 75 or even 90 minutes total. It’s a labor of love, but trust me, the payoff is worth every minute spent watching them slowly transform!
What’s the difference between sautéed onions and caramelized onions?
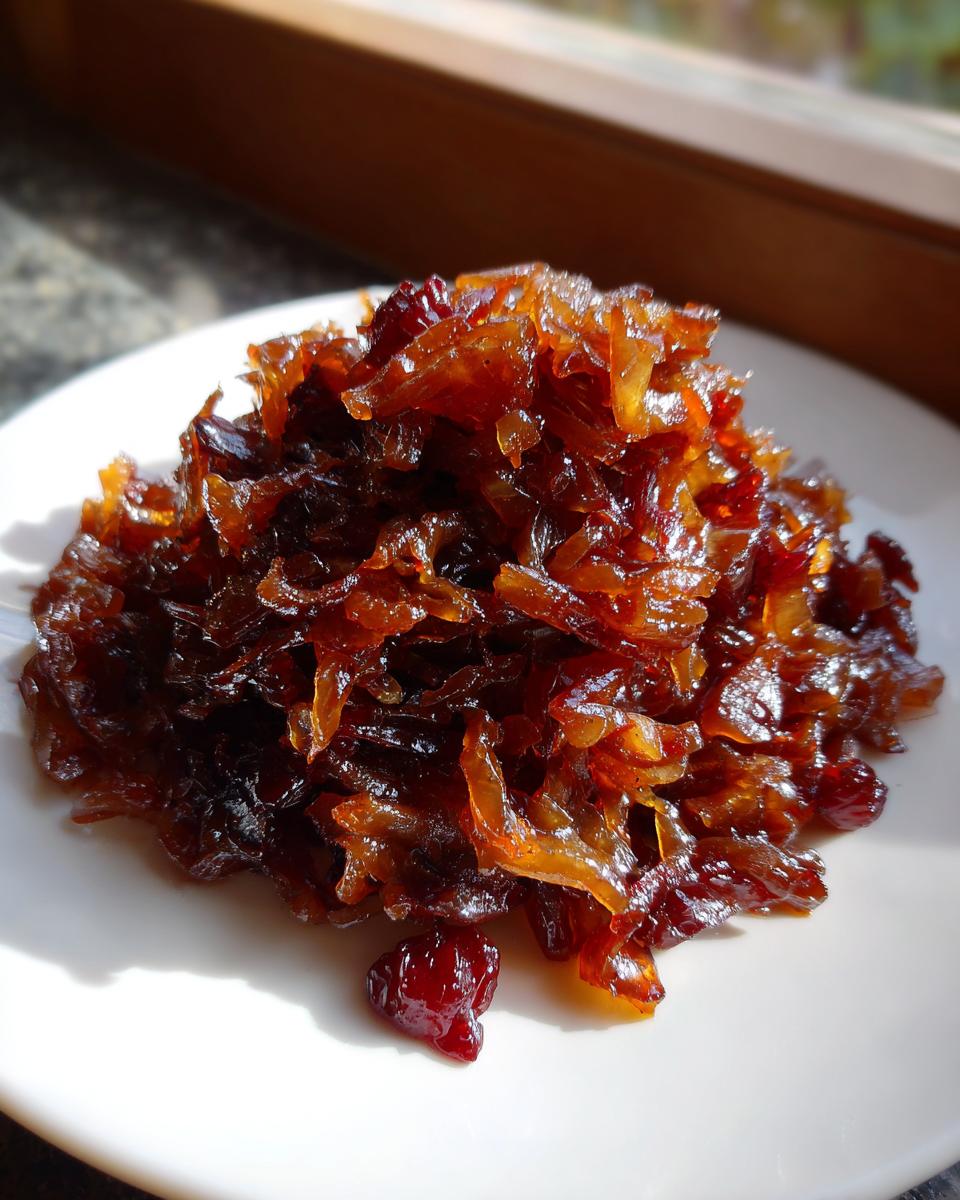
They are miles apart in flavor and texture! Sautéed onions are cooked quickly over medium heat until they are nice and tender—maybe 10 to 15 minutes total. They are sweet, but still have a bit of bite. Onions that are truly caramelized onions are cooked low and slow until all their natural sugars have broken down and concentrated. That’s when they turn that deep brown color, become sticky, and you get that profound, almost jammy texture. Sautéed onions are a side; caramelized onions are an ingredient.
Can these jammy onions recipe results be used straight out of the fridge?
Absolutely! Once they are fully cooled and stored properly, you can use them cold right from the container. They are fantastic tossed into a cold salad—I highly recommend it if you’re making a creamy slaw or adding them to a jar for layering your lunch sandwich the next day. If you want them warm, just heat them gently in a pan over low heat with a tiny splash of water or broth to loosen them up if they’ve tightened up in the fridge. For more advanced techniques, sometimes I look at great guides like the one over at Serious Eats.
Can I use sweet onions like Vidalia instead of yellow onions?
You can, but I caution you against using them if you are relying on the optional sugar. Sweet onions, by nature, have much higher sugar content already. If you cook those slow and low, they can sometimes brown and develop that deeper color too quickly, and you risk burning them before the texture gets soft enough. Yellow onions are more forgiving because they have a bit more structure and less sugar to start with, making the long cooking time yield more predictable results for that deep flavor.
Estimated Nutritional Data for Caramelized Onions
I’m Ethan, and I want to be super clear here: I’m a home cook sharing my best tips, not a certified nutritionist! So, take this information with a grain of salt—or perhaps, a pinch of that optional sugar we talked about.
Because we cook with butter and the natural sugars in the onions intensify during the long cook time, the nutritional profile shifts significantly from a raw onion. These numbers are my best estimate based on the exact recipe provided above (3 onions, 2 Tbsp butter, 1 Tbsp oil) and what a serving size looks like after yield reduction. If you use more oil or butter, these numbers will change!
Here’s a snapshot of what you can expect from roughly a 1/4 cup serving:
- Serving Size: 1/4 cup
- Calories: 75
- Fat: 4g
- Saturated Fat: 2g
- Carbohydrates: 10g
- Sugar: 8g (This is all natural sugar from the onion, concentrated!)
- Protein: 1g
- Sodium: 110mg (Mostly from the added salt)
Like with all my recipes at the Little Kitchen Diary, these values are estimates. I encourage you to plug in your exact measurements if you’re tracking something specific. The main takeaway is that thanks to the slow cook and the fat, these are rich in flavor, which means a small amount goes a long way, making them a fantastic, low-effort way to boost the savory profile of any meal!
PrintThe Ultimate Slow-Cooked Caramelized Onions: A Base Recipe & Flavor Guide
Learn the fundamental technique for making deeply caramelized onions. This simple recipe draws out the natural sugars, creating sweet, golden, tender onions perfect for burgers, pasta, or sandwiches.
- Prep Time: 10 min
- Cook Time: 75 min
- Total Time: 85 min
- Yield: About 1.5 cups 1x
- Category: Side Dish
- Method: Slow Sautéing
- Cuisine: American
- Diet: Vegetarian
Ingredients
- 3 large yellow onions, thinly sliced
- 2 tablespoons unsalted butter
- 1 tablespoon olive oil
- 1/2 teaspoon salt
- 1/4 teaspoon sugar (optional, for faster browning)
Instructions
- Slice the onions thinly and uniformly. Uniform slices help them cook evenly.
- Combine the butter and olive oil in a large, heavy-bottomed skillet or Dutch oven over medium-low heat.
- Add the sliced onions and salt to the skillet. Stir to coat the onions completely with the fat.
- Cook the onions uncovered for 15 minutes, stirring occasionally, until they soften and release moisture. Keep the heat low to prevent burning.
- Reduce the heat to low. Continue cooking for 45 to 60 minutes, stirring every 5 to 10 minutes. The goal is slow cooking to develop deep flavor.
- If the onions start sticking too much or browning too quickly, add one tablespoon of water to the pan and scrape up the browned bits (deglazing).
- Continue cooking until the onions reach a deep, rich, mahogany brown color and are jammy in texture. If using, stir in the optional sugar during the last 10 minutes.
- Remove from heat. These caramelized onions are now ready to use as a savory onion topping or versatile onion ingredient.
Notes
- For faster results, you can add a pinch of sugar, but true caramelization relies on time, not just sugar.
- If you are making a large batch, use a wider pan to ensure the onions cook in a single layer, which promotes even browning.
- These make excellent make ahead savory bases; store cooled onions in an airtight container in the refrigerator for up to one week.
Nutrition
- Serving Size: 1/4 cup
- Calories: 75
- Sugar: 8
- Sodium: 110
- Fat: 4
- Saturated Fat: 2
- Unsaturated Fat: 2
- Trans Fat: 0
- Carbohydrates: 10
- Fiber: 2
- Protein: 1
- Cholesterol: 5